
System Restore (System Restore Service) is not a new one feature of Windows 10. This technology was introduced in 2000 with Windows Millennium. It allows you to restore the operating system to the previous state. System Restore creates restore points that record the complete state of registry settings, drivers, and various system files. The user can restore the operating system to one of the restore points if Windows 10 becomes unstable or fails to start.

In Windows Vista and later, Microsoft "buried" the service System Restore. Instead, it used the Task Scheduler to create restore points. Another reason for this move by Microsoft was that it wants you to save space on your disk and on devices with limited storage. The newest characteristics like Reset & Refresh work differently and System Restore has taken a back seat, although it is still accessible via the “Troubleshoot and Recovery” option in Windows 10.
An unfortunate change that occurred in Windows 7 is that restore points are created much less often now (once every 7 days). This is considered a very long time. Also, the disk space available for System Restore drops automatically when your system falls short of free space. As a result, restore points can no longer be created. If something goes wrong and your operating system needs to be restored, you will find that your system has no restore point available! Therefore, you should create at least one restore point. This can be done manually as follows:
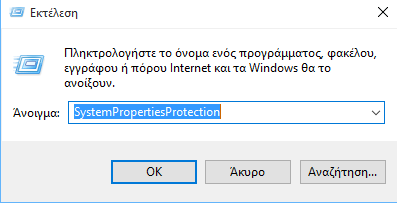
Step 1: Press the Win + R keys on the keyboard together. The "Run" dialog box will appear. Type the following in the Run box:
SystemPropertiesProtection
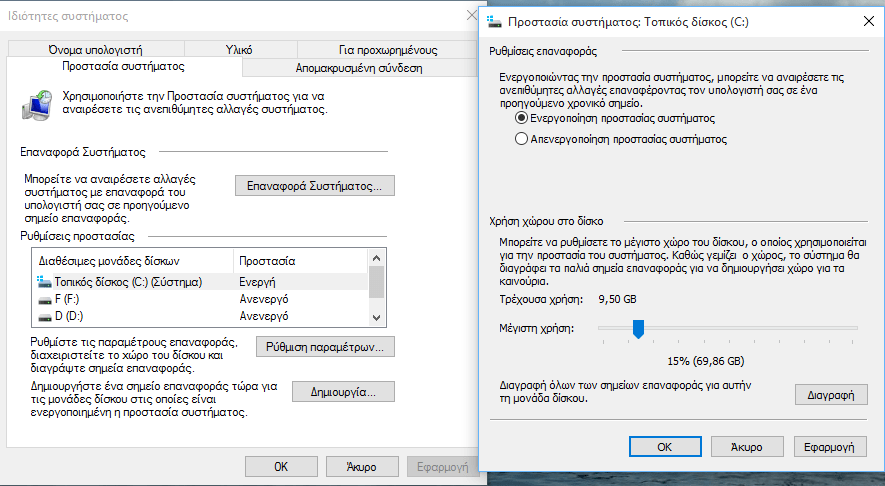
Step 2: The "System Properties" window will appear with the "System Protection" tab visible.
Step 3: If by default you can not click the "Create" button on this tab, then click the "Configure" button on the new tab that will appear (and for your local drive C, if desired for another disk, set it from the "System Protection" tab where it says "Protection Settings"), select "Activate System Protection", in the section "Restore settings" as shown in the following image:

Step 4: You should also give him a decent space on the selected disk. Move the slider to the right. 15% should be enough: Click "Apply" and OK.
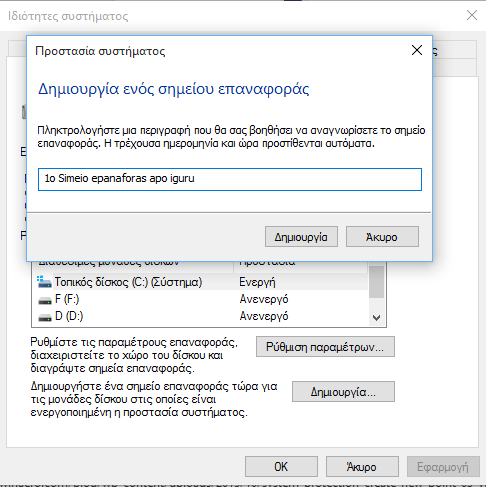
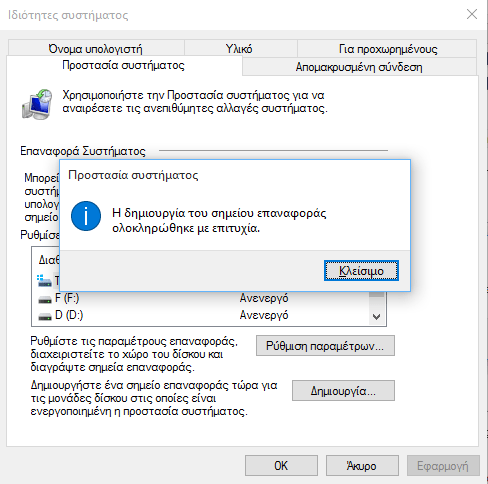
Step 5: Click the "Create…" button in the System Properties dialog box. This will create a new system restore point in Windows 10: Just type in a description and you're ready.

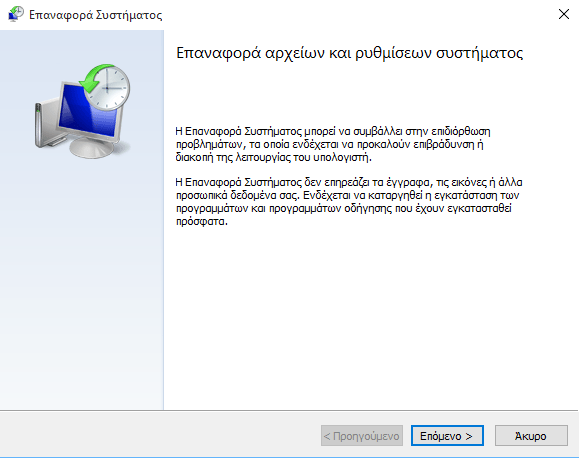
Step 6: The next time you decide to restore Windows 10 to a previous state, you can click the "System Restore" button in the System Properties dialog box, or immediately if you run rstrui.exe from Run and follow the instructions
That's it. In the next article, we'll see in detail how to use the Reset Points to restore Windows 10, including scenario when Windows 10 does not start.
