
Υπάρχουν πολλά εργαλεία για να πάρετε ένα screenshot της οθόνης σας. Αν όμως δεν θέλετε να εγκαταστήσετε μία application τρίτου τότε το εργαλείο αποκομμάτων (Snipping Tool) που περιλαμβάνεται από τα Windows Vista και έπειτα, όχι μόνο θα σας επιτρέψει να πάρετε ένα στιγμιότυπο οθόνης αλλά θα μπορέσετε να το επεξεργαστείτε κιόλας.
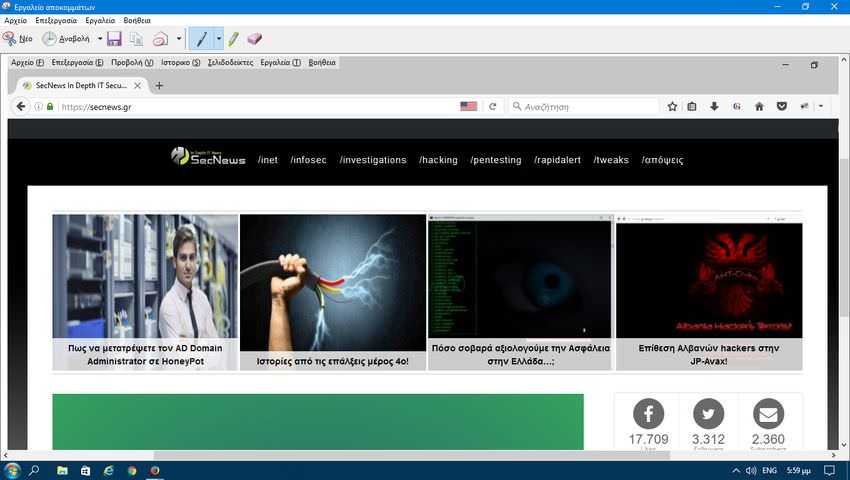
From time to time we have published articles on how to get one screenshot via Firefox ή via Chrome or even how to use the keys Win and Print Screen. But this time we will show you another way. Get a screenshot through the Windows clip tool.
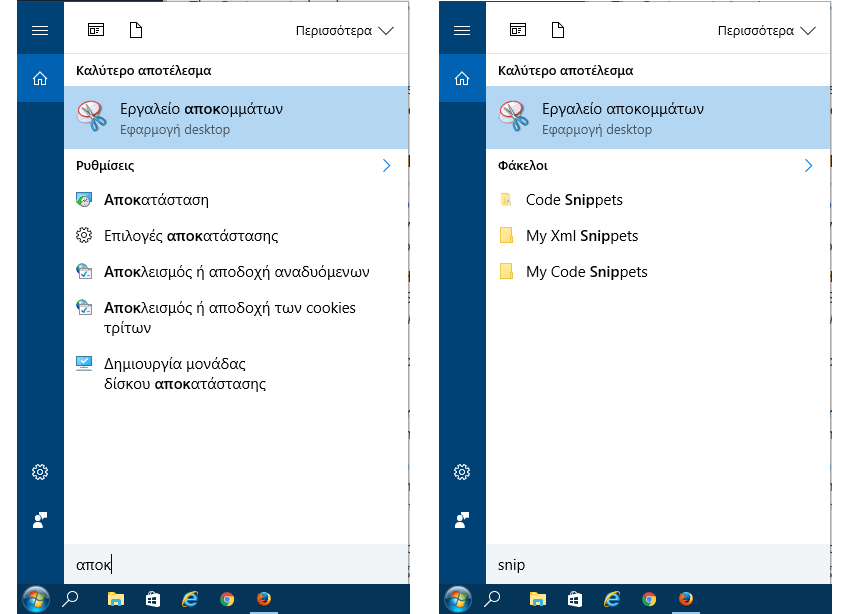
To obtain access στο Εργαλείο αποκομμάτων, πατήστε Έναρξη, και στο πεδίο της αναζήτησης πληκτρολογήστε είτε την Ελληνική λέξη “αποκομμάτων” είτε την αγγλική “snipping tool”, και στη συνέχεια κάντε click in the result.
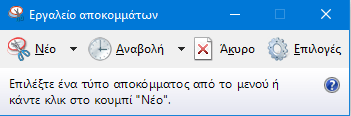
Of course you will see a new window open centrally on your screen, which can confuse you as it will be "lost" in your open windows due to its very small size.
The first thing you need to do is set it up properly. Press the "Options" key to define how the application will behave and appear. The settings you can make are the following:
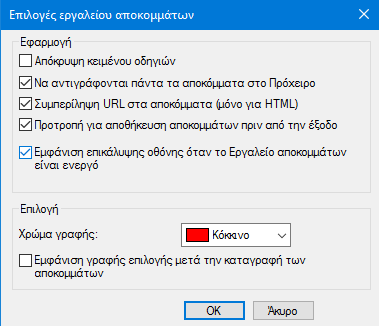
- Hide instruction text. Hides the text that you see below the buttons in the main window and that concerns the functions of the "New" button.
- Always copy clippings to the clipboard. Copies all screenshots to the Windows clipboard, thus allowing you to paste them into other applications such as text editors and editors image.
- Include URLs in snippets (HTML only). Saves your images as an HTML or MHT document. When you take a snapshot in an Internet Explorer window, the URL of the webpage is included in the screenshot.
- Prompt to save scraps before leaving. When you close the Cropping Tool, your application prompts you to save the images you have not already saved.
- Show screen overlay when the clipping tool is active. By default, while taking a screenshot with the clipping tool, a white overlay appears on the region which will be recorded. If you do not want this white overlay to appear, disable the option.
When you are done with your settings click on "OK" to return to the main window. To take a screenshot with the clipboard tool, click the down arrow to the right of the New button. You will see four options here:
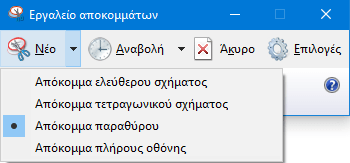
- Free-cut cut. This command allows you to draw any shape with your mouse pointer and then take a snapshot of the selected area.
- Quadruple cutout. This command allows you to draw a rectangle with your pointer and then take a snapshot of your rectangle.
- Window Chopper. This command allows you to click on any open window to get a screenshot from the visible part of the window. This means that if part of the window content is off-screen, the offscreen section will not be imprinted.
- Full Screen Clip. This command allows you to take a snapshot of your entire screen. If you have multiple screens, the contents of all your monitors will be captured.
The clipboard tool for Windows 10 only has the ability to take a screenshot with a time delay. If you click the down arrow next to the "Snooze" button you will see that you can select a number between 0 and 5. This number represents how many seconds the clipboard will wait for you to click the "New" button. This gives you time to make various moves that you want to be seen in the snapshot, such as opening a menu in a window, etc.
Once a snapshot snapshot is finished, a edit window will open. From here you can edit and comment on your image. Finally, you can save it in .png, .gif, .jpg, .html, or paste it somewhere else or email it to anyone you want.
While there are definitely more powerful screenshot tools on the market, the embedded scraper tool is quite handy. This is especially true if you only get occasional snapshots or if you are on a computer that is not yours and has no other equivalent application.
