
Red Hat Enterprise Linux 7.4: Red Hat Linux was a Linux distribution developed by Red Hat to 2004. The first version of the distribution was released on 3 November 1993 and was originally named Red Hat Commercial Linux.
It was the first distribution that took advantage of the RPM package manager, and it was the basis for many derivative distributions including Mandriva Linux and Yellow Dog Linux.

Story
2003, Red Hat has interrupted the development of Red Hat Linux and has focused on Red Hat Enterprise Linux (RHEL), which aims to support business and commercial applications. The official support of Red Hat Linux 9, the latest version of Red Hat Linux, ended on 30 April 2004.
The development of Red Hat Linux was initially done internally by Red Hat, while the only external feedback came from users who contributed to the development of various software packages or reported errors (bug reports). The situation changed in late 2003 when it was merged with Fedora Project. Under the plan, the source code for Red Hat Enterprise Linux would come primarily from Fedora, which would completely replace Red Hat Linux.
The new version
After its official release Red Hat Enterprise Linux 7.4, I was thinking of trying out the new operating system when releasing the corresponding version of CentOS, as RHEL is a commercial distribution that has CentOS and Fedora clones that provide almost 100% compatibility.
RHEL 7.4 features a technical preview of "system roles" as a shared management interface, USB Guard as a means of ensuring greater control and handling of data leakage / infusion, greater container security, and various performance improvements and updates.
Some of the performance tasks that come with the new release include support for NVMe Over Fabric and RHEL enhancements running in public Cloud.
Install Red Hat Enterprise Linux 7.4
I installed the new Red Hat Enterprise Linux 7.4 with an annual license for developers, which is free for the company, because I probably could not wait for the development of CentOS to end.
Below I quote images from the installation (images are RedHat and are about installing the 7.2 version, but it does not change the installer).
Once you download the ISO and burn it to a USB stick or DVD, you can try to boot from the installation media:
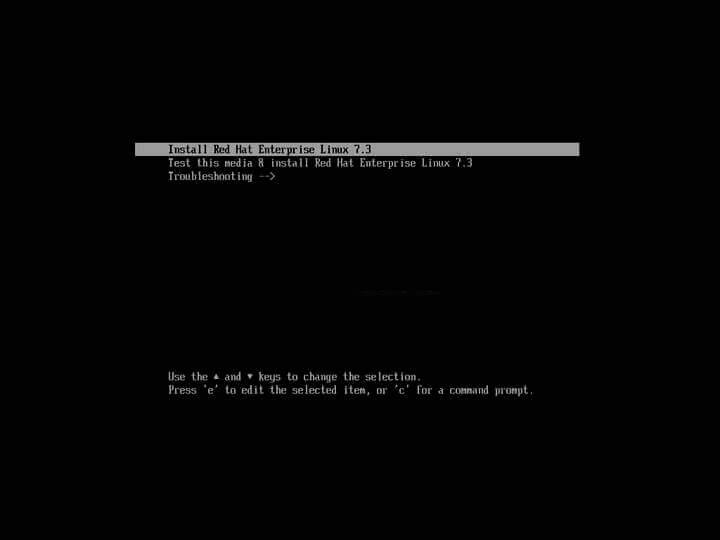
First you will have to select the language of the installation and on the next screen you will see the main admin panels of anaconda (installer used by RedHat, Fedora and CentOS distributions).
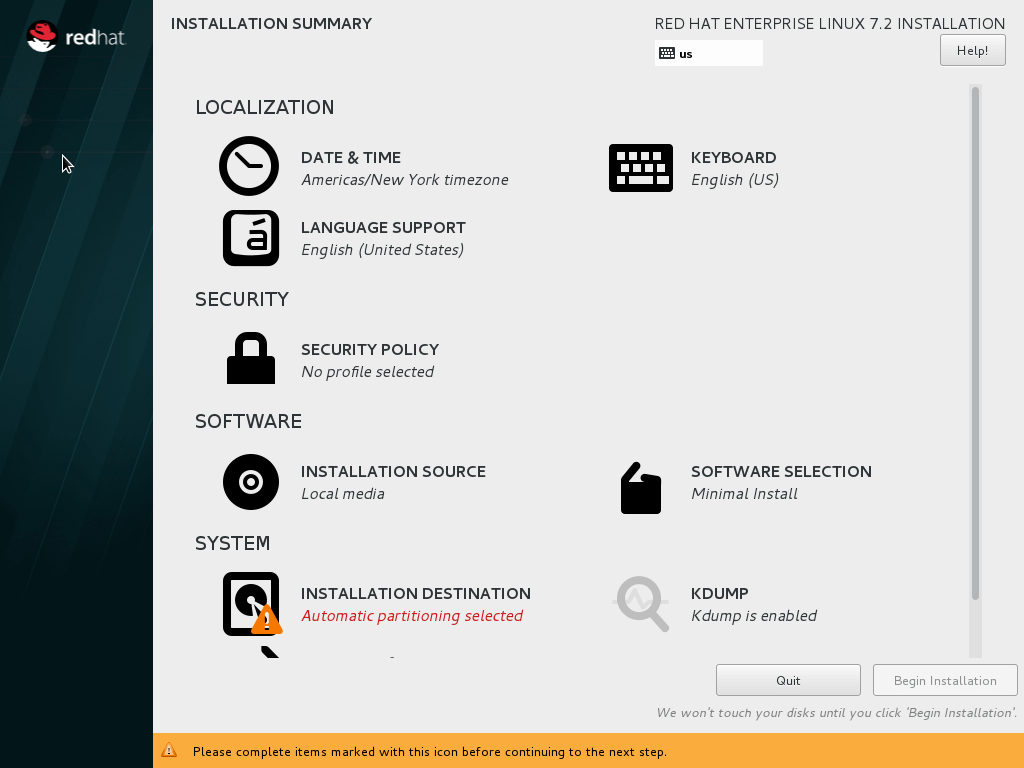
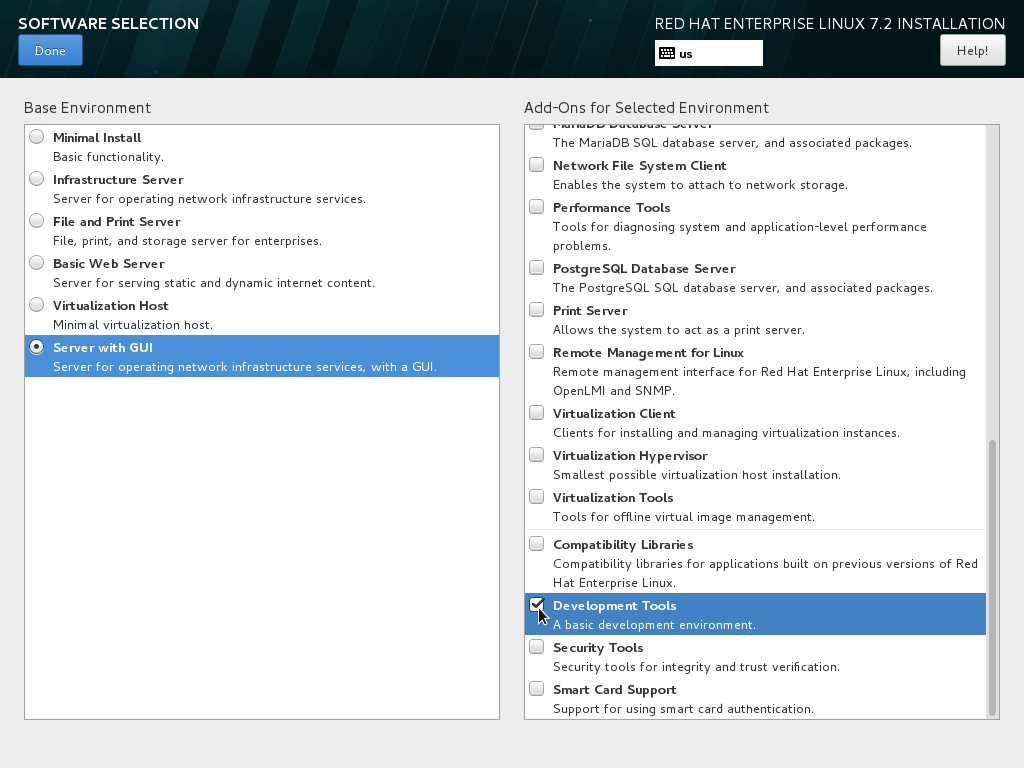
Επιλέξτε την ζώνη ώρας από το Date & Time, και προχωρήστε στο Keyborad (μπορείτε να προσθέσετε αμέσως σαν δεύτερη γλώσσα τα Ελληνικά και να ρυθμίσετε την εναλλαγή γλωσσών με το ALT+Shift). Επιλέξτε τα προγράμματα και την επιφάνεια εργασίας που θέλετε να εγκατασταθούν από το Software Selection, και προχωρήστε το Installation Destination, to tell the installer on which partition to install the distribution.
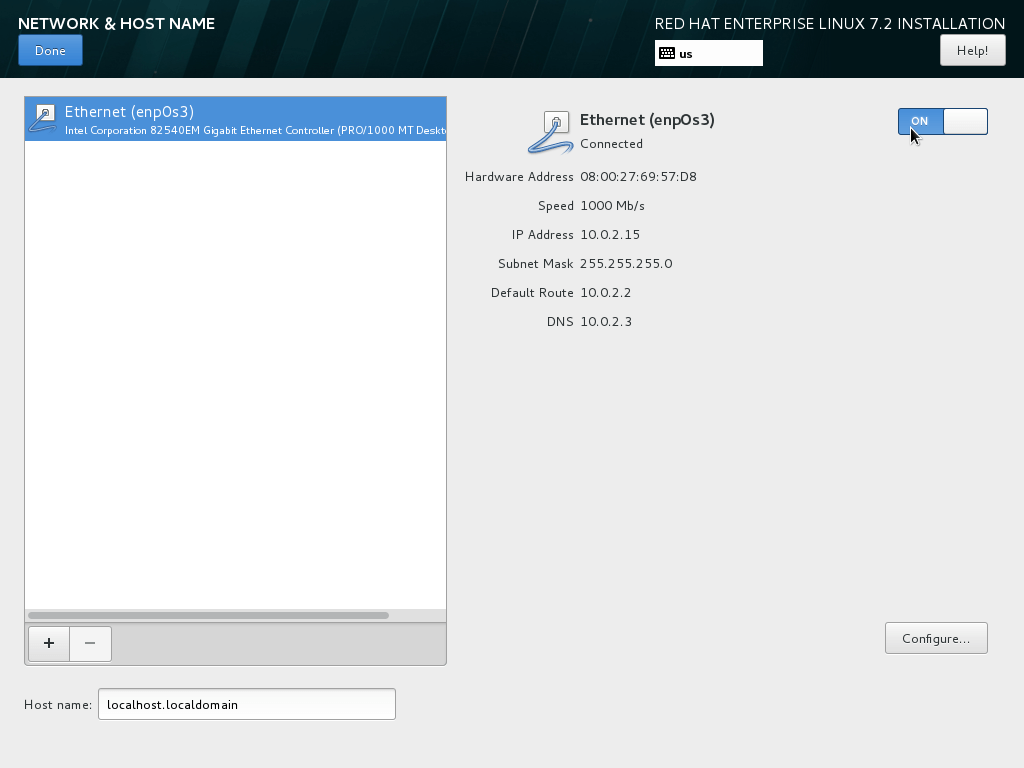
In Network, click the right button next to the Ethernet connection to go to ON. As you can see at the end of the image below, there is a change option for Hostname. You can name it as you like. It is the name that will appear on your computer.
Once you have completed all of the above, if you choose to proceed with the installation, you will see the following picture:
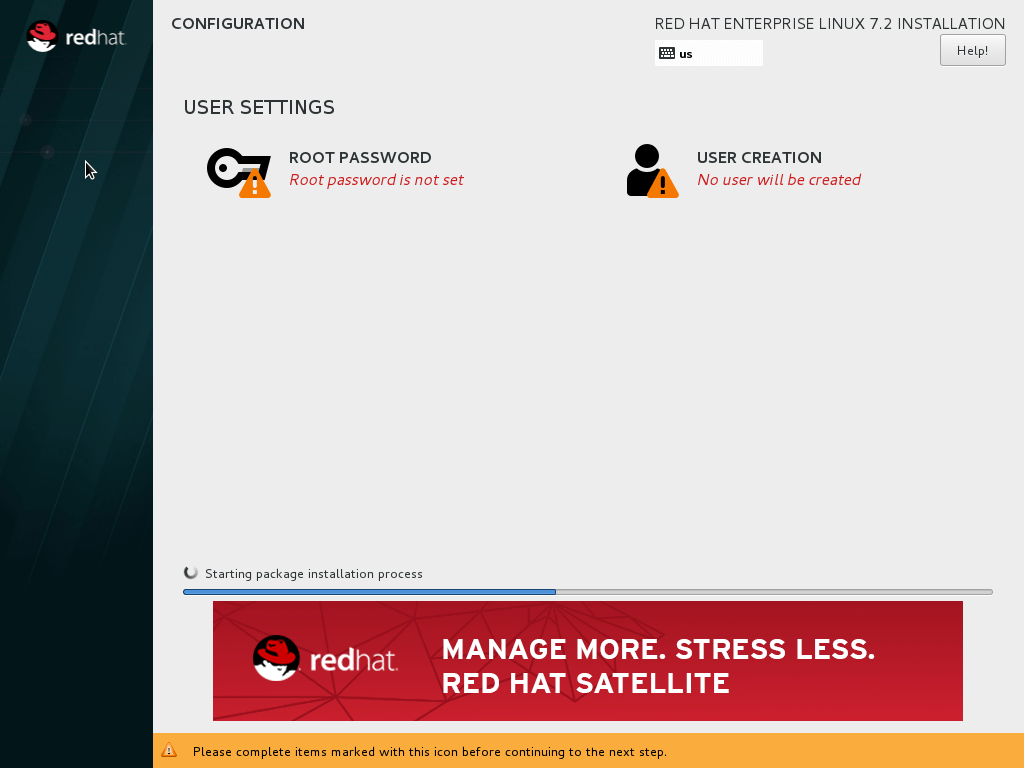
You must provide the root password, and create a user or admin account with your name. If the code you selected is small in size or easy, you must double-tap Done to accept it.
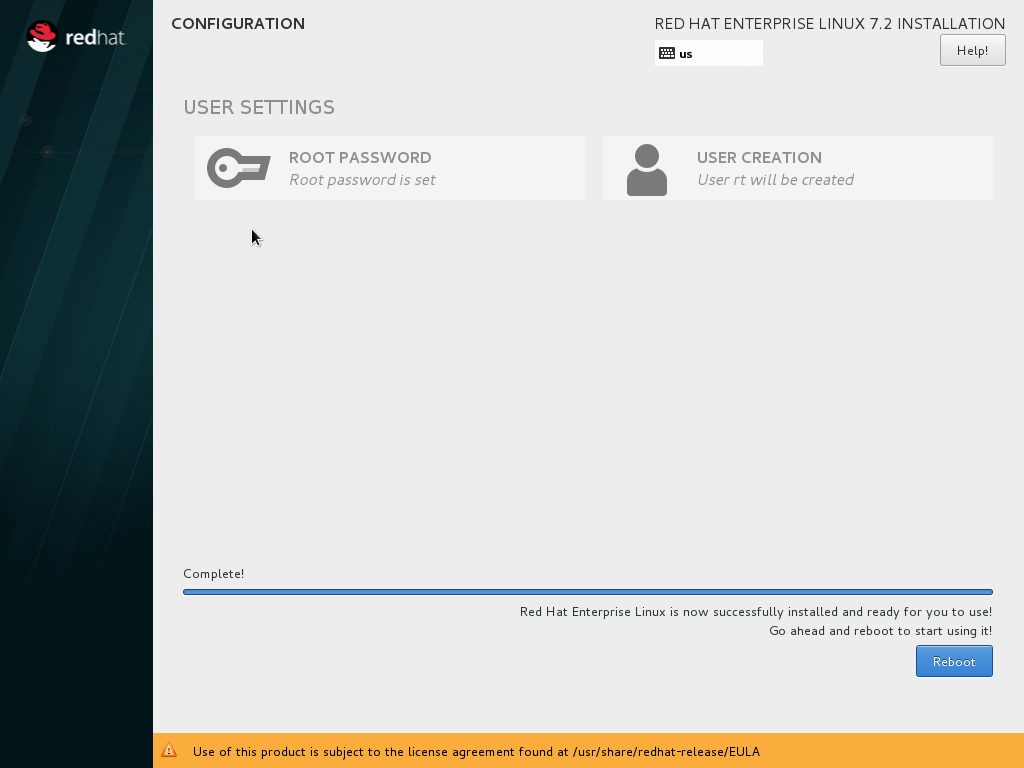 Somewhere here is the installation and you will be prompted to reboot.
Do not hurry though. Just as with Fedora and CentOS, on the screen after the first boot, you'll need to accept the terms of use. 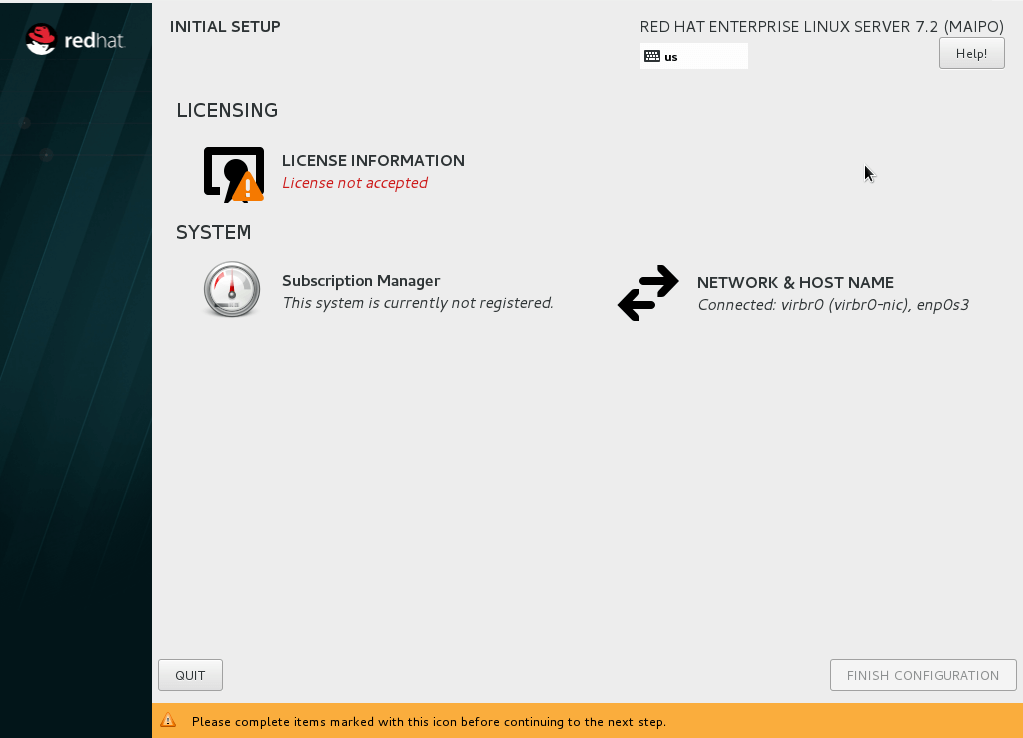 Accept the terms and restart will continue ...
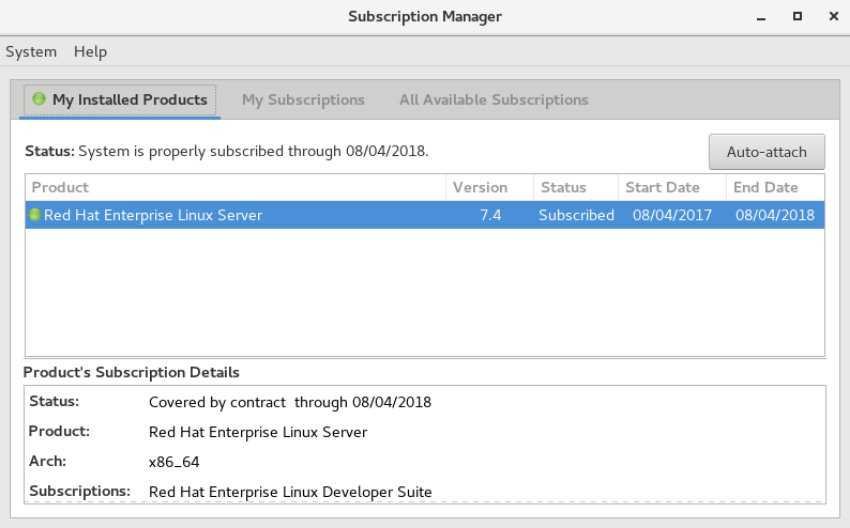
Turn on
Before you do anything in Red Hat, you need to activate your subscription. This can be done easily by Red Hat Subscription Manager. To open it will ask for your root password. Immediately enter your username and password on the RedHat portal and the application will find your subscription.
Let's do some necessary additions:
Installation of Epel and Nux Dextop repository's
Type the following commands in the terminal
cd / tmp
wget https://dl.fedoraproject.org/pub/epel/epel-release-latest-7.noarch.rpm
The last command will show you exactly the rpm name
ls * .rpm
To install the latest epel-release rpm that is released, type:
sudo yum install epel-release-latest-7.noarch.rpm
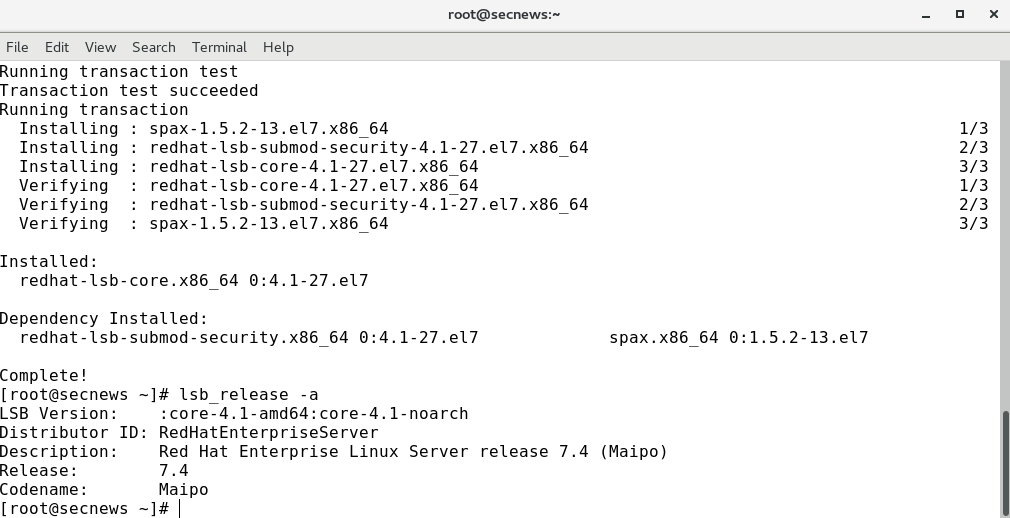
System Update
After a sudo yum clean all run the following command:
sudo yum update && sudo yum upgrade
Installing applications
Copy and paste the following command into your terminal
sudo yum install p7zip ntfs-3g pinta geany filezilla vlc yumex
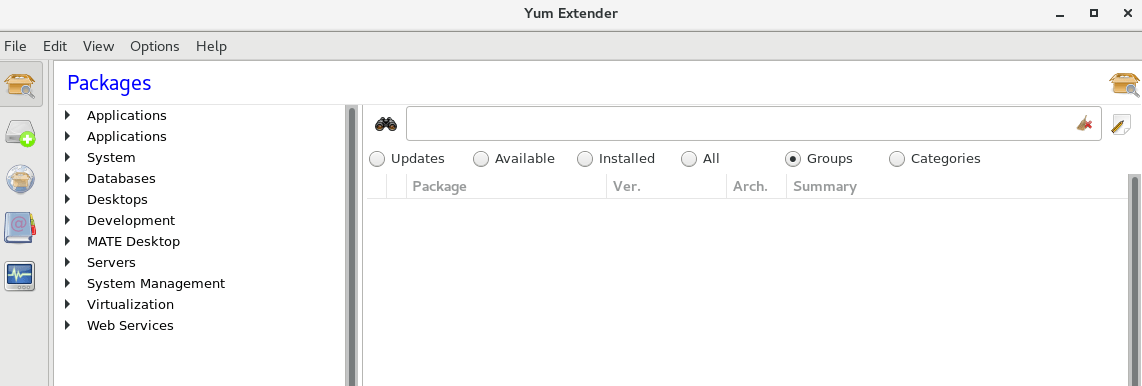
Yumex is a graphical package installer that will make your life easier:
From the link below you can download the ISO Server and ask for free annual subscription for developers
Information from WikiPedia
Pictures from RedHat
