
Teamviewer is a program that allows you to work remotely on anyone's desktop computer, which is on the internet, but without needing to know its ip address. That is, it is like the remote control of Windows.
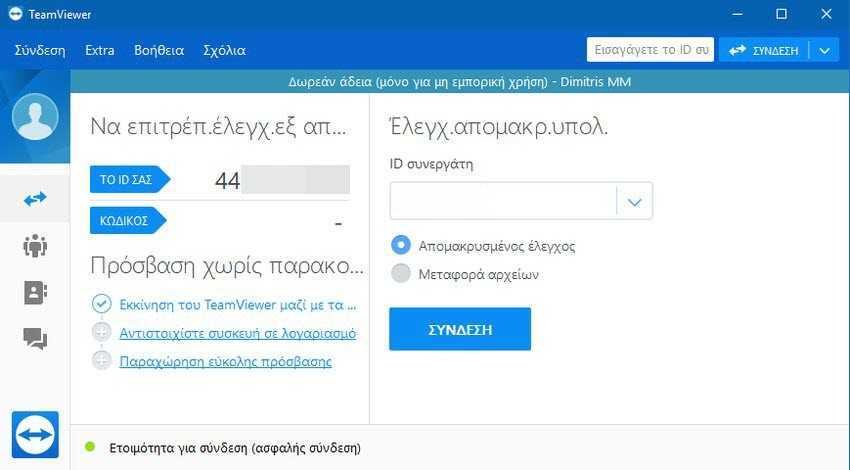
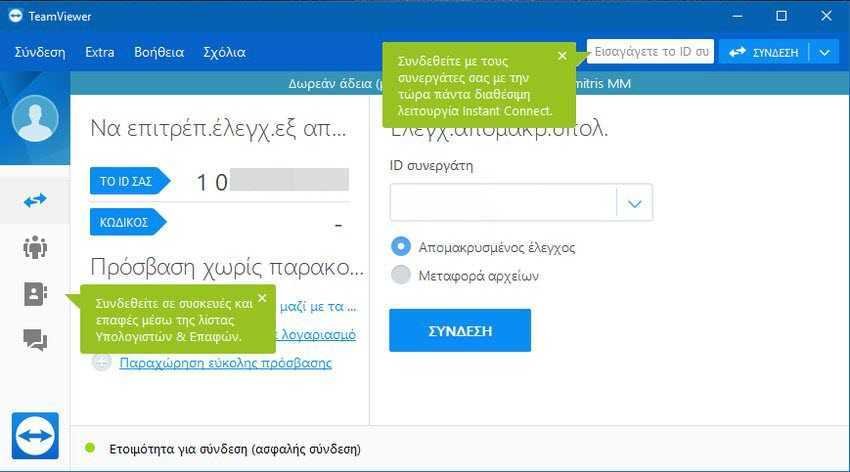
After installing TeamViewer and the first internet connection, the program receives a unique identification number (ID), something like an identity. This ID allows you to make a remote connection to your computer. If you use a free version of TeamViewer to connect to different computers, chances are the program will limit you to five minutes of connection time, after which the connection will be terminated after 5 minutes.
The reason the five-minute connection time is entered is that the TeamViewer server has decided that you are using the program for commercial purposes to connect to multiple client computers, and now the service it is not free since there is a charge for corporate users. In this case, a warning window appears informing you that the trial period has expired.
However, Teamviewer's security algorithm can err and shut down a simple user who uses the service for personal use only. In this case, even if you try to uninstall the program and reinstall it, it will not help you to avoid the unfair restriction. The only way to unblock the restriction is to change your TeamViewer ID (or purchase a license if you are a commercial user).
TeamViewer ID is created based on the following unique features of your computer:
- In its MAC address cardof network
- In the VolumeID of your disk
- On the creation date of the Program Files folder
Therefore, to change the TeamViewer ID you need to change these 3 values.
Change TeamViewer ID in Windows
To change the identity of TeamViewer, you need to perform a few steps.
Step A: First of all, end the TeamViewer process. This means that you have to close Teamviewer completely and because it usually runs as a service you will have to stop it from there as well. Next, you need to remove the current TeamViewer ID from the registry.
1a. For Windows x86, TeamViewer version [X], open the regedit.exe file, go to HKLM \ SOFTWARE \ TeamViewer \ Version [X] and delete the DWORD ClientID value.
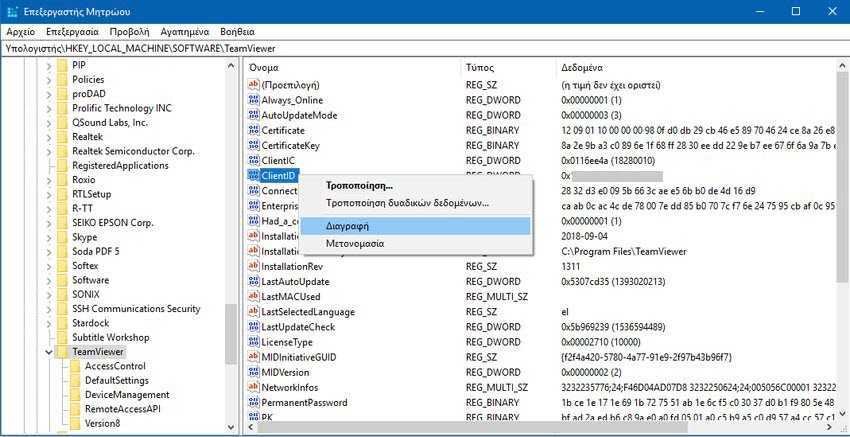
1b. For Windows x64, delete the ClientID value from HKLM \ SOFTWARE \ Wow6432Node \ TeamViewer Version [X].
2. Check if the registry key HKEY_CURRENT_USER \ Software \ TeamViewer exists and delete it all.
Step B: To change the creation date of the program Files folder, you can use NirCMD utility.
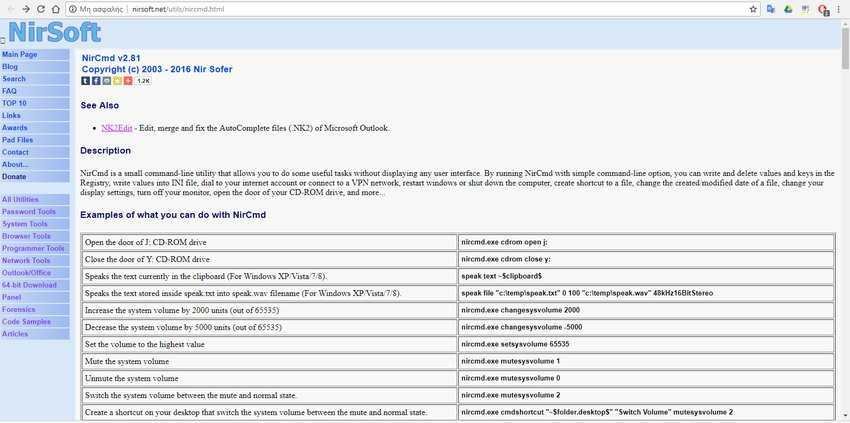
Download the program, unzip it and put it in any folder. Open a command prompt window with administrator privileges, navigate to the folder where you unzipped NirCMD, and run the following command:
nircmdc.exe setfilefoldertime "C:\Program Files" now now

If you pay attention to the creation date (not modification) before the command and after the command you will see that this date changed and became the current one.
Step C: To change the MAC address of the network card, you can use special utilities or use the following instructions to manually edit the MAC address.
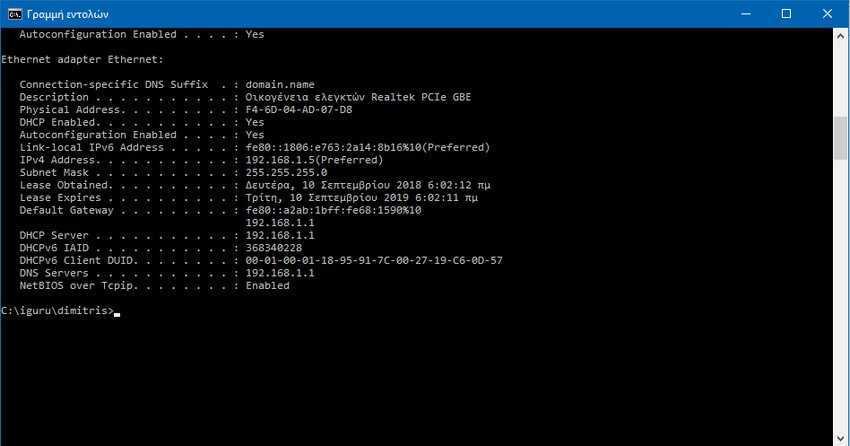
1. First, to see the current MAC address of the network card, open a command prompt window and run the following command: Ipconfig / all
We are interested in two parameters related to the actual network card of your computer with which you connect to the Internet:
Description: LAN Realtec PCIe GBE controller family
Physican Address F4-6D-04-AD-07-D8
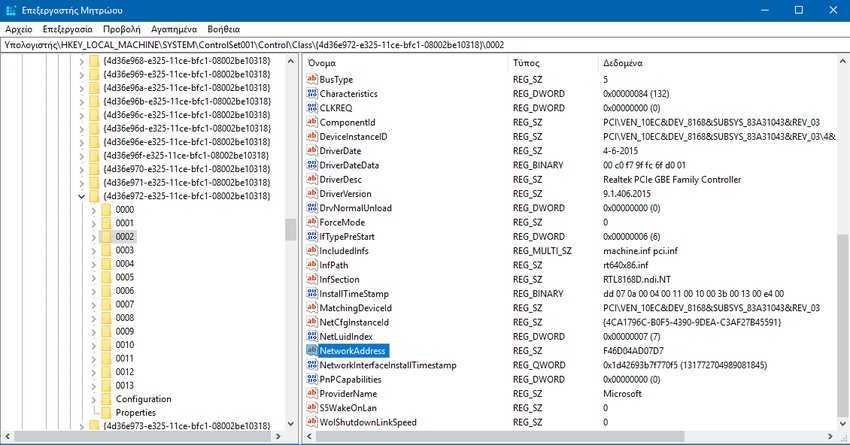
2a. Then open Registry Editor and go to
HKLM\SYSTEM\CurrentControlSet\Control\Class\{4d36e972-e325-11ce-bfc1-08002be10318}.
Each item below this address is indicated by four digits starting at 0000, 0001 and so on. your network, for example: Realtec PCIe GBE Family Controller.
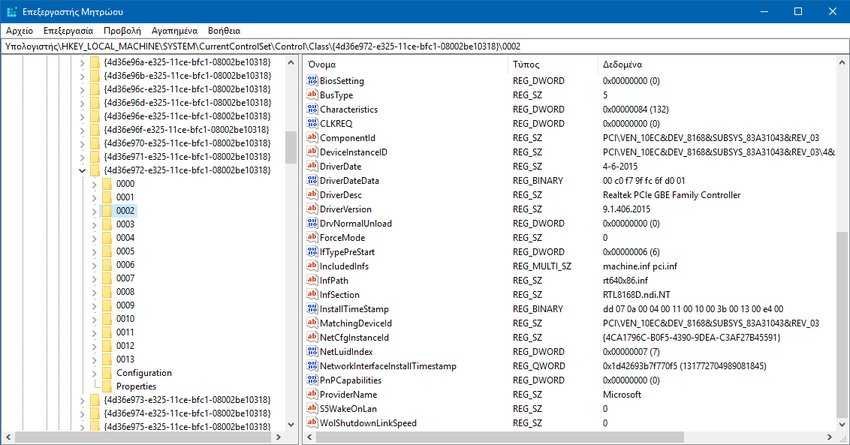
Once the correct network card is found, add or modify the REG_SZ key named NetworkAddress, which specifies the MAC (hardware) address of the network card. Just change a single digit in the current address, for example F46D04AD07D7 (without dashes). This will change the MAC address of your network card.
Step D: Now you need to change the VolumeID of the system partition. VolumeID (or serial number) is a unique one-volume ID on the hard disk, which is set during formatting.
Note: In some cases, TeamViewer is associated with a disk volume that does not host the operating system or even with the volumeID of removable media, so we may need to change the VolumeID and other partitions.
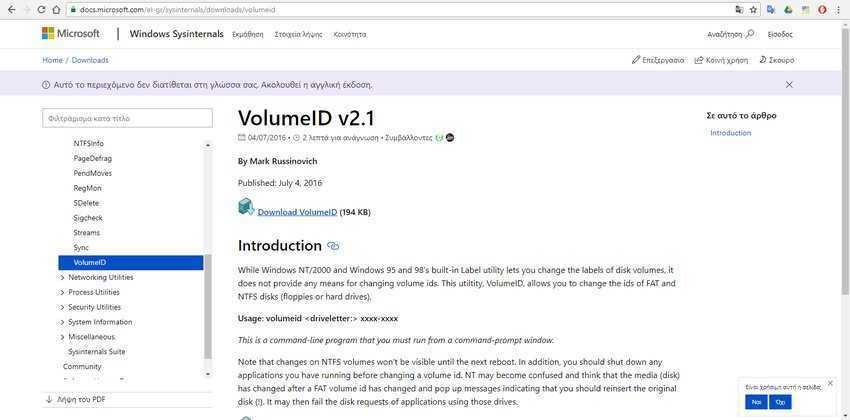
To change the VolumeID use utility VolumeID v2.1 from Microsoft. Download and unzip the VolumeId.zip file to a folder on the same disk as your OS.
Check the current VolumeID of the disk hosting your operating system by opening the command prompt with administrator privileges and run the command: vol (the vol command will show you the volumeID of the disk where the censor is located, so if you are not on the same disk as Your OS, then you must first move.)

The volume serial number is 2874-10C0. To change it let's say in the new value 2874-10C1 give the following command: Volumeid.exe c: 2874-10C1 (to run the Volumeid command you will have to find the same folder that you unzipped the VolumeID v2.1 utility and we repeat the command line has administrator privileges)
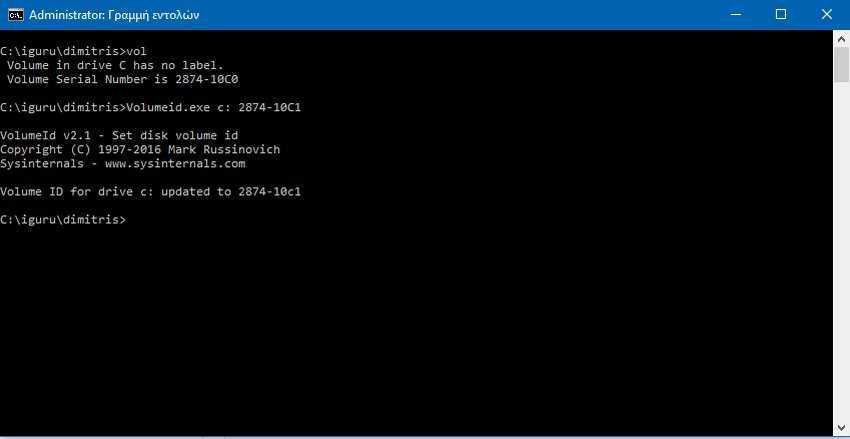
The VolumeId utility will update the serial number of your system partition, and once it does, just close the window and restart your computer.
After rebooting, run the TeamViewer application and you will see that you have obtained a new ID without losing any of your old settings and logs.
How to change TeamViewer ID on Linux
If you are using TeamViewer in one of the Linux distributions, you can follow the instructions below to change the TeamViewer ID (the method was tested in Debian 9 and with some modifications you can logically use it in any Linux distribution).
1. Uninstall Teamviewer with su privileges.
2. Remove the / var / lib / dbus / machine-id file, if any.
3. Edit the GUID (you can just replace the last character): mc -e id.txt.
4. Change the MAC address of the network card:
ifconfig eth0 down ifconfig eth0 hw ether New_MAC_HERE ifconfig eth0 up nano / etc / network / interfaces
5. Correct the string:
pre-up ifconfig eth0 hw ether New_MAC_HERE
6. Restart the operating system.
7. Install Teamviewer, and logically it should have acquired a new client ID.
To change the ID on a cloned Linux machine, just:
1. Stop the teamviewer daemon.
2. Delete teamviewer settings:
rm -r ~ / .teamviewer
3. Remove the / opt / teamviewer {TW_VERSION_Here) / config folder;
4. Start the teamviewer daemon.
How to change TeamViewer ID on Mac OS
To change Teamviewer ClientID to a Mac OS, you can use the python script TeamViewer-id-changer.py from GitHub. Follow these steps:
1. Download it script from GitHub .
2. Close TeamViewer (make sure the process is complete).
3. Run the script: sudo./TeamViewer-id-changer.py;
4. Restart the device.
