
You may have heard of Google Advanced Protection (Google) Advanced Protection). Whether you have heard it or not, the following post explains what it is, who should use it and how to enable it. 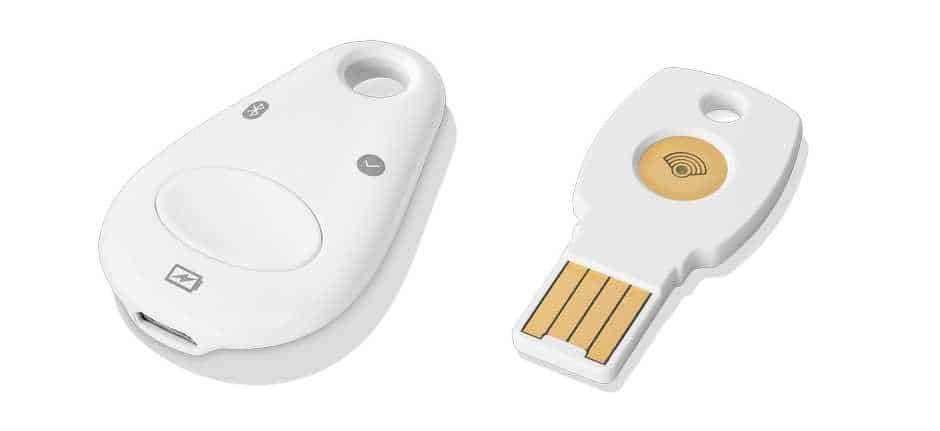
What is Google Advanced Protection?
Google Advanced Protection (GAP) is a security feature similar to the ID card δύο παραγόντων (2FA) αλλά είναι πολύ πιο ισχυρό. Χρησιμοποιεί το 2FA σαν μέρος της διαδικασίας, αλλά απαιτεί δύο wrenches security (from hardware) instead of just one.
The second key is safer, so the account will continue to be protected if something is broken. The new feature is available for anyone who wants extra protection in their account.
GAP also restricts third party access to your Google Account, which means you may be in trouble if you try to use your account to connect to many third-party services.
Finally, GAP allows additional security measures to secure your account from heckers. Although it's unlikely, determined hackers who want an account can try to steal it by pretending to be you. With GAP enabled in your account, additional steps are required to avoid this, even if you've lost both security keys.
This means that Google will require additional information to access your account, and "it will take a few days to confirm that it is you." So it would be good not to lose your keys.
Who is Google Advanced Protection for?
I mentioned above that the new service is available for everyone who wants extra protection in their account. But if we want to be honest, GAP is not for everyone. It's probably not even for you.
Google's intent with Advanced Protection is to protect “personal Google Accounts that are at risk from targeted attacks – such as journalists, activists, business leaders and policy groups.” In other words, hackers don't target ordinary mortals because they have nothing to gain from the attack.
If you think hackers could win from you, you need to enable GAP. For everyone else the use of a simple 2FA is enough.
But, if you want to enable GAP, here's how you can do it.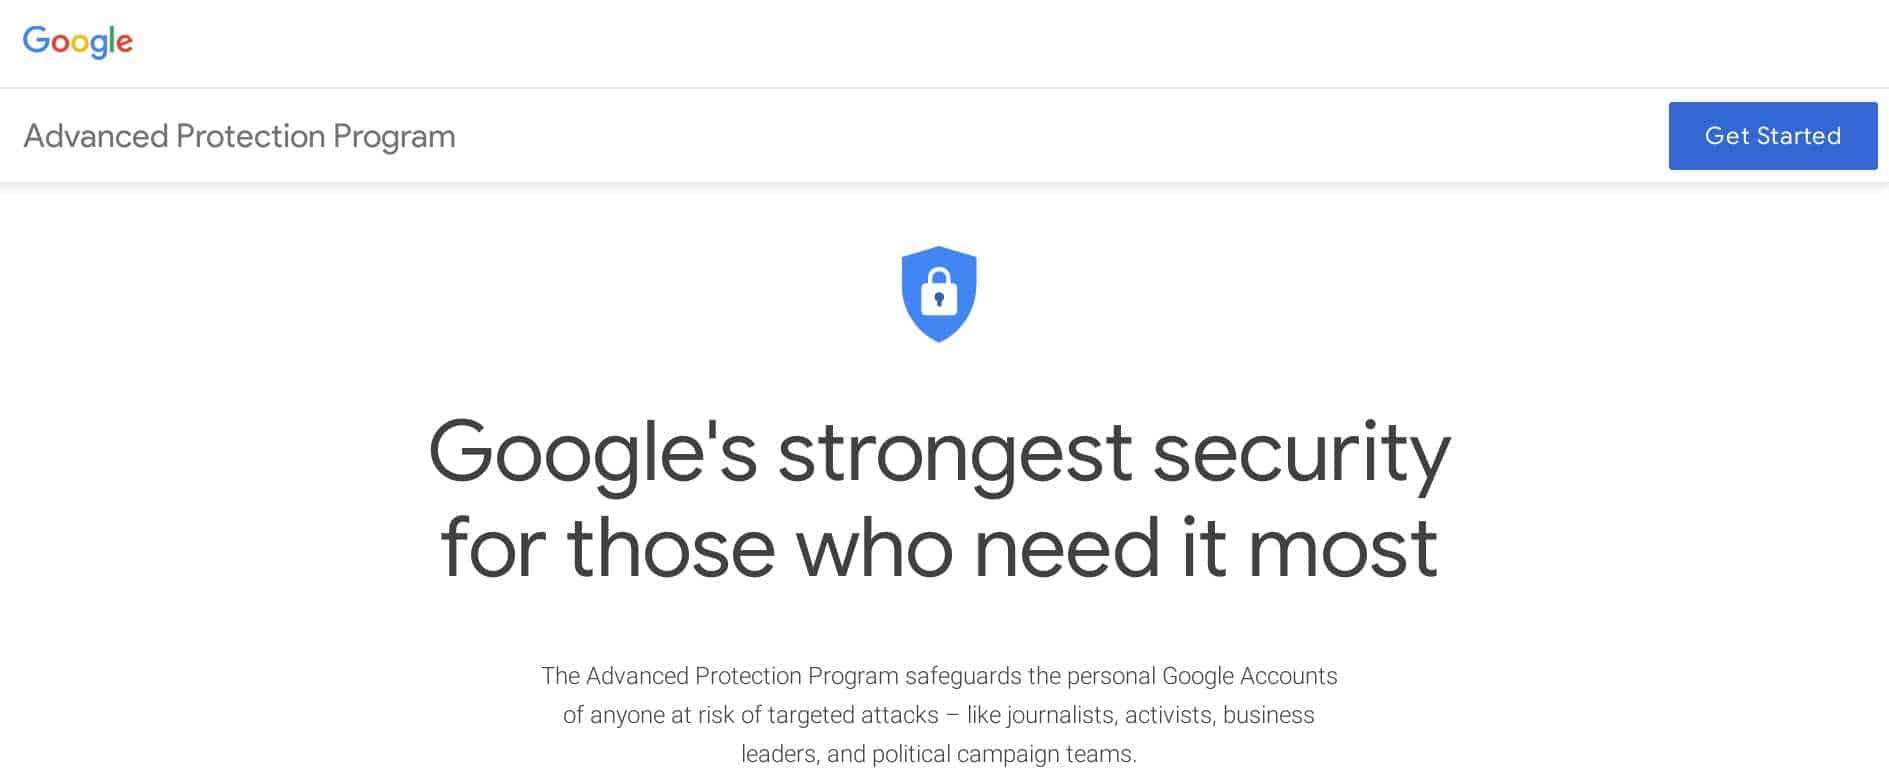
But first we will see what you will need:
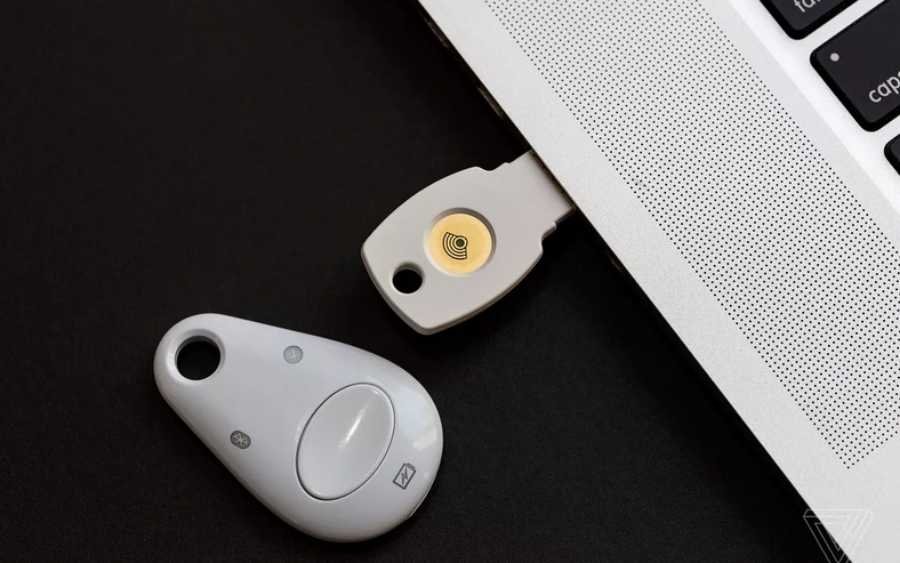
Two security keys. A Bluetooth, a USB like the Google Titan Key bundle you see above.
Verification in 2 steps should be enabled in your Google Account.
Your password and a verified device to verify in 2 steps.
Of course you will need the decision with the certainty that you really want it.
How to enable Advanced Protection on your Google Account
First of all: you will need two security keys. If you do not have them, wait until you have them before you get started. Required.
With the two security keys, visit the page Advanced Google Protection. Click the "Start" or "Get Started" button in the upper right corner.
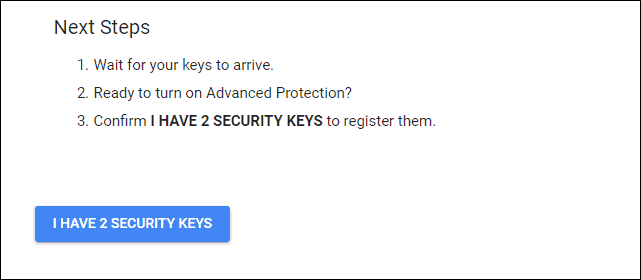
The next page will confirm what you already know: you need two keys to proceed. At the bottom you can click the "I have 2 security keys" button.
You will need to give your password to the next page before proceeding.
Now it's time to enter the two security keys you will use. Click the box to enter the keys and follow the instructions. Make sure you give them unique names to know which one is.
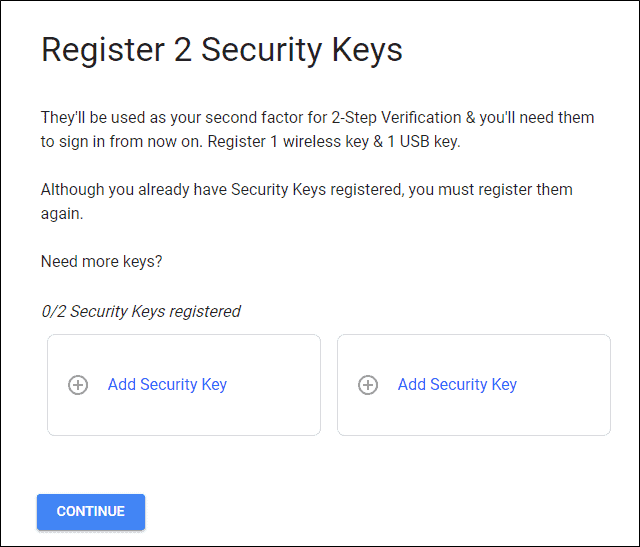
Once you have added both, click the "Continue" button. A final screen will appear confirming what will change once the new feature is activated. If you thought about it, press the "Activate" button!
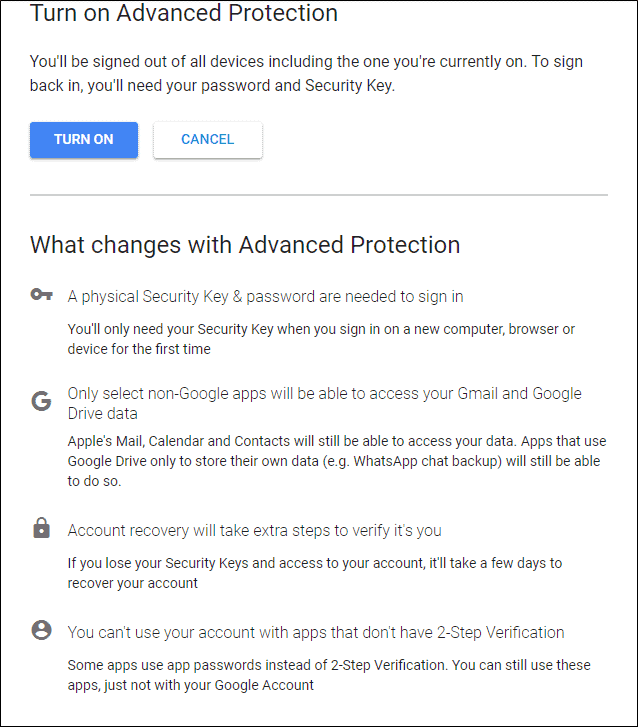
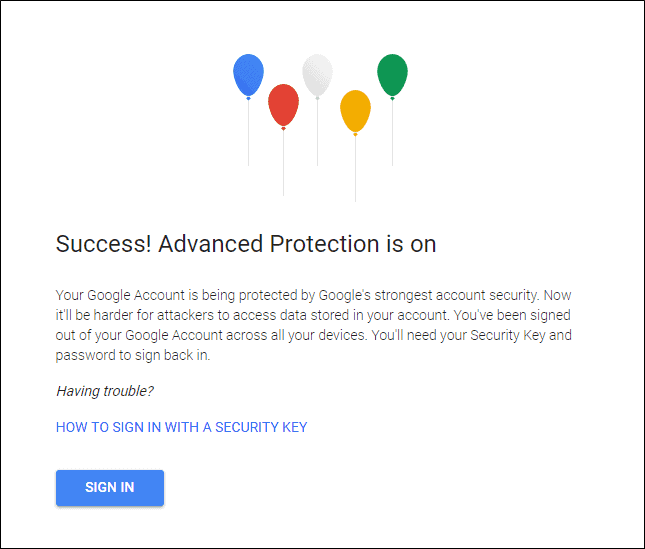
After turning on the security feature, you will automatically disconnect from all devices (and from the settings you make) and you will need to reconnect with your password and security key.
Google will show you balloons when you turn on the service.
How to Disable Google Advanced Protection
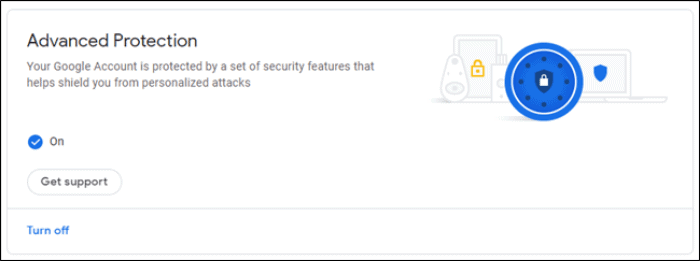
On your Google Account page, click "Security".

The Google Advanced Protection option is at the top of the list and you will see a "Disable" button. Click and enter your password.
Click Disable to disable GAP
Confirm that you want to disable GAP.
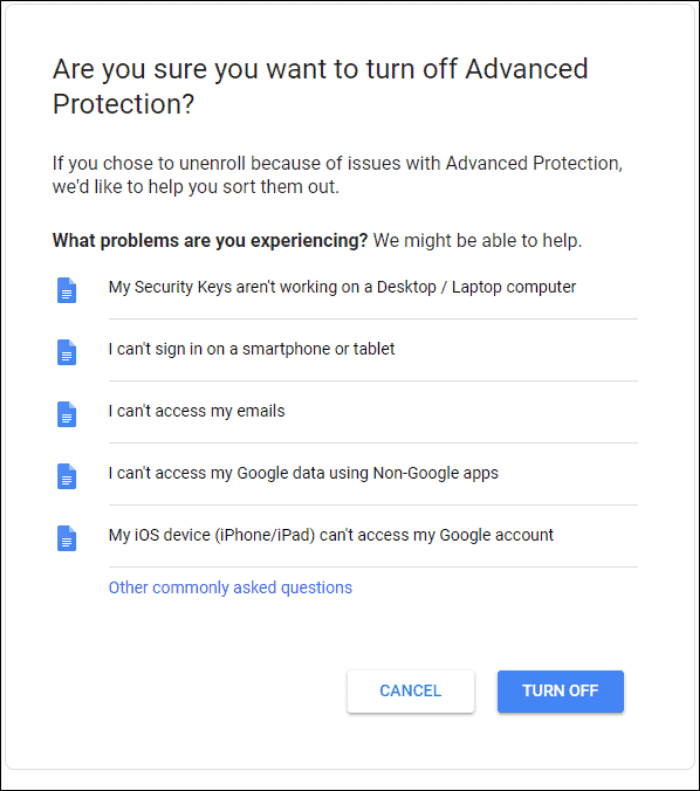
You are no longer registered with GAP, but you will still need the security keys to log in. You can remove them by clicking on the 2-factor verification option. You will need to enter your password again…
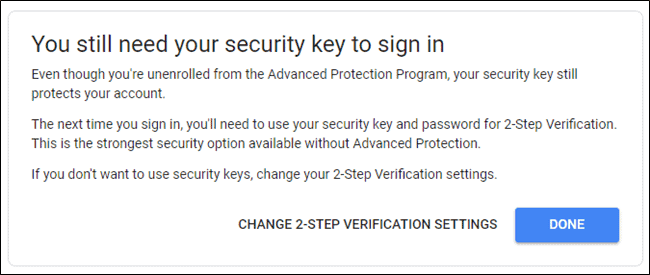
To remove your keys, click the pencil icon to the right of the USB name, then select "Remove this key".

That's it!
_______________________
- Firefox 66 new system for smaller RAM footprint
- Facebook: can no longer control himself
- Other malicious Windows 10 applications have been found in the Microsoft Store
