
In our today's article you will learn how to encrypt with BitLocker a Windows 10 drive, whether it contains the operating system or a simple USB flash drive.
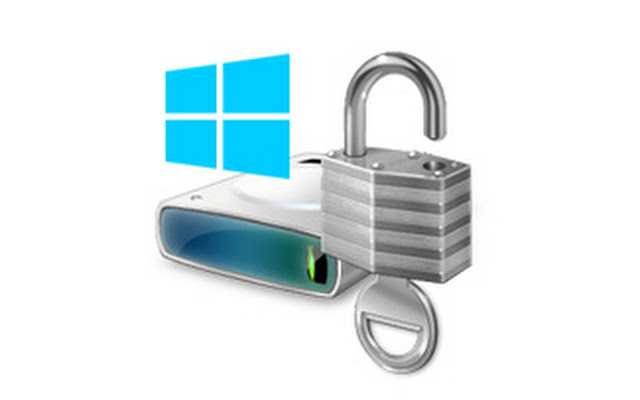
If you are concerned about securing your data on a drive, you can encrypt it with BitLocker. BitLocker is a built-in Windows 10 feature that can encrypt your disks, or usb flash. Available in versions of Windows 10 Pro / Education / Enterprise.
With BitLocker, you can choose to encrypt the entire disk or you can choose to encrypt part of it (usually your data) and add more later archives.
Also, BitLocker gives you several options to unlock the encrypted drive. Encrypted data will be very difficult to decrypt, and if someone steals your system, such as in the case of a laptop or tablet or USB flash, they will not be able to access your data. Overall, the feature offers you better security for your data and system.
Therefore, if you are the administrator of a computer system, you can follow the steps below to encrypt a drive.
How to encrypt a drive in Windows 10 with Bitlocker
1. Simultaneously press Win + E to open File Explorer and do click in the "This computer”(This PC). Under Devices and Drives, right-click the drive you want to encrypt, and click “Enable BitLocker".
NOTE: If the system is not equipped with a TPM (Trusted Module Platform aka TPM), you will receive the following notification: “This h device it is not possible to use a trusted platform unit. Your administrator should set "Allow BitLocker without compatible TPM" to "Require additional authentication at boot time" for operating system volumes.
In this case, see this article to troubleshoot this error.
2. Then, and especially if you have instructed to encrypt the drive that contains the Windows operating system, you will go through various warnings and rewards screens, without having to make any choice, except to press the "Next" button, until go to the "Select how to unlock the drive" section.
There, choose the one that suits you best. The possibilities are two. Either use a PIN or a USB flash drive. In this example, we selected the PIN. Of course if you are instructed to encrypt a flashUSB drive then the driver will not ask you if you want to unlock the flashUSB with a flsh USB !!!!
Click next and you will find yourself on a screen where you have to enter the PIN. This password unlocks the encrypted drive. Keep in mind that you should use this password every time you want to view your disk, so choose a strong password, but be able to remember him. Click Next.
3. It will then ask you where you want to save the recovery key. This recovery key will be useful if you forget or lose the above password. We recommend that you save the recovery key to your Microsoft account.
4. You will be notified if you click Save to your Microsoft account in the previous step, that the recovery key was saved.
But make sure you first confirmed this on https://onedrive.live.com/recoverykey .
Do not expect to see the key as a file on Microsoft's onedrive. Just click on the link above and if you have many keys, make sure the recent one is saved.
5. Then, in the next screen of the BitLocker Drive Encryption Wizard, select how much space you want to encrypt. We recommend that you select the Encrypt the entire drive option here. Click Next. The encryption time will be sufficient. arm yourself with patience
6. Now, you have to choose the encryption method. Here, choosing the new encryption mode will use the 128-bit XTS-AES encryption method. While selecting compatible mode will use 128-bit AES-CBC encryption method. Once selected, click Next.
7. Then click "Start Encryption".
If you are instructed to encrypt the disk with the operating system, then you will be prompted to restart your system. If you have selected another disc then you will proceed to the next step.
8.. After the encryption is complete, each time you want to open the encrypted disk you will need to enter the code you specified in step 2. If you have encrypted the disk with the operating system, this code will be prompted for when your system starts up.
If you forgot your password, you can click the "More Options" link and enter the recovery key you saved in your Microsoft account. Once you have saved the recovery key online, you can search for it from any of your devices to access your Microsoft account.
This way, you have successfully encrypted a drive in Windows 10 with BitLocker. You can follow similar steps to any other drive on your computer.
If at some point you regret it and want to restore your disk to its original format, ie without encryption but also without losing your data, you have to go back to file exploration and next to that disk you will see one list of commands.
Use "Disable BitLocker" and everything will just go back to before. The process of removing the encryption takes as long as the encryption you did in the beginning. So arm yourself with patience.
