
Learn how to pair a drive with a network folder in Windows 10. The mapped network drive will give you easy and quick access to the network share.

If you work on a network, whether large or small, you can assign a folder to a single disk or the entire disk for easy access. You can easily do this in Windows 10 using File Explorer.
The network shared folder will be mapped to a drive and is actually a shared folder located on another computer that is connected to the same network as you. Typically, this process assigns one letter drive to this network shared folder. It helps you mount the network share automatically, after each time you log on to Windows. This is the advantage of network drive mapping.
Pair a drive with your network in Windows 10
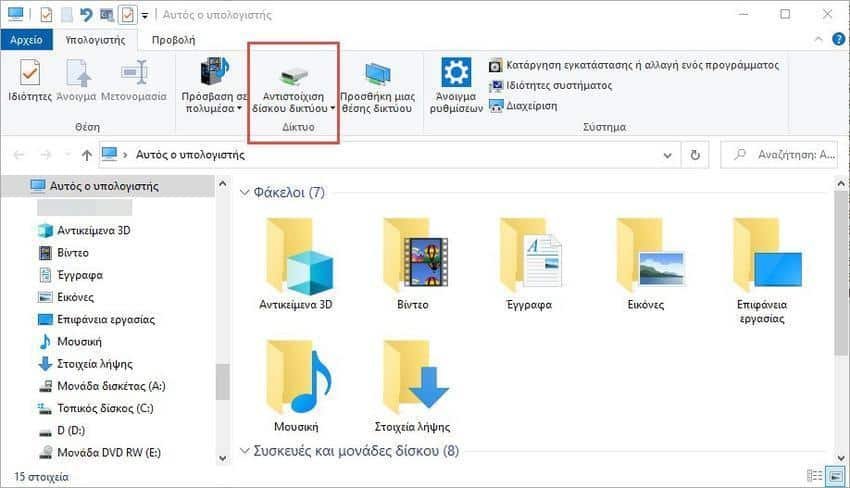
1. Press Win + E at the same time to open File Explorer. Click this computer, and then click "Map network drive" in the main menu of the exploration.
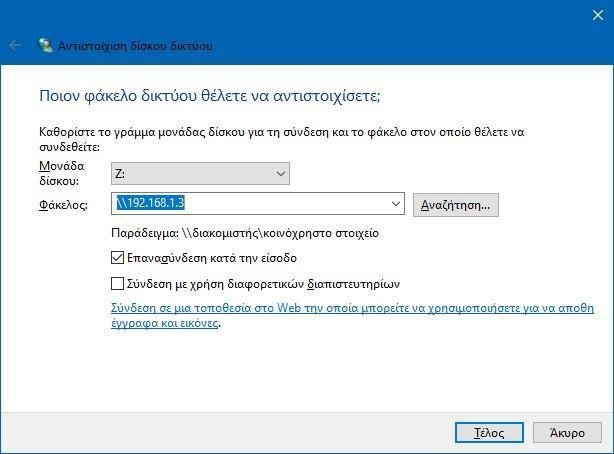
2. Next, in the help window that will open, select a letter for the drive or folder you want to connect to. The letter can be any you want and of course it has not already been assigned to a unit. Then enter the location of the folder you want to map. If you want a site on your network, enter its internal IP and click Browse. Otherwise just click "Search" to find what you want.
3. Next, provide the credentials for the network location (name - user password). Make sure you select “Remember my credentials”. Click OK.
4. After validating your credentials, in the Browse For Folder window, select the network folder to assign. If you want, you can use the "Make New Folder" button to create a new folder.
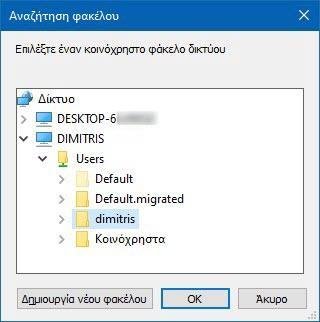
5. After selecting the network folder for mapping, click OK.
6. you will return to the “Map Network Drive” window, make sure that you select the “Reconnect at sign-in” option. This will automatically connect your system to the mapped folder after you log in to Windows. Click the "Finish" button.
7. This way, you have mapped a folder to a drive and it should be visible continuously through file exploration.
Disconnect your network drive
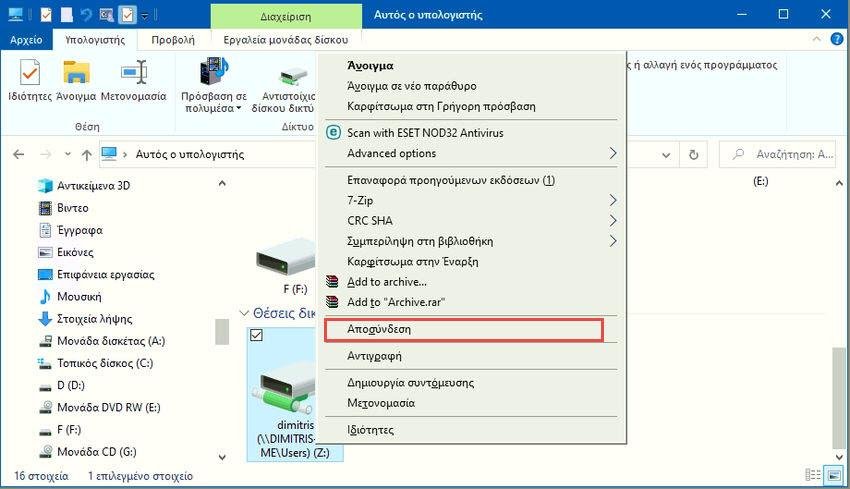
1. To disconnect the previously mapped network drive, open File Explorer and go to "This Computer".
2. Select the mapped drive and right-click on it and click Disconnect.
This should disconnect your network drive.
This allows you to create an assignment of a drive to a folder on your network in Windows 10.
