
In this article we will show you how to disable applications to run automatically on startup Windows 10, using Task Manager and alternatively Settings.

In Windows, there are some applications that are configured to start automatically when you start the operating system. In most cases, these applications will start when Windows 10 starts and then be minimized to remain as a background service. So you may run some applications unknowingly and never understand it.
There are many ways you can use to see which applications are running at startup and at the same time turn them off if you want. The most common are through Task Manager and through Windows Settings. You can try any way you want, based on your experience in Windows 10.
Method 1 - Use Task Manager
This is the easiest method. Follow these steps:
a. Right click on line work and from the menu select Task Manager.
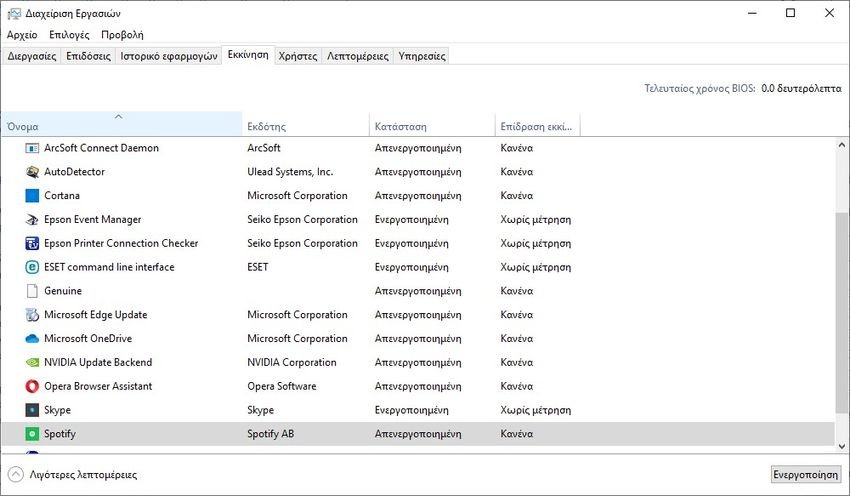
b. In Task Manager, go to the tab Start.
c. On the Boot tab, you will find a list of applications that can be started once you log in to your system. An application with Activated status will boot along with the operating system. You can simply right-click on such an application entry and select Disabled.
d. Once you have completed the configuration of the applications that will start automatically, you can close the Task Manager. Changes will be saved automatically.
Method 2 - Use the Settings application
a. Open them Settings of Windows 10.
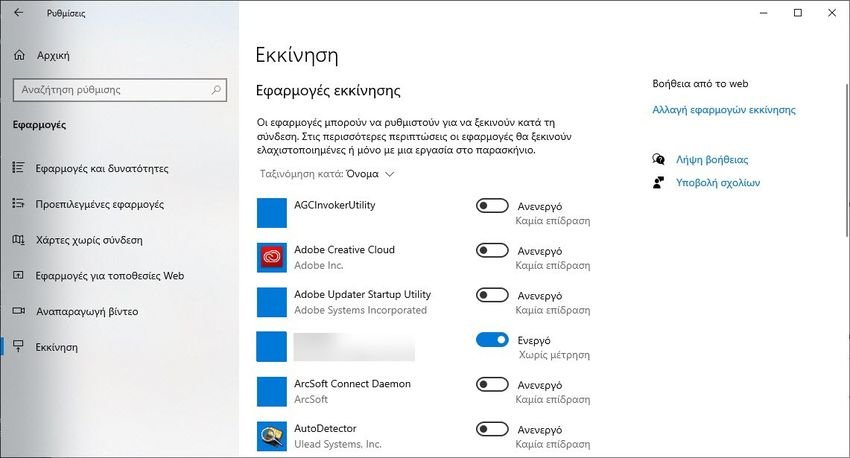
b. In the Settings app, go to the tab Applications> Startup.
c. At startup, on the right, you will find entries of applications that have the right to auto-start. In each application next to it there is a switch to allow or prevent the application from starting when your operating system starts. The ones you want to start automatically, just set them to Active.
d. Your settings should be saved and applied immediately. After that, you can close the Settings application and return to your work.
