
If you have two Windows 10 computers equipped with Wi-Fi then you can set one as wireless δεύτερη οθόνη του άλλου. Και όλα αυτά χωρίς applications third party manufacturers.
You read it our article on multiple screens on Windows and want a second monitor to increase your productivity. If you don't have a second monitor handy you can use your laptop or tablet screen. And even as a wireless screen.
The ability to turn your laptop screen into a second, wireless display was previously featured in the article Use a laptop as a second screen, where we presented various technical solutions.
Today we will do an extensive analysis and presentation of Windows Miracast's native feature, that is, "View to this computer” which is available for free in Windows 10 and 11 settings.
What you will need
To take advantage of this trick, you'll need two Windows 10 or 11 machines that support the Miracast video streaming standard.
You'll also need both machines to have a Wi-Fi dongle for Miracast to work. Laptops and tablets certainly have Wi-Fi, but a desktop computer may not. The issue is easily and cheaply solved by buying a USB adapter for Wi-Fi and Bluetooth (two in one) at a cost of around eight euros.
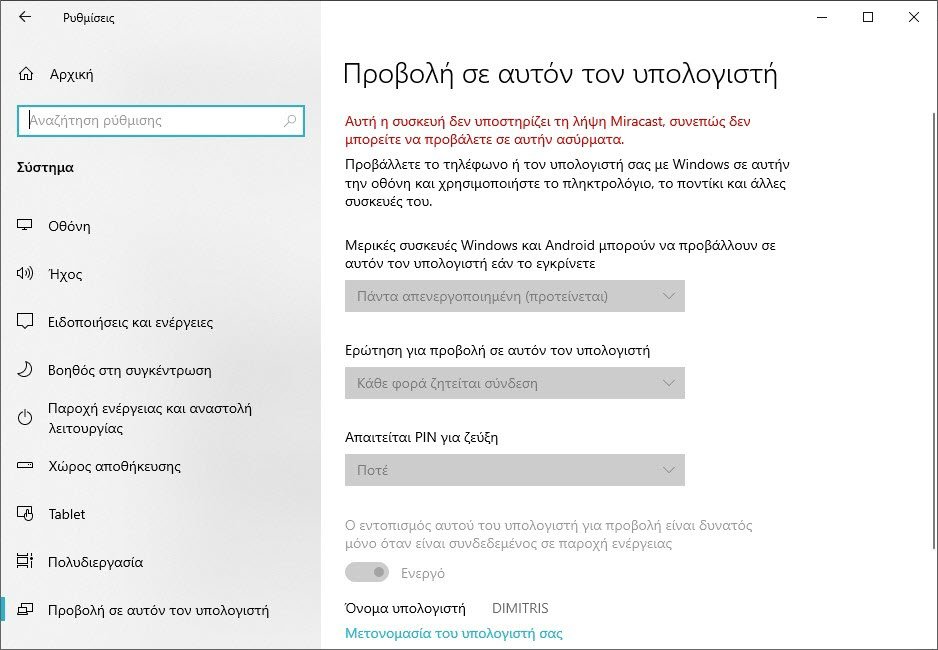
To make sure all your Windows machines support Miracast, go to Settings > System > Display on this PC. If the settings menu says “This device does not support Miracast reception”, then your machine probably does not have a Wi-Fi adapter, or if it does, it is disabled. Buy one as we mention above.
When you plug in a USB Adapter for Wi-Fi and turn it on (Settings > Network & Internet > Wi-Fi), you'll see this menu change automatically
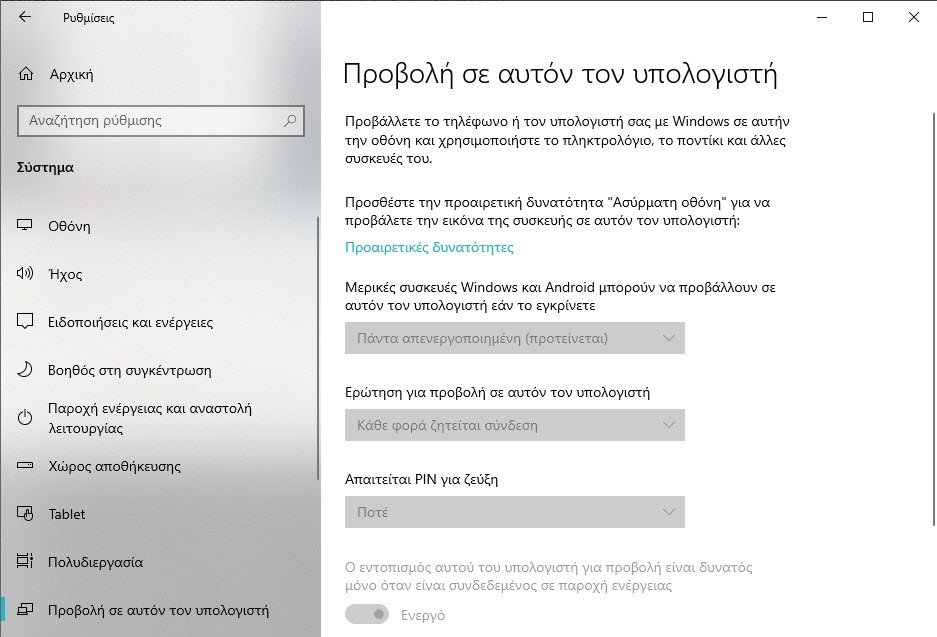
If windows in this menu is not enabled, chances are you haven't installed the Windows Wireless Display feature yet. You will need to click on “Optional Features”, then click on “Add Feature”, there select “Wireless Display” and click on “Install
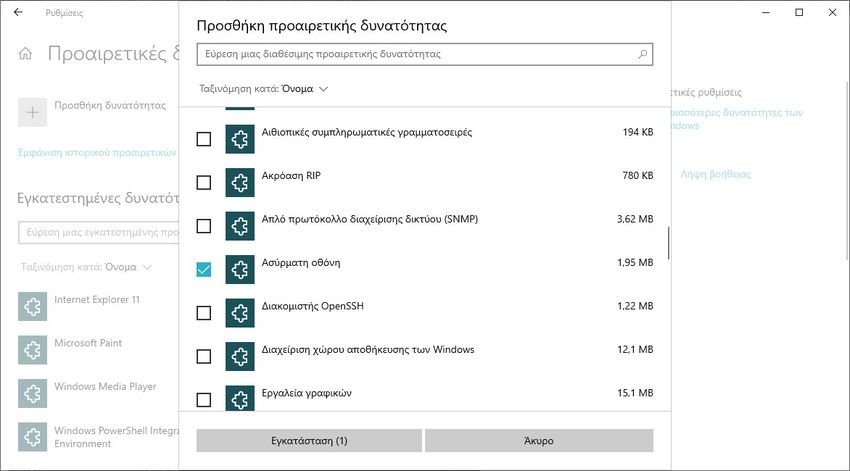
After the end of the installation the menu will be activated, as in the image below.
Setting up your second screen computer
Before you can connect the two Windows machines, you need to enable the connection between the two machines.
On the computer you want to use as a wireless display (which we'll call the “second display computer” for this guide), go to “View on this computer” in the settings, with the steps above.
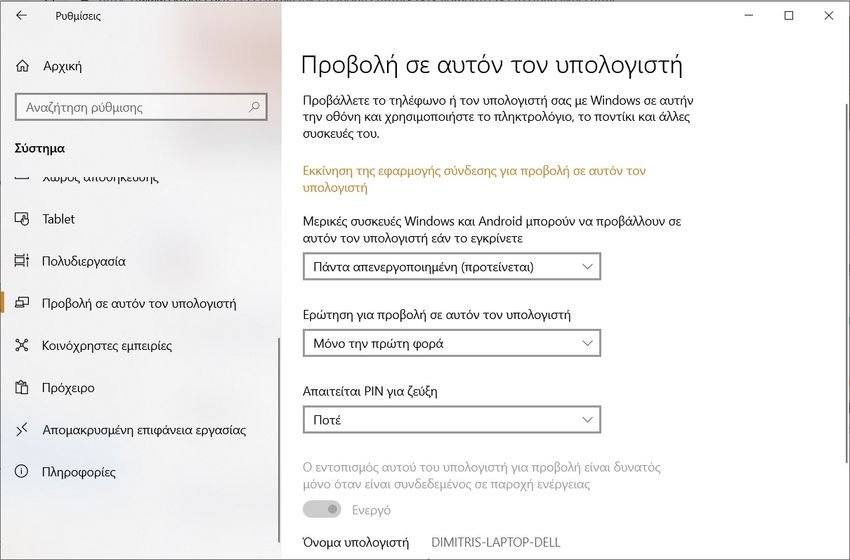
There in the first drop-down menu, you need to select “Available everywhere” or “Available everywhere on secure networks». The second option means that strangers won't be able to accidentally project their screen to yours on a public Wi-Fi network.
In the second drop-down menu, you can control whether Windows will notify you every time a device tries to view to this computer, or only the first time a new device connects. Select "Only for the first time» if you will be using this machine as a second monitor frequently.
Activate the option “A PIN is required to pair” if you are using the machine in a crowded or unsafe area. And the last option allows you to prevent viewing when the laptop is not plugged in. Screen view can consume a lot of battery.
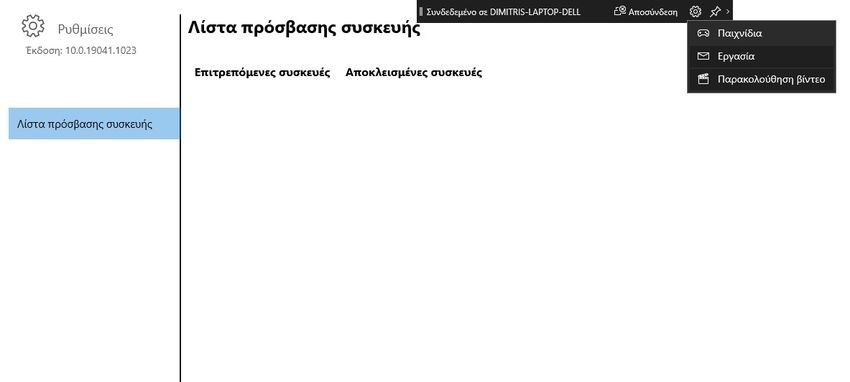
Note the computer name at the bottom of the screen. (It is “DIMITRIS-LAPTOP-DELL” in the screenshot above.)
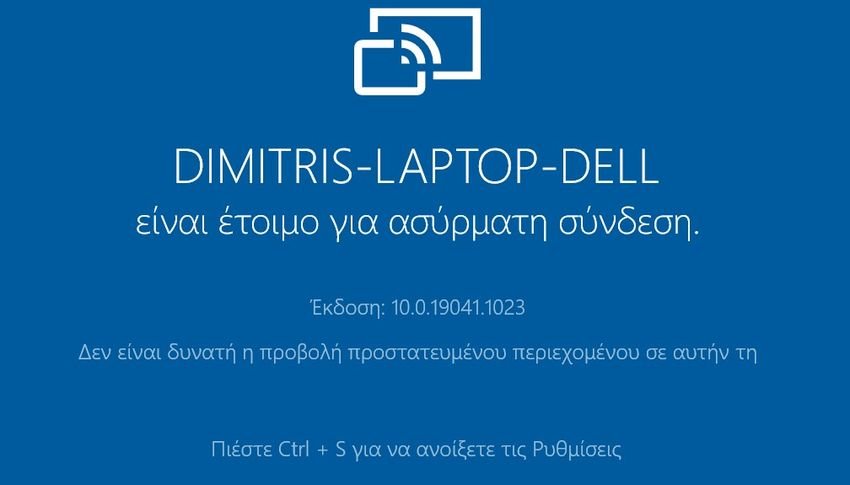
Finally click on “Launch the connector to view on this computer". Its screen will change to blue indicating that this computer is ready to connect.
Now go to the main computer—the one you want to use as the host computer for the wireless display.
Create the connection
With the second screen computer ready, you can now view your screen from the main computer.
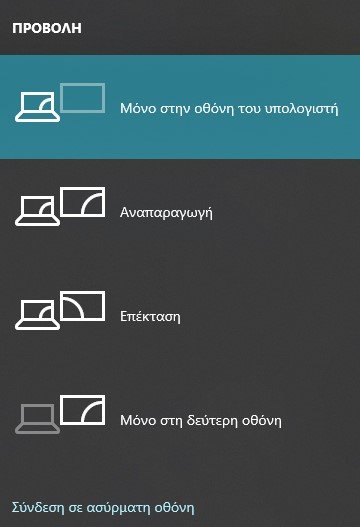
On your main computer's keyboard, press the Windows+P keys at the same time to open the VIEW menu. On a touchscreen, swipe in from the left, then tap View at the bottom of the Action Center menu.
In the “View” menu, click or tap the “Connect to a wireless display” link.
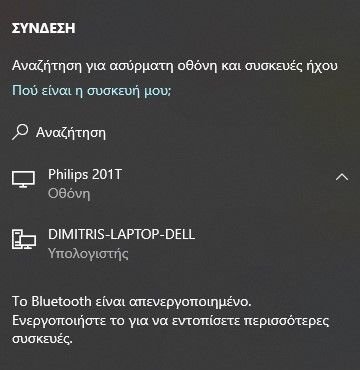
Windows will begin searching for nearby wireless displays at region and after a while, the second screen machine you set up above will appear in the list. Click on it.
The second screen machine will display a screen that says “[The host] is about to connect”. If you've set up a PIN or a permission request in your second display PC setup, you'll need to verify the connection here. If not you won't see anything and just make the connection.
By default the secondary monitor will simply mirror what is on your main computer monitor. To modify this and use the secondary computer as a full extended display, proceed to the step below.
Customize your screen
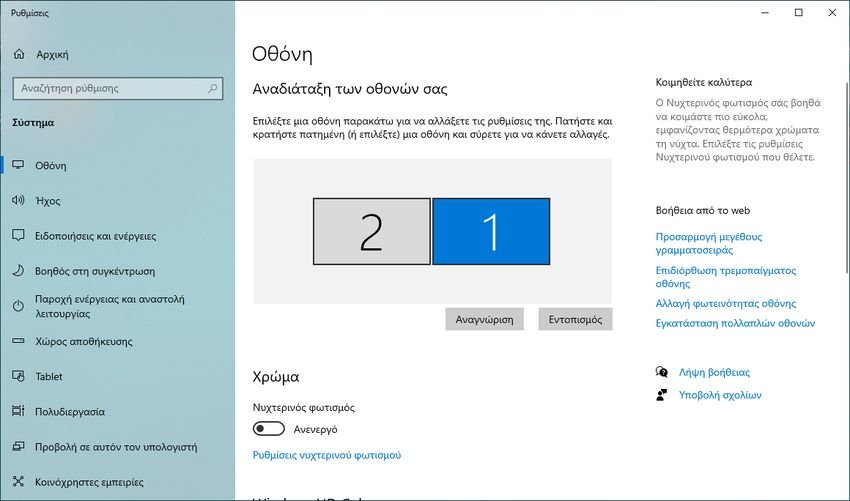
On your main computer, navigate to Settings > System > Display. In this menu you can treat the computer of the second monitor like any standard monitor. For optimal screen usage, open the “Multiple Screens” drop-down menu, then select the “Extending these screens". Click 'Save changes' on the prenotice that appears.
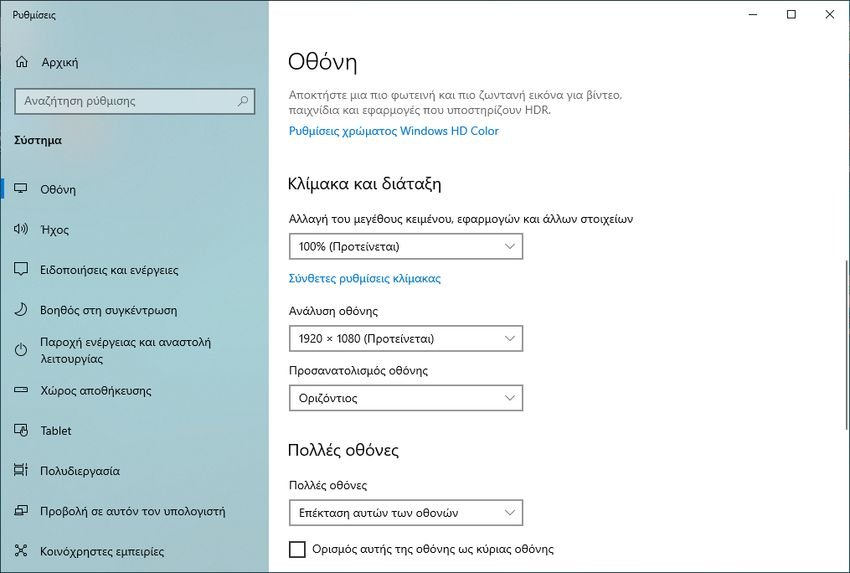
Now your desktop space extends to the monitors of both your primary computer and your second monitor computer. You can run separate programs on the second screen and the main screen at the same time.
If you have different resolutions on the two monitors you will see a strange phenomenon where a window changes resolution when you move it from one monitor to the other. It's a bit tiring on the eye so better make sure you have the same screen resolution everywhere.
By default, the second monitor is to the right of the main computer. If this doesn't match the physical configuration of your screens, you can click and drag the screens to make them look opposite.
And of course, the computer with the second display still runs its own instance of Windows beneath the projected desktop. You can see it by pressing Alt+Tab (or the Win key) or if you have a touch screen by swiping in from the left edge of the touch screen. The screen displayed by the main computer is a window labeled “Connect”.
You won't be able to use the mouse, keyboard, or touch screen on the second display computer to control the primary computer unless you open the Action Center (Windows + A or swipe from the right) and click the “ Allow entry”.

In addition, you have a notification of the connection on the main computer as well, with a small bar on the screen as well as with an icon on the taskbar that if you click on it you will see the following:
To stop using the second display PC as a wireless display, press Windows + P or open the Action Center and press View. Click or tap Sign Out at the top of the menu. Your wireless display will also stop working if this computer shuts down.
You can also log out from the main computer by clicking “Logout” (see image above).
