
Η creation bootable USB from ISO on Linux systems, can be a headache especially for new users of the platform. Although there are applications with a graphical interface (preferred by those who are used to Windows environments) there are some images that will give you problems.
For example Ubuntu's Start Up Disk Creator application, although it allows you to create a bootable USB from .iso, does not accept ISO archives other distributions except from Ubuntu. Next example, openSUSE. Trying to create a bootable USB from an .iso using Ubuntu's Disks application will probably frustrate you. With the Unetbootin application, although the chances of success are higher (in terms of openSUSE and other operating systems) there are times when it will not meet your expectations.
For the above reasons, we will show how you can create a bootable USB from .iso using your operating system terminal,
You will need the .iso image, the terminal a USB and some commands.
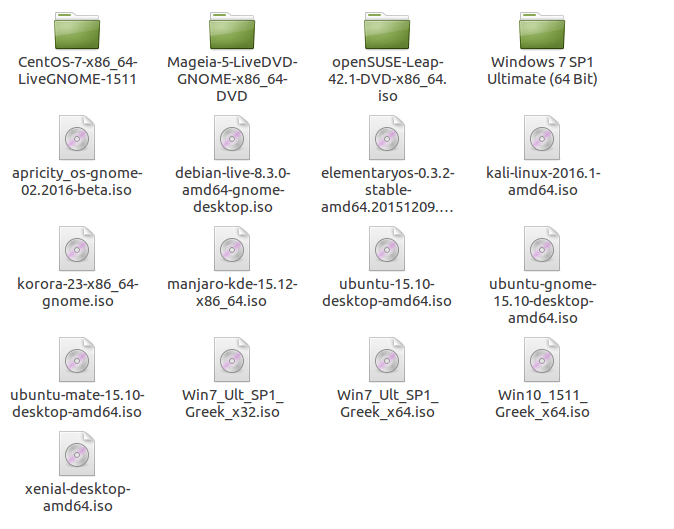
Download the operating system you are interested in (no need to download that you find in front of you):
Plug the USB into the port and go find it on the terminal:
Open a terminal and type
sudo fdisk-l
The command will list your disks. We run the command so as not to format a wrong disk and we run in general…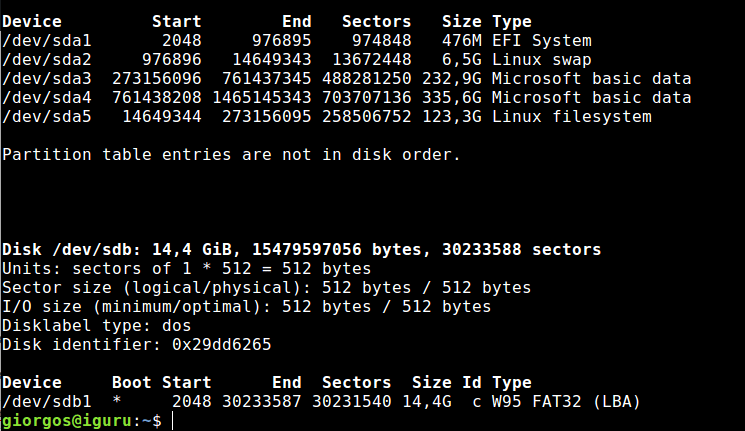
The disk (USB) we're looking for is sdb as you see it from size (14,4 GB).
With the following command we will format it to FAT32
sudo mkfs.vfat -I / dev / sdb

When data is deleted from USB, we can proceed with writing iso to create a bootable USB that works.
Open the folder that contains the iso you are interested in. Right-click and select "Open in Terminal" or Open in Terminal.
When your terminal opens, type the following command:
sudo dd if = elementaryos-0.3.2-stable-amd64.20151209.iso of = / dev / sdb
In our case, we chose to create a bootable USB with elementaryos .iso file. You can change the name of the file with the iSO you want. You also need to change the letters or letter of sdb depending on where your drive is located, ie your USB.
An important detail to pay attention to is the iSO recording point. From the beginning though at the end of the second image it can be seen that the sdb with what it contains is mounted on sdb1, we deleted all the partitions and instructed it to go to ISO on the sdb without the 1.
After the command, sit back and wait. It will take a long time, depending on the size of the iSO. When the registration is over, the terminal will give you the necessary information:

