
Did you know that you can use the built-in DISM tool on Windows machines to extreatment the drivers?
Windows comes with a set of drivers so that most devices work properly on your operating system. In addition to the general drivers that Windows has, the manufacturers of the various components also create drivers for their devices that users can install.
These drivers, i.e. from third-party manufacturers, usually in terms of general Windows add increased hardware functionality or may even be required for a device on a Windows computer.
If you plan to switch to a new Windows computer or configure the current one from scratch, you may be interested in having these custom drivers installed on your hands to reinstall them. It is much easier to get them from the existing operating system than to search them again on the internet or to find out afterwards that the accompanying graphics card cd (for example) is no longer readable.
Advice : You can list all third-party Windows drivers installed using free DriverView tool. Nir Sofer has another tool, the InstalledDriversList, which you can also use. There is also Driver Store Explorer that you can use.
How to export drivers using DISM
1. Make it click at the Start.
2. Type cmd.exe
3. Right-click cmd.exe and select Run as administrator.
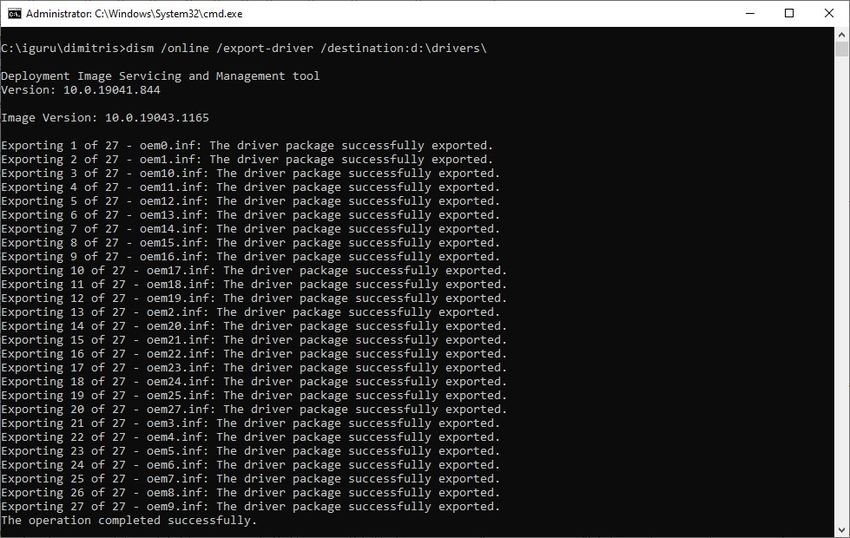
4. Execute the command dism /online /export-driver /destination:path
Replace the path with the path in which you want the exported drivers to be saved, e.g. d: \ drivers \ (watch out for slash \ and back slash /)
Note that the folder must exist, otherwise an error and no export is displayed.
The command exports all third-party drivers to the destination folder. The process can take up to a minute to complete. The exported drivers are placed in the specified folder. Each driver is placed in a separate folder.
Identification can be difficult, as folder names may not reveal much about the driver. You can open the .inf file in a folder in a simple word processor to search for additional information.
Import the exported drivers
The import can be done for individual drivers or, using a special command, for all drivers.
You can right-click an .inf file and then click “Install” to install the driver. Another option you have is to open the Windows Device Manager (device manager) to use the update driver button. Using it, you have the ability to select a driver from the local system. Just select the driver you want and wait for the process to complete.
Alternatively you can import all the drivers at the same time with the command line pnputil.exe tool. Run the following command in a command prompt window with administrator privileges:
pnputil.exe /add-driver path\*.inf /subdirs /install
Replace the path with the full path of the folder you have the drivers (d: \ drivers \ for our example). Again, note the differences between \ and /.
