
If your phone, tablet or laptop won't charge there may be a problem with the charging port. See how you can diagnose and fix the problem.
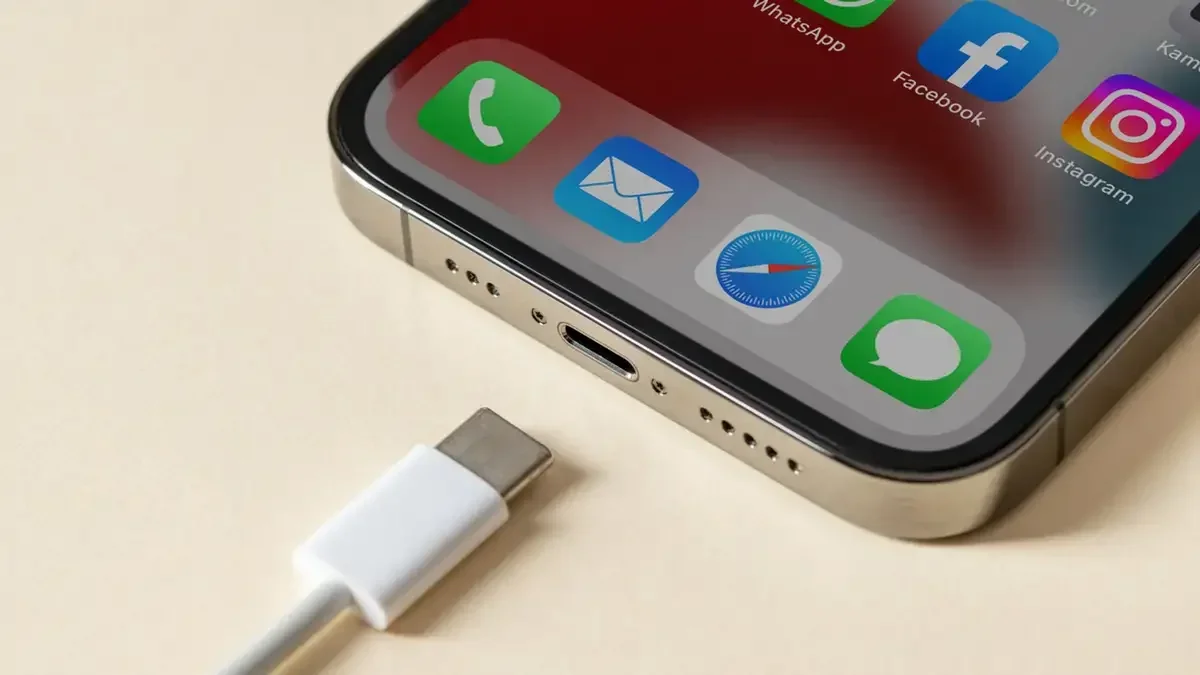
A broken charging port is one of the most difficult failures. It is essentially a hardware failure and requires the intervention of a professional. But even until its complete destruction door charging there are gradations of damage, some of which can be repaired without replacement and others not.
Depending on the severity of the damage, you can try different repair techniques before you decide to "take it to the handyman". Let's see what you can do, but first let's see why the charging port can break and how to avoid damaging it.
Causes of troublemodeof the charging port
There are several reasons that each one alone or all together can destroy the port. Determining the causes of the damage will help you understand where you went wrong and determine your best course of action.
Many things can damage a charger port, including:
-
Water damage: If your phone gets wet, the water can corrode and damage the charging port.
-
Dust and debris: Over time, dust and debris can accumulate on the charging port and eventually cause damage.
-
Wear: Regular and misuse of your phone's charging port can eventually lead to wear and tear that destroys the port.
-
Loose connection: If you do not connect the charging port to the charger properly, it may eventually be damaged.
-
Improper charging: Using an incompatible charger may damage the charging port.
Repair: Tools you'll need

To fix your phone's broken charging port, you'll need a few essential tools to successfully complete each repair stage. We list them according to the difficulty of these stages.
-
A new charger with cable: To determine if the charger or cable is the problem, not the charging port.
-
A bottle of compressed air: To blow the port.
-
A toothbrush: For cleaning purposes.
-
Screwdriver: To remove any screws holding the charger port in place or the board.
-
Welding gun: To remove the adhesives holding the charging port and attach the new one.
And now let's see the stages of repair. Not all people can have technical skills, so judge for yourself how far you can go. The following steps start at an easy level of difficulty and get harder as they progress.
Fix 1: Try a different charging cable
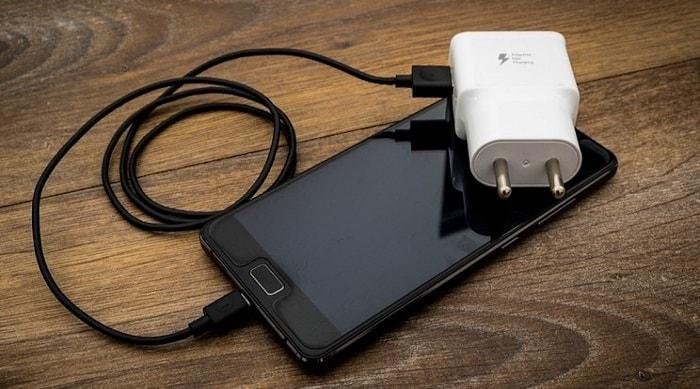
First try charging your device with another charger and cable and from another outlet, as the problem may not be the port, but the charger or the charger cable or the outlet in your home.
The cable, because it is more vulnerable, has the greatest chance of not making good contact and one charging and one not. But personally, I've had a problem with the usual outlet that I've used for so many years no longer having power and looking for a bunch of reasons when the outlet just didn't work.
Whatever the case may be, trying a different cable – charger – outlet can help you rule out this accessory as defective or not. If changing the charger doesn't fix the problem, it's time to move on to the next step.
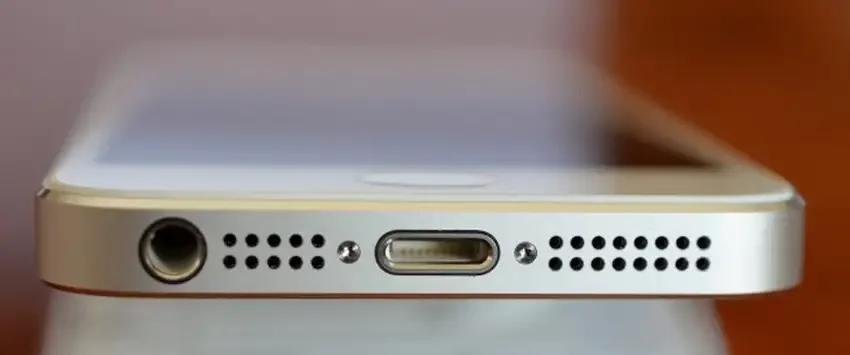
Fix 2: Clean the charging port
Start by checking for any debris or buildup that could be blocking the connection between the charging port and the plug, as this can affect charging.
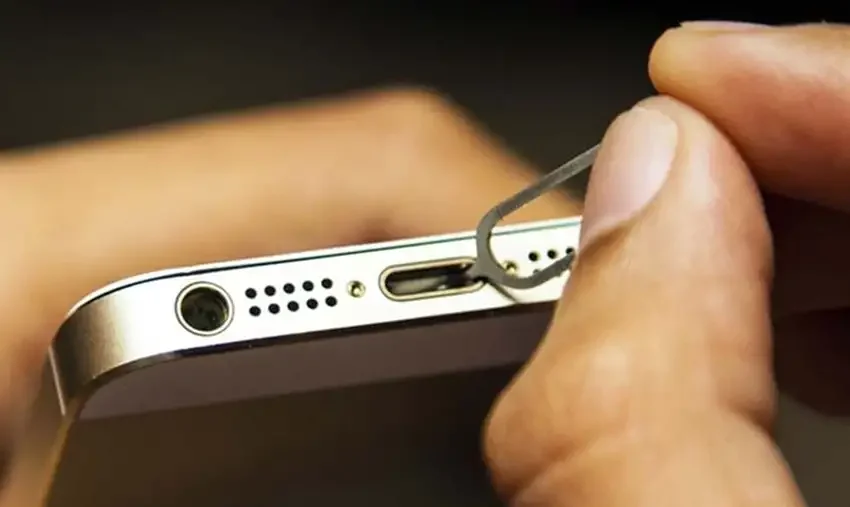
After the visual inspection, spray some compressed air to blow away any accumulated dust and dirt. You can also use a sharp object like tweezers or a needle to clean out any stubborn debris stuck to it.
Be careful not to use a toothpick to remove the debris, as it may break into the port and cause more damage.
If it still doesn't work then the problem is the charger port itself and you will need to open the device and access it.
Repair 3. Opening the device
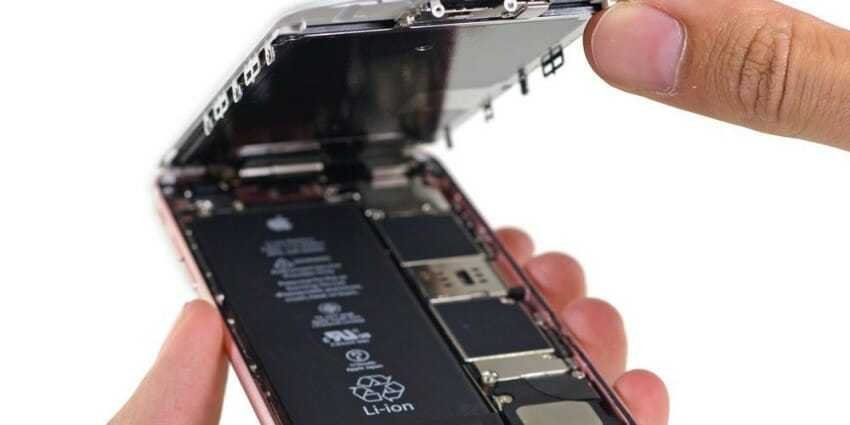
If the phone charger port is not working, start by removing the back cover to reveal the internal area of your phone or laptop. How you open your device depends on "how tight your hands are".
Modern cell phones require hot air (hot air gun, hair dryer won't work), a semi-hard and thin gel (like a musical instrument nib) and a suction cup.
Tablets and laptops only require very fine Phillips screwdrivers, although you may occasionally come across allen or torx (star) screws.
Before attempting anything, you'd do well to first watch a video of disassembling your device. There are a lot of related videos on the internet and in fact for every kind of device.
Be sure to watch the whole thing as the proper disassembly is hidden in the details. Every detail plays a role, such as from which angle you will start heating the mobile phone or how you will hold the back of the laptop, etc.
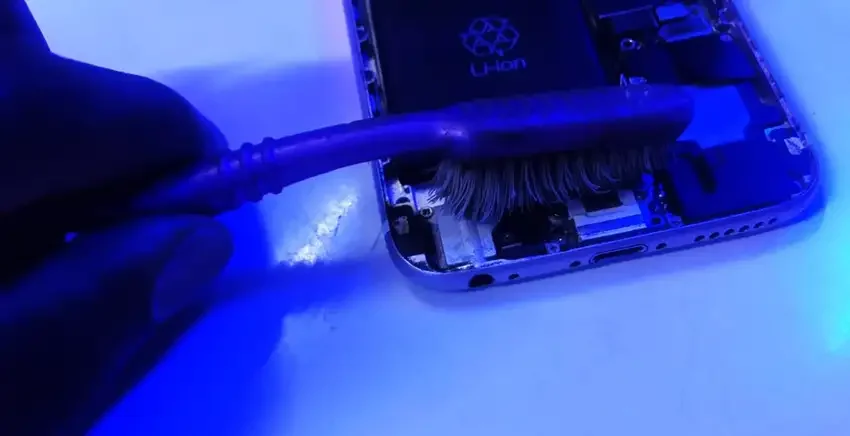
Once you have access to the back of your device, you can use a toothbrush to clean any debris in the charging port that didn't come out with step 2.
Repair 4: Access and change the port
Next, see if all the wires are in their correct positions. If everything is fine, the problem is with the charger port itself and you need to remove and replace it.
Select 1
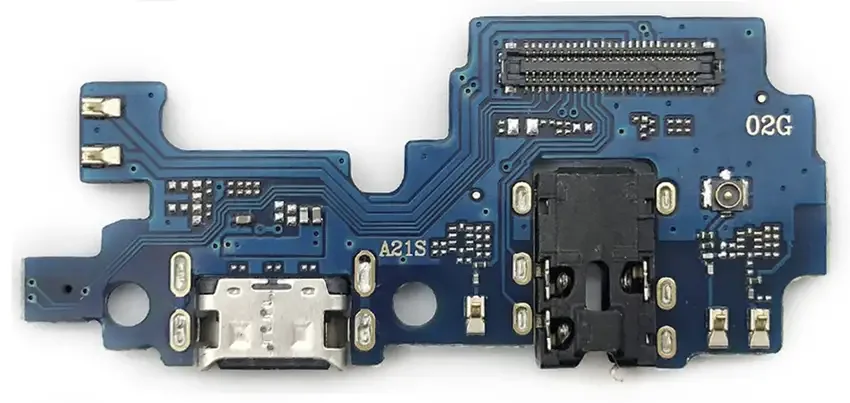
You can change only the port or if it is on a small board, to avoid messing with soldering irons, prefer to change the whole board. It's not very expensive and you don't need to have any skills.
To change the board, first isolate it battery from the device by disconnecting its plug in the cable strip. If you don't all the circuits will have currents and any unfortunate short will burn some part of your device (sorry story).
Then disconnect all the connectors on the charging port board, unscrew the retaining screws, replace the board, screw it in and reconnect all the connectors.
Caution.
All screws should be loosened and tightened with the strength you can muster with just two fingers, not your entire fist.
All plugs should be disconnected and reconnected as forcefully as if you were petting your cat. Especially on reconnection you should press with a finger and gently. If it doesn't connect properly, it's not the power's fault, it's just that the plug isn't properly seated. Trust the curvature of the cable ties and let it go where it needs to go. He was there for several months and he remembers.
Select 2
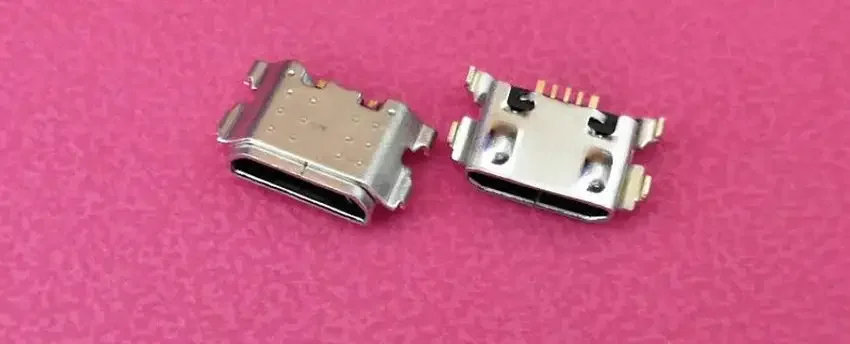
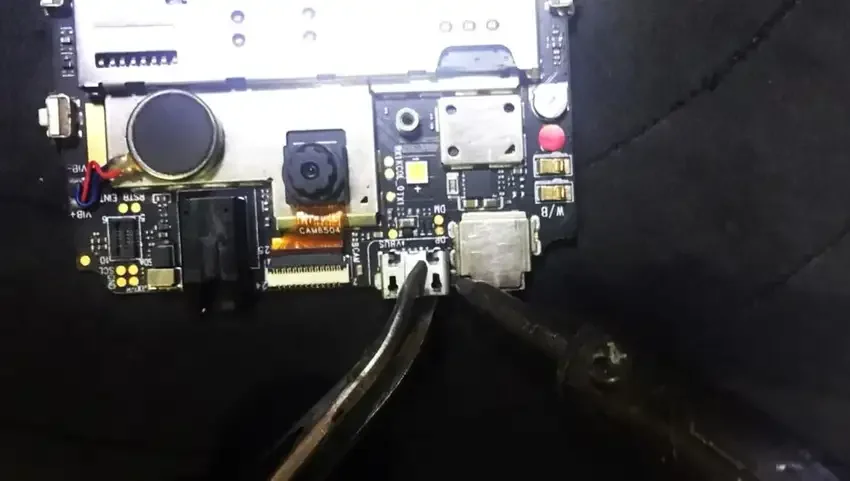
If you are die-hard and only want to change the port, then carefully disconnect any cables connected to the charger port board. Use a soldering iron to remove the old solder on the four corners of the charging port.
You have to do it very precisely and carefully to avoid damaging other parts of your phone. To do it well, place the tip of the soldering iron over each of the original solder joints and hold for several seconds until the solder starts to runny.
Then use the tip of a pair of pliers or similar tool to gently remove the charging port.
The above step should work as well for tablets. Accessing a laptop's charger port can be somewhat of a challenge. However, changing it is easier than on a phone.
First, you need to make sure you turn off your computer before making any changes. Locate the screws holding the outer casing and remove them. Be sure to note exactly where each screw came from so you can quickly replace it later when you're done with the repair work.
Next, look for the electronic components near the area where the charger port connects to your laptop and carefully disconnect them. After removing these parts, proceed to disconnect the charging port from your computer, being careful not to break any cables or other fragile parts in the process.
Fix 5: Try to fix the charging port before replacing it
Once you have the port in your hands, you can try to check if there is anything that looks broken and try to fix it. For example, as shown below, you can try to clamp the metal plates around the charging port.
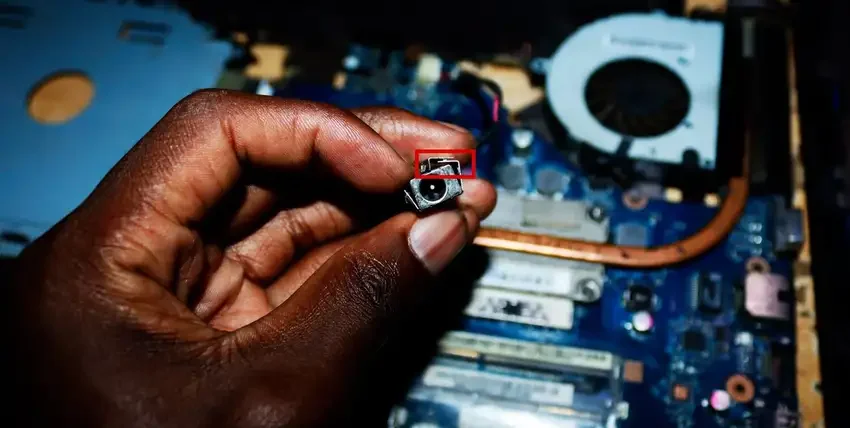
Also, if you see some abnormalities, such as the middle part being bent or damaged, you can try to fix it. After trying the above, you can plug it back in and see if there are any signs that it is charging. If there are none, you can then proceed with the replacement.
After the replacement, it is important to clean your computer using a can of compressed air to ensure that no debris remains inside your laptop.
Then carefully reconnect any cables attached to the old charger port, use the screwdriver to tighten the screws, and shut down your laptop.
If the above steps do not work, you should take your device to a professional. But if the damage is severe, it may be time for an upgrade.
Fix 6: Use a wireless charger
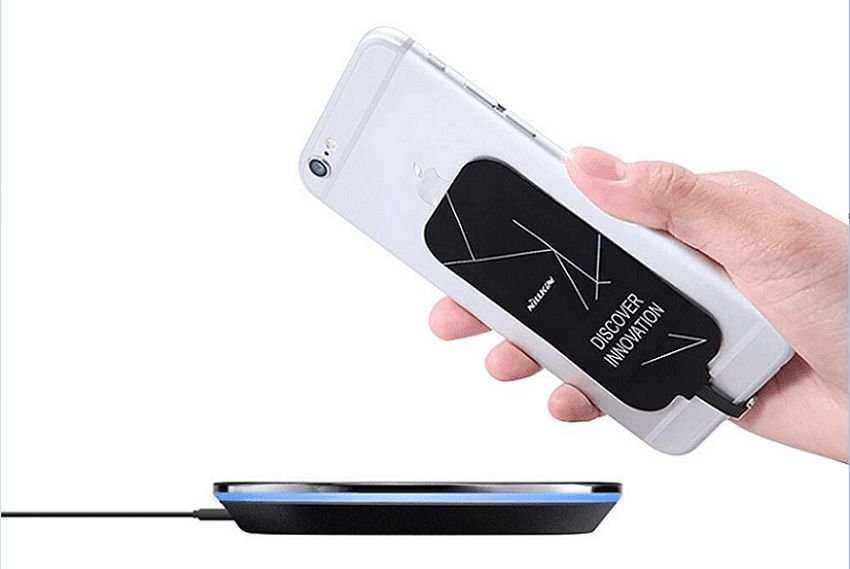
If the damage is beyond repair and you don't have the money to buy a new device, you should consider using a wireless charger.
A wireless charger uses electromagnetic induction technology, allowing you to place your phone directly on an induction pad without having to connect any cables.
Not only does this eliminate the hassle and mess of cables, it also offers faster charging speeds so you don't have to spend as much time waiting for your phone to power up. But you will need to connect the charging coil to the port socket.
Since you've made it this far, it means you know how to use a soldering iron, so you'll be able to solder the coil as well and place it on the back of your device. Either from the inside, if there is space, or from the outside.
Tips to avoid a broken charger port

Here are some tips on how to avoid damaging your device's charging port.
-
It is best to avoid using your phone while charging as it may press the charger port and cause it to break.
-
Avoid using a damaged or frayed charger cable as it may damage the port.
-
Be careful when inserting or removing the charger from the port. Also, don't force it in or out, as this can break the connectors inside the port.
-
Keep the port clean and free of debris. Dust and dirt can accumulate over time and cause charging problems.
-
Do not bend or twist the cable too much as this may damage it.
-
Avoid using third-party chargers if possible. These may not be compatible with your phone and may damage the port. If you must use a third-party charger, make sure it's from a reputable source.
These were the steps to follow to diagnose what's wrong with the charging port, as well as some methods to fix it, whether it's a phone, tablet or laptop.
