
In previous articles in this series, we created a forensic image of the hard drive and its μνήμηof the attacker's RAM and used Autopsy to recover deleted files from the image.

In this guide, we will use Autopsy to do file analysis. In other words, we will use Autopsy to find keywords, file types, metadata etc. which may be useful in finding evidence to support our case.
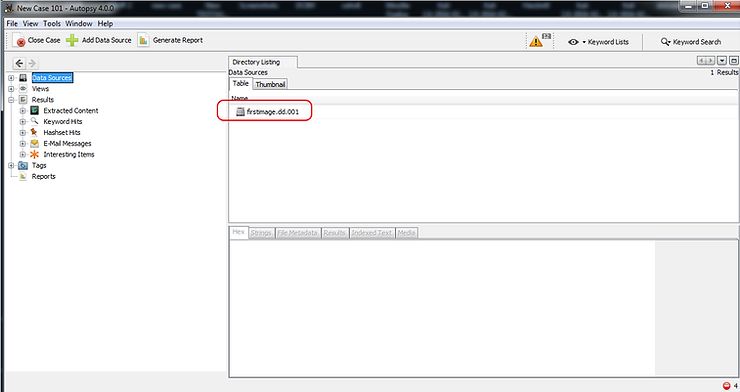
Step #1 Open Autopsy
Open Autopsy and navigate to the file firstimage.dd.001.
Autopsy will immediately begin preparing the image for analysis.
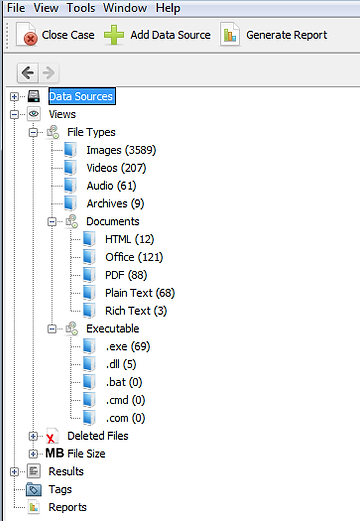
When it finishes analyzing it, it will categorize each file by type. As you can see in the screenshot below, Autopsy has categorized every file type, including images, videos, audio, documents, executables, and deleted files.
Step #2 Search for keywords
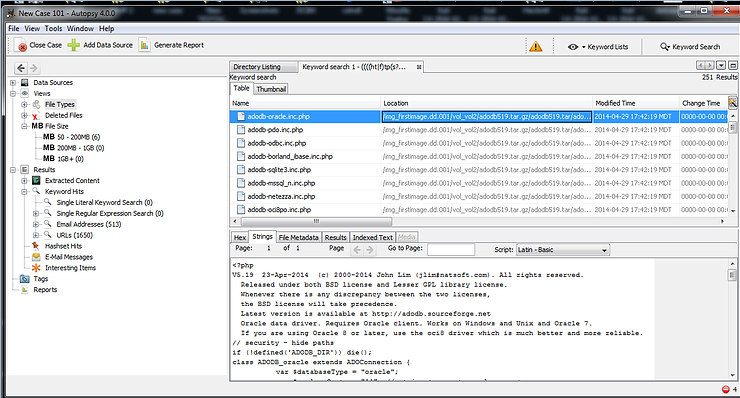
Suppose we are searching for files containing the word-key "forensics". We can type this word in the window Search in the upper right part of our screen and click on the button Search .
Autopsy will now start searching each file for that keyword. As you can imagine, in a real search this keyword would likely be search specific, such as “ransom”, “blackmail”, “sex”, etc.

When Autopsy completes its search, it will display every file containing that keyword in the main window “Panel". We can then click on any of these files to examine it further.

If we then click on the “Indexed Text” in the lower right window, it will show us every instance of that keyword and highlight it for us.
Step #3 Specialized types search
Autopsy allows us to do very specialized investigations that may be key to our investigation. These may include URLs, email addresses, phone numbers or IP addresses.
Click on eye near the top right of this screen. A popup like the one below should open. Here we can search for,
1. phone numbers
2. IP addresses
3. Email addresses
4. URL's
Let's see if we can find any URLs in these files that might be useful in identifying what the suspect was doing before his system was seized.
In the popup window click on control box next to the URLs. It will complete the expression regex which it uses to find URLs.

Then click the button Search and Autopsy will start searching each file for that text. The regular expression it searches for appears in the right pane.
Regular expression searches are very CPU intensive and slow, so please be patient.
When it finishes searching, it will display the results as below.
As you can see above, Autopsy displays every file in which it found a URL.
Additionally, we can use this method to find email addresses as well, but when Autopsy did its initial analysis, it categorized all the email addresses it found in its window Exploration.
Conclusion
Autopsy is a powerful tool for performing forensic analysis. Among the many things it can do are deleted file analysis, file type analysis, keyword analysis, and finding key objects such as URLs, email addresses, IP addresses, and phone numbers.
Additionally, we can create custom expressions to search for almost any text imaginable.
