
In today's infosec guide, we'll see how easy it is to build our own Penetration Testing Box with a Raspberry Pi, using an open source operating system and some free tools.
Finally, the total cost that we will need will not exceed 150 euros.
What we will need
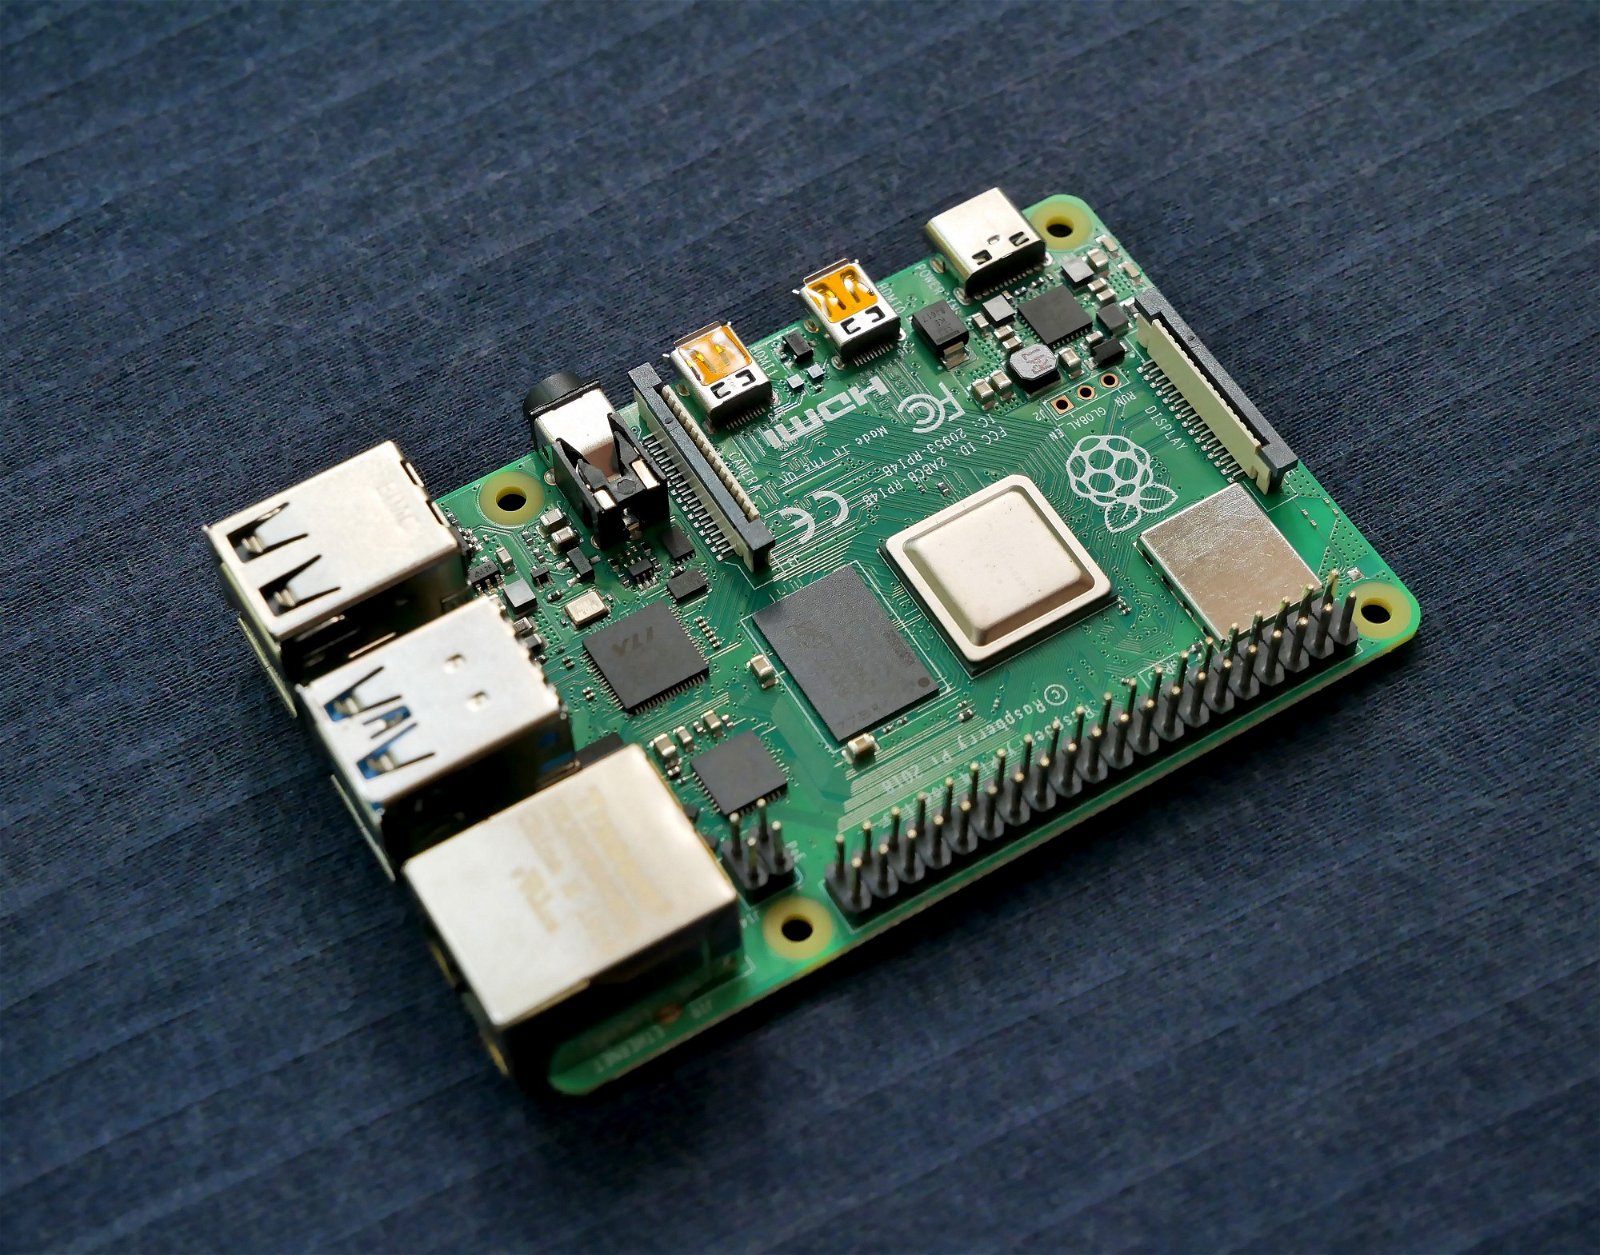
- Raspberry Pi 4 Model B with 4GB RAM (Basic Kit) - $ 70
- SanDisk 64GB Extreme microSDXC UHS-I Memory Card - $ 15
- Raspberry Pi 4 Case with Fan - $ 12
- Wireless WiFi USB Dongle Stick Adapter RT5370 150Mbps - $ 9
- Crazyradio PA - $ 35
Functional system
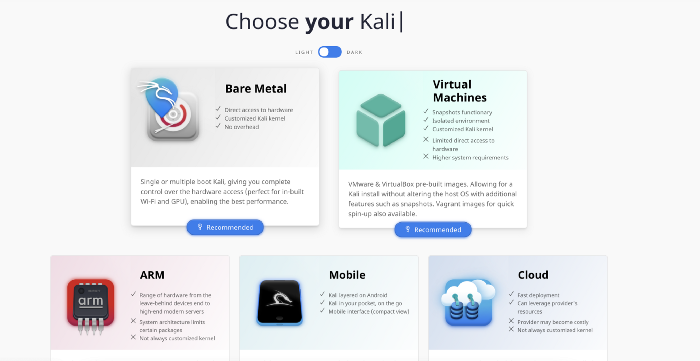
We can try any Linux distribution we want, as the tools can be installed on all distributions, so we will install the Kali distribution on our Raspberry, which is the most common Hacking Distro.
Kali has a wide range of tools for penetration testing, malware analysis, IoT hacking, etc. But if we are not covered by the tools that are already installed, we can add tools of our choice by downloading them from their sources.
So we download Kali Linux from the official one σελίδα their.
Network Card
The Raspberry Pi 4 already has a built-in wireless network card (2,4 GHz and 5,0 GHz IEEE 802.11ac) and supports the packet injection but also monitor mode (not valid for Raspberry Pi 3). So you will have the option to use either the built-in wireless (wlan0) or some other wireless network adapter that can have a longer range if you want to perform wireless attacks more effectively.
Below I will suggest you my best wireless network cards:
- EASTECH FX-5370TH 802.11bgn 150M Antenna
- ALFA AWUS036NHA
- ALFA AWUS036NH
- TP-LINK TL-WN722N (v1)
Launch Kali Linux on Raspberry Pi 4
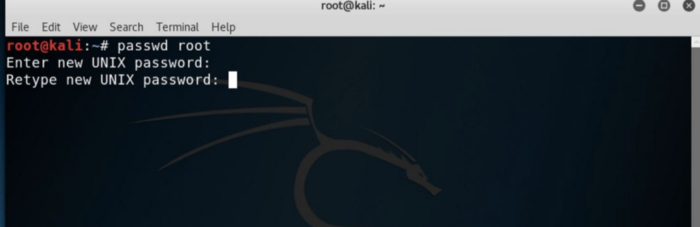
To login to the desktop of kali we will be asked for a username and password which is the word by factory kali both fields.
Next, we will need to upgrade our operating system. Now you will need to connect your Pi to the internet via an Ethernet cable or by clicking on the Wi-Fi icon in the upper right corner and selecting a network with internet access.
Use the following commands to update your Raspberry pi:
apt-get update
apt-get upgrade
apt-get dist-upgrade
The first time the process will take about 15-20 minutes with a good internet connection.
Once the update is complete, we will be ready to start configuring our Raspberry Pi.
Change the SSH keys
In our terminal window, we will change our SSH keys and reconfigure our server.
cd / etc / ssh /
dpkg-reconfigure openssh-server
These commands should generate new SSH keys. We enable SSH runlevels to start the service at startup, so we can connect remotely to our machine.
update-rc.d -f ssh remove
update-rc.d -f ssh defaults
nano / etc / ssh / sshd_config
In the nano window that opens, we need to make sure that "PermitRootLogin" is not active.
Press CTRL + x to save.
Then we type sudo service ssh restart to implement these changes. Finally, we give the order update-rc.d -f ssh enable 2 3 4 5 to enable SSH at startup with the settings we have applied.
Activate the automatic connection
If you want to access the Raspberry pi without having to connect it to a monitor, follow these steps:
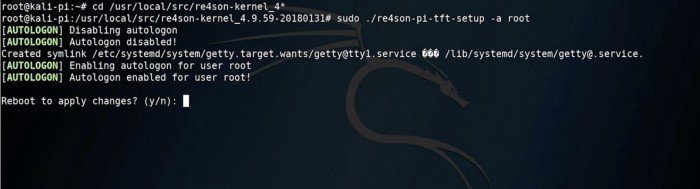
cd / usr / local / src / re4son-kernel_4 *
./re4son-pi-tft-setup -a root
We should see the messages in our terminal, as below. To apply the changes and start the Pi we have configured, type Y for confirmation and restart.
After the reboot, we are ready to run our Raspberry pi and carry out any attack we want.
In conclusion we showed how we could configure a penetration testing box at a fairly low cost, the settings we will need to make our machine work properly, as well as everything we need to get.
Happy Hacking!
