
See how to set Windows 10/11 to automatically switch when it finds a more powerful one signal Wi-Fi access.

Being connected to the best Wi-Fi signal helps you to always have a reliable and strong Wi-Fi connection.
However, sometimes devices can get stuck on a weaker Wi-Fi signal. Fortunately, for Windows 10 and Windows 11 there is a built-in feature that automatically switches to the strongest available Wi-Fi signal.
See how.
Roaming Aggressiveness feature in Windows 10/11

Whether you have Windows 10 or Windows 11, you should enable Roaming Aggressiveness to automatically switch to the strongest WiFi in Windows.
This Windows feature can also determine how quickly a device can switch from one WiFi connection to another with a stronger connection. Let's see how you can enable and configure Roaming Aggressiveness.
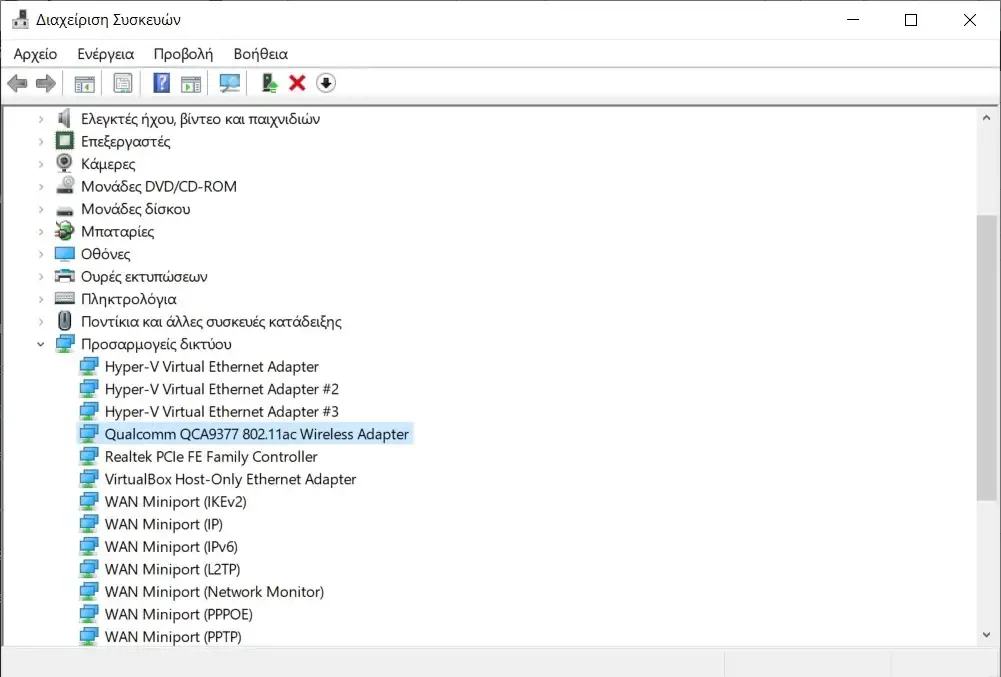
Step 1: Open Device Manager. For this step press the Win + X keys at the same time and select “Device Manager”
Step 2: Locate “Network Adapters” and expand its menu.
Step 3: Select the network card that supports it wireless network (note not the ethernet network but the wireless). In our example it is “Qualcomm QCA9377 802.11ac Wireless Adapter”.
Step 4: Right-click on the network card > Properties > Select the Advanced tab.
Step 5: Select Roaming Aggressiveness and open the drop-down menu to set its value
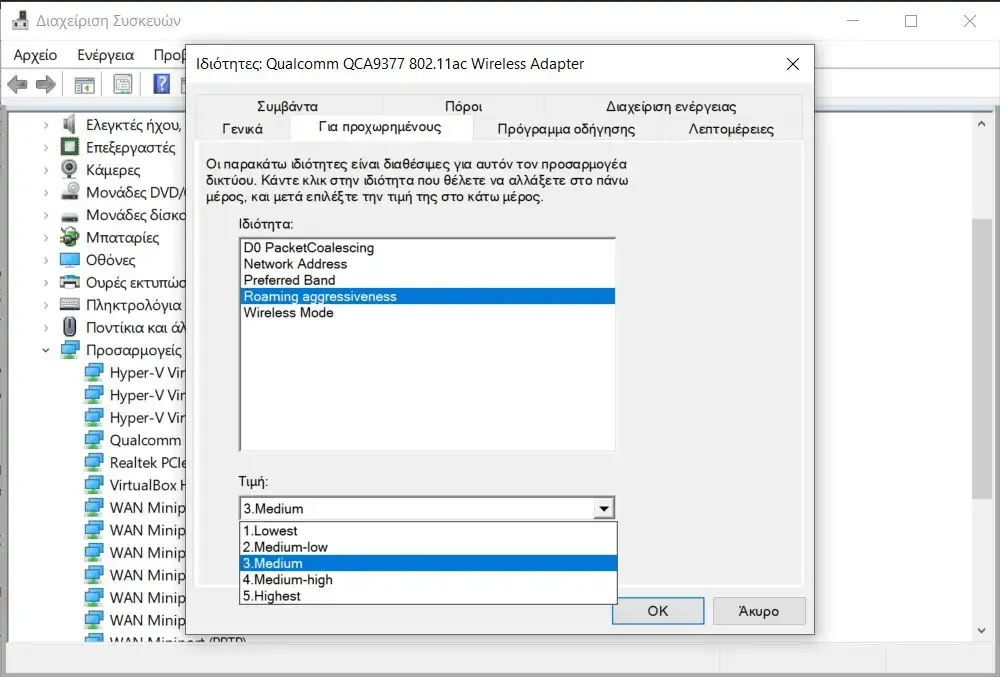
You have 5 options as follows:
- Lowest: Your device will not switch automatically.
- Medium-Low: Auto switching is enabled.
- Medium: It is a balanced setting between switching and performance.
- Medium-high: Switching is more frequent.
- Highest: The device continuously monitors the WiFi quality. If any degradation occurs, it tries to find and roam to a better access point.
Select medium high ή Highest to improve your Wi-Fi performance.
Step 6: After selecting the value press the OK button and you are ready.
Automatic search for stronger WiFi in Windows 10/11

After enabling Roaming Aggressiveness, follow these steps for a Windows 10 or Windows 11 PC:
Step 1: Open the Run window, type ncpa.cpl and press Enter (another way to open Network Connections).
Step 2: Locate the network connection responsible for Wi-Fi, right-click on it and select “Condition” (Status).
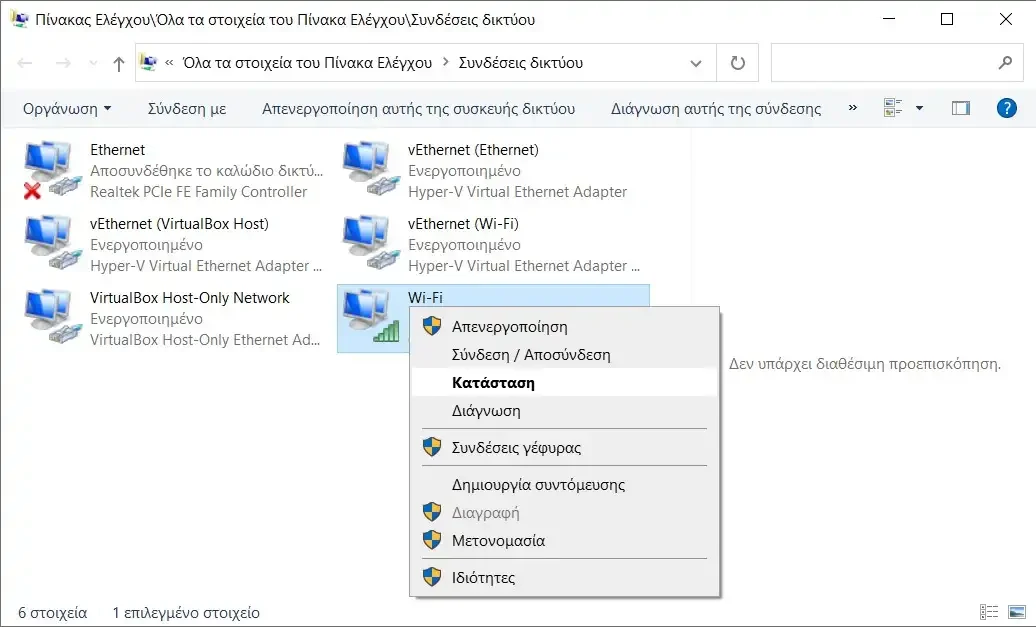
Step 3: Click on "Wireless network properties” (Wireless Properties) .

Step 4: Select the option “Search for other wireless networks when connecting to this network". Click on OK to save the changes.

Ready! You have now successfully enabled and configured the Roaming Aggressiveness feature on your Windows 10/11 device to automatically switch to a stronger WiFi network.

The above does not apply to all network card models.
But it is a good solution. Thanks anyway.