
Do you have any signs that your hdd drive is about to leave you? See how you can clone it to an sdd and save your data before it's too late.
Last week we were horrified to discover that our hdd drive on a laptop started to lag behind the machine, while in task management it showed that it was constantly working at high levels.
The signs were obvious. We counted days or hours before he hit and we lost him for good. Replacing it with an ssd seemed like a good idea, since their prices have dropped a lot and a 1TB ssd now costs around 100 euros.
After the purchase of the ssd we got involved in a fight to clone a dying disk that was crawling. Let's see the steps and how to avoid mistakes and lost hours.
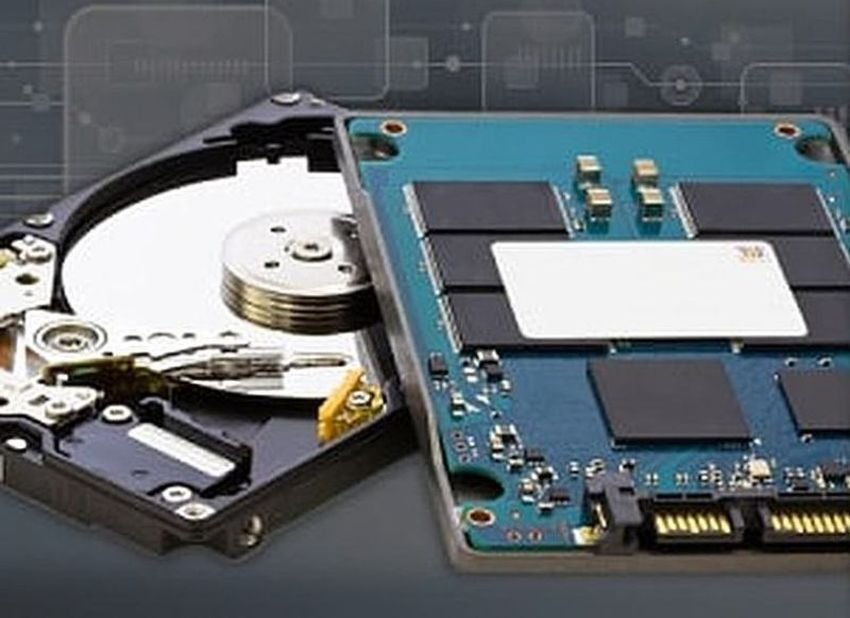
What is disk cloning?

With disk cloning we copy the entire old disk onto a new one. This means we copy the entire installation of our operating system (Windows, Linux etc), the registry, the pagefile, as well as all other programs and files.
And because the word copy in computers it means something lower than cloning, for this process we use the word clone. A 100% exact copy of the original, sometimes with a sector by sector copy transferring even the bad sectors.
This means that after cloning you can restart your machine from your new disk exactly as it was before, without having to format and reinstall.
SSD option
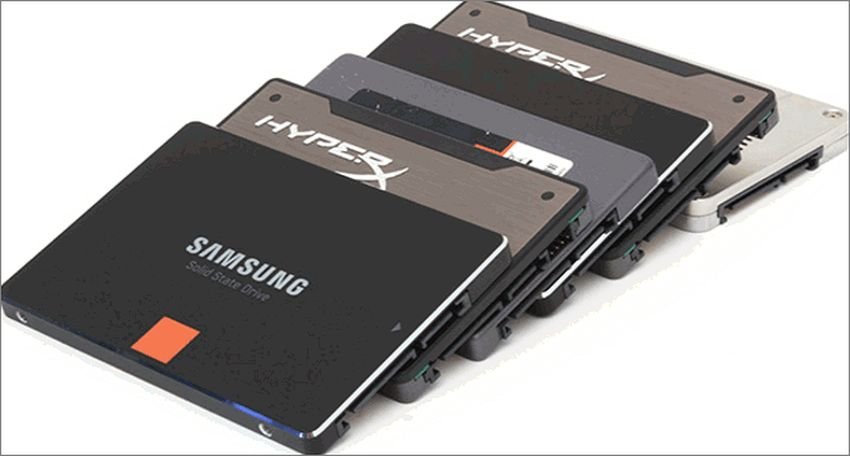
Choosing a new ssd drive after the fall in purchase prices, begins to become a one-way street, as it will give your machine incredible speed. Let the noises from the moving parts of the disk stop first and secondly you will be able to shake the laptop while it works, without being afraid that the plates will be scratched.
This way you will be able to give the machine to your child or your little brother to play games without constantly telling him "be careful, do not shake it" !.
As your ssd drive will host your operating system after its replacement you will see "another machine". It will start in dt time and in general the procedures will be much much faster.
But let's look at the steps to clone an hdd disk to an ssd disk.
Disk cloning. Preparation
To clone your old disk and even what your operating system has you will need another computer! If you have a desktop computer you can open it and connect the two disks internally. Alternatively you can connect one of the two as an external, with a usb case, but the cloning process will take a little longer.
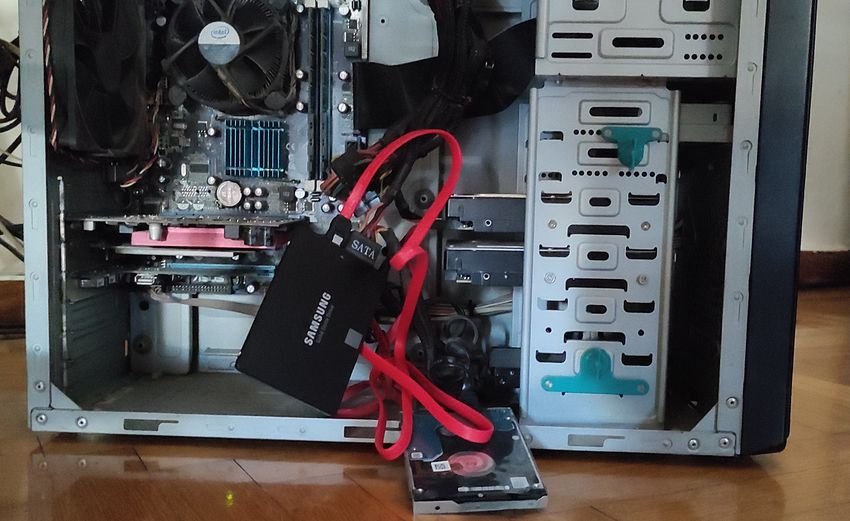
But if you do not have a second machine you can use the laptop with only one drive location, but you will need an external SATA-to-USB adapter, or a USB drive to connect the new drive to your computer.
After connecting the old and the new disk you should know the matching letters of these disks so as not to get confused and copy irrelevant data to a disk you need.
Logically the old disk will be seen by your other computer immediately and will give it a new letter of the English alphabet. For the new disk and for Windows operating system you need to go to "Disk Management" (press Win + X at the same time and then select Disk Management). Alternatively type diskmgmt.msc in the search for the start and run the program that will suggest you.
Once disk management is open, the system will immediately detect how you added a new disk. A new disk recognition process window will open and there you will have to choose the partition style whether it is MBR or GPT.
If its size is less than 2TB, you can choose whatever you want. For compatibility with older Windows you can go to MBR. However, if the disk is 2TB or larger, you should definitely select GPT, otherwise the system will not see its full capacity.
Press OK and the new disc will appear in Disk Manager as unallocated. Click on it, select "New Simple Volume" and then click "Next" until the process is complete. Somewhere in these steps it will suggest a letter for your disc, note it down somewhere.
Arranging the old disk
If the old disk shows signs of destruction, it is best not to do the procedure in this section, as each reading is added to the disk life cycles and you may have to pick it up before you even clone it.
But if there is no issue then it is better to "arrange" it just before cloning it. That is, remove all programs and files you do not need and delete all temporary files. This will also save you cloning time. Likewise, it would be good to do a disk rebuild, if it is an HDD. Especially after the previous deletions, the rebuild will put your remaining files in order.
Never without back up

Before proceeding, first back up your personal files !! Especially if your old record is about to die!
Copy any file you can not find on the internet, such as personal photos, videos, texts, etc. Do not deal with movies and music, as with a little persistence you will easily find them again.
Macrium Reflect Free vs AOMEI Backupper
There are dozens of programs that can clone a drive, but these two are considered the best of the free programs. After all, the first one is recommended by Samsumg for its ssd disks and the second one has foreseen special ones settings to copy to ssd from hdd.
But because the purpose is to copy an hdd disk to an ssd disk things are a little more complicated.
Our tests on a half-dead hdd that we trembled not to lose, showed us that Macrium Reflect Free failed to complete cloning of any of the disk partitions, possibly due to slow speed and old disk problems.
Even trying to ignore the bad sectors, Macrium Reflect Free could not complete the process. Only when we cloned each partition separately did it overcome the problem but again the end result was not a proper cloning. The new disc just could not even be read from the laptop. It looked like there was no record.
The problems were magically solved with the AOMEI Backupper. The cloning was done immediately but required some adjustments first and the result needed a little more work to make it perfect. Let's go see.
AOMEI Backupper - settings, process
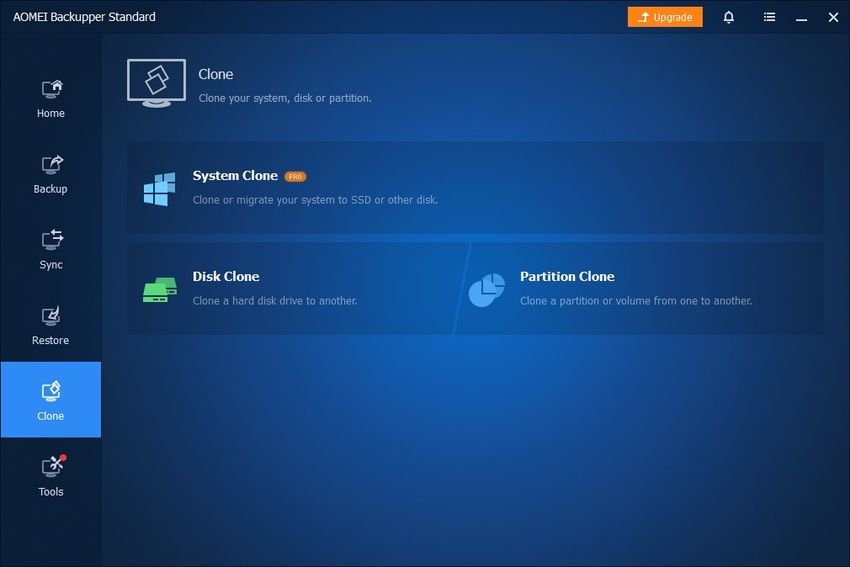
Download AOMEI Backupper, install it and finally run it to open it. On its home screen, go to "Clone".
Then press Disk Clone. Do not prefer the Partition Clone because the boot information for your operating system is in the Master Boot Record (MBR) of the disk or in the GUID Partition Table (GPT), and you will then need to repair Windows to get it back to normal.
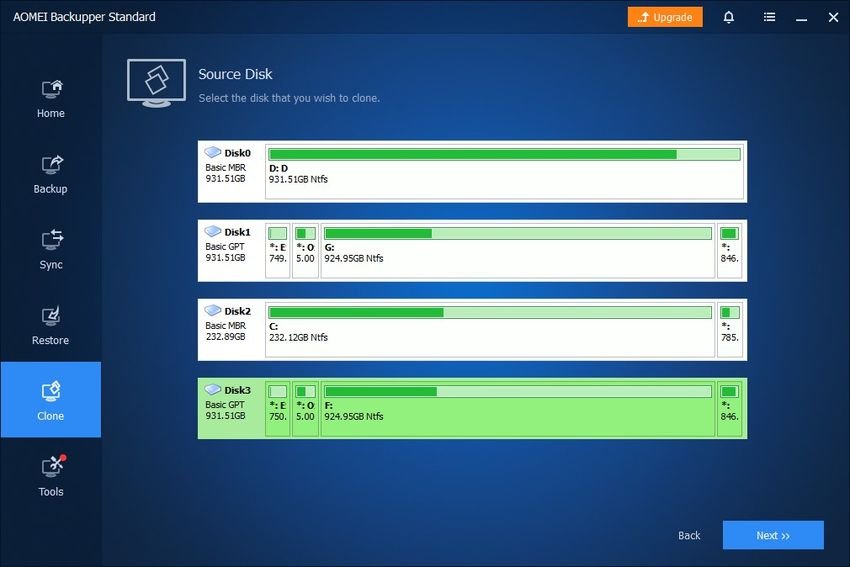
On the first screen of the Disk Clone you see on the top left the "Source Disk" which means that it asks you to tell it which is your old disk. That is, the one you want to copy. Show him who he is by clicking on him and be careful who you choose !! You will see him greening all the fields. Click on "Next".
In the next screen you will see on the top left the "Destination Disc" which means you have to select the destination disk on which you want to clone. Select a disc by clicking on it.
Be careful what you choose because there is a risk of deleting all files from another unrelated disk !!! Click "Next" again.
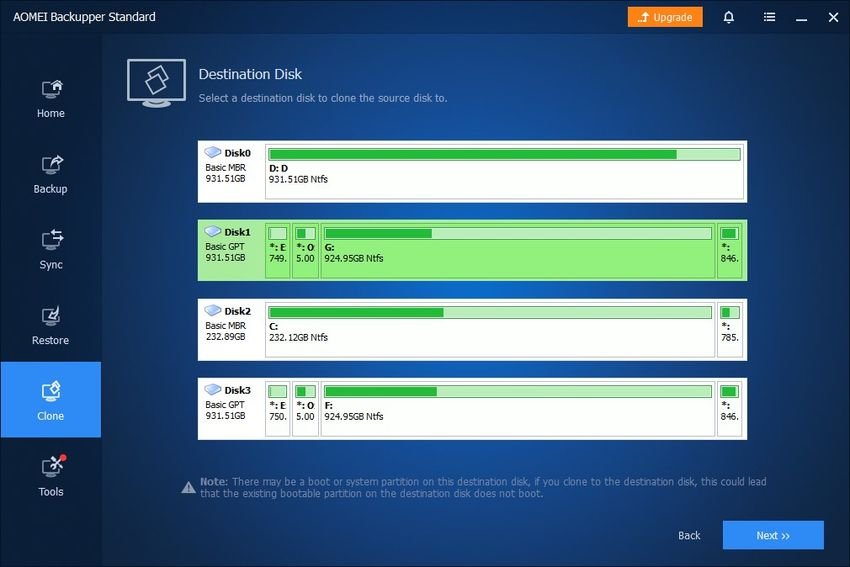
Remember that on the destination disk whatever is inside (if any) will be permanently erased as this disk will be formatted and all existing data will be replaced.
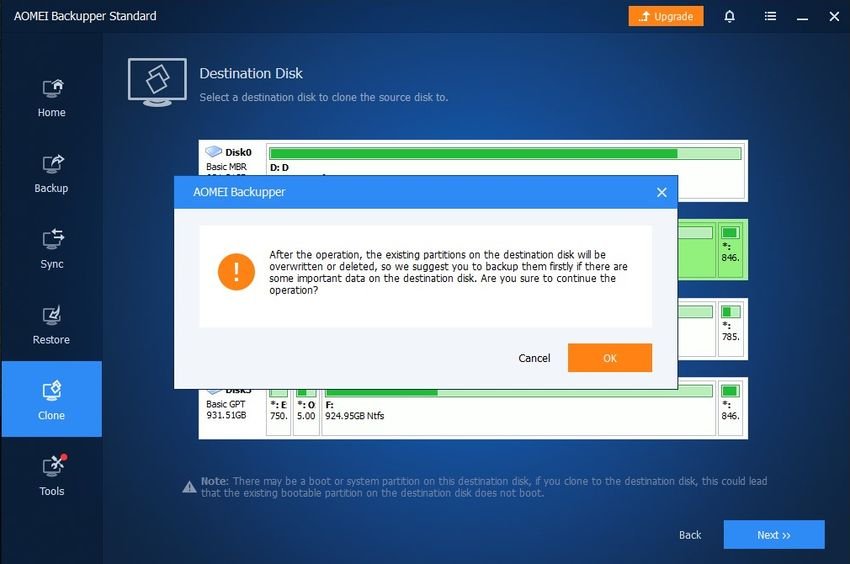
On the screen where you are the AOMEI Backupper will show you a preview of what it is going to do so that you can check for the last time that you have selected the correct disks.

Because you are going to clone an hdd disk to an sdd disk, select "SSD Alignment" at the bottom. This will ensure that you have the best possible performance. Then click on the "Start Clone" button.
The process can take from a few minutes to a few hours, depending on how many GB of data you have on your old disk. It lasted a long time for us because our old record was "crawling".
Also throughout this process it would be good not to use your computer for other tasks and leave the ram and cpu if they only deal with it.
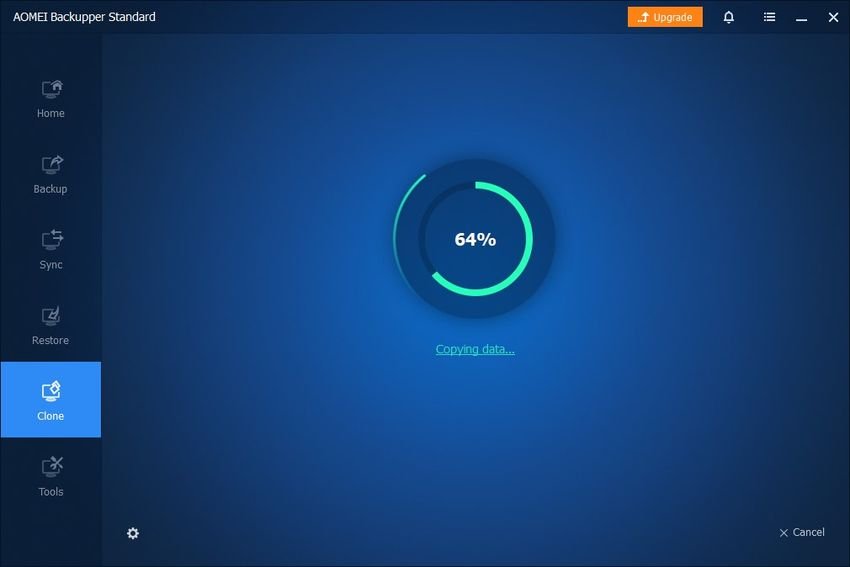
When it is finished it will let you know that everything went well. Click the "Finish" button.
AOMEI Backupper - any problems
For us, for some reason, cloning lost its boot. Probably a factor as to why they're doing so poorly. The result was a blue screen warning that the disk needed repair.

The repair was easily done via a usb bootable disk with WinPE and commands from the Command Prompt. Using the bcdboot tool, we copied the critical files of the UEFI boot environment from the system directory to the EFI boot partition and recreated the BCD bootloader configuration file: bcdboot C:\Windows /l en-us /s k: /f ALL
After that the disk booted normally, but lost the boot option from the recovery partition that the disk has. And that was solved with free EasyBCD program. We gave a letter to the recovery partition and with EasyBCD we set the BCD to see this partition when the computer starts.
Final settings

When it's all over and you now have an ssd drive, you will need to give some finishing touches.
First activate TRIM or at least see if it is enabled. TRIM is a special set of commands that help SSDs to efficiently manage free disk space.
For this open a window PowerShell or Windows Port with administrator rights and type the following command:
fsutil behavior query DisableDeleteNotify. If you return the value 0, then TRIM is activated.
If you see the value 1, then TRIM is not activated and in this case enter the following command to activate it:
fsutil behavior set DisableNotify 0.
For more details see our article “Fix the slow speed of an SSD in Windows 11/10".
Then it would be good to disable disk defragmentation for ssd. The ssd do not need reconstruction as it will wear it out while the benefit from a reconstruction will be really minimal due to its natural speed.
Although Windows will have handled this issue automatically, it is not a bad idea to check it out. In the start search, type the word "rebuild" and click on the result "Rebuild and optimize drives" (write defrag if you have Windows English).
In the optimization window that will appear, click "Change Settings" and then "Select". Choose which of your disks will be rebuilt and which will not. For more details see our article “How to disable auto-optimize drive in Windows 10".
Are you ready. Your computer now has a new SSD, a full copy of your old one.
