
ownCloud (*) is free software that runs on a server computer (server) and provides a data storage service in a storage cloud (i.e. a remote "cloud storage" type location or data storage cloud).
The project was started in 2010 by developer Frank Karlitschek. The idea was to create an alternative free software in contrast to the existing private-commercial companies that provide data storage in cloud computing (such as drobox, google drive, iCloud, Skydrive, UbuntuOne etc).
OwnCloud can be installed on a private computer server without the need for subscription costs to a cloud computing provider. The use of private cloud computing is considered indispensable to private / private documents or when access control is required.
Below we will see how to install it simply through a Bitnami installer. This application contains what you need to set up a web server on your computer, and it will automatically install ownCloud.
O υπολογιστής που χρησιμοποιώ τρέχει με Debian 9 και είναι πλήρως ενημερωμένος.
Download the installer.
From the following page, you can download the installation file that is in .run format
https://bitnami.com/stack/οwncloud/installer#linux
Open a terminal in the downloaded folder and give the following command
chmod 755 bitnami-owncloud-10.0.2-2-linux-x64-installer.run
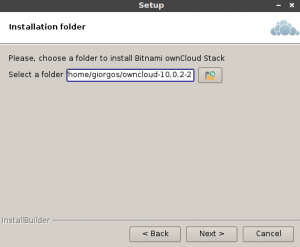
Immediately after double-clicking on the installer you can start the installation. See the following images in order:
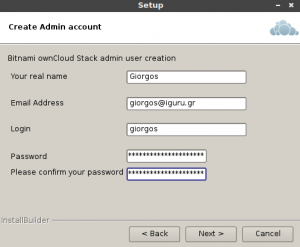
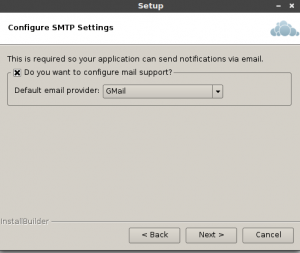
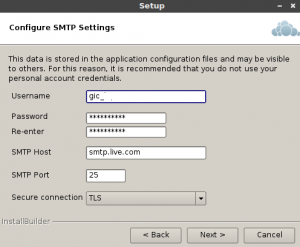

Clarifications:
In the email field, I chose a different service from Gmail, so I used the SMTP settings in Live.com
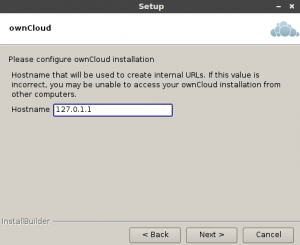
In the IP server I left this localhost. You can change the IP or domain name later.
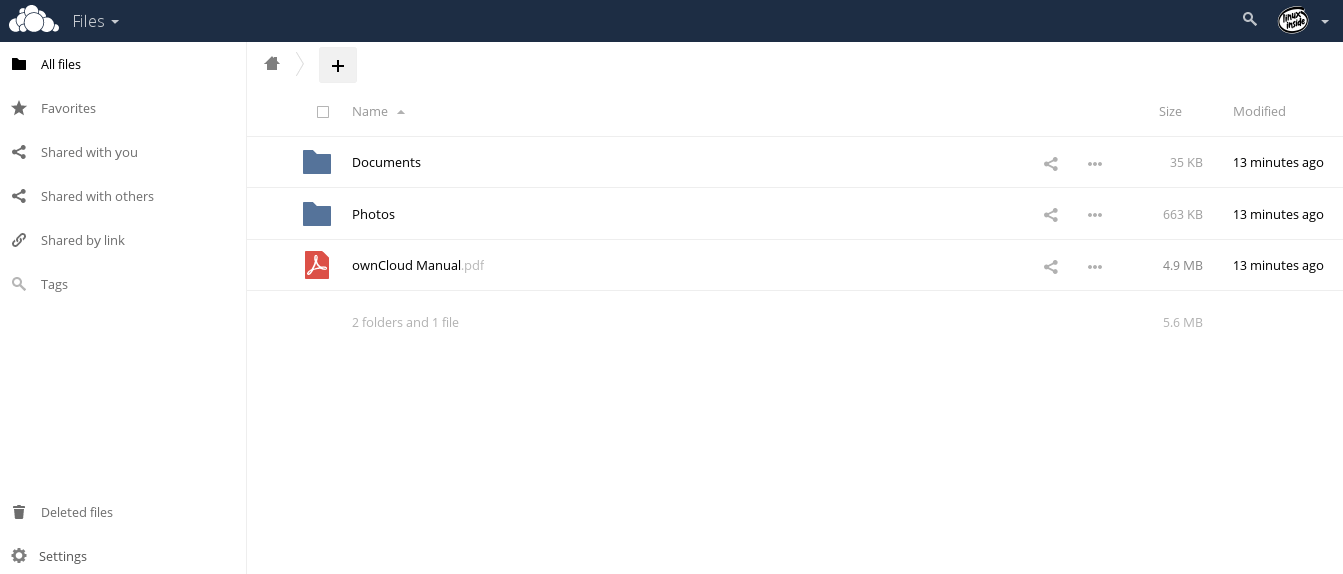
After installation, you will see the following page:
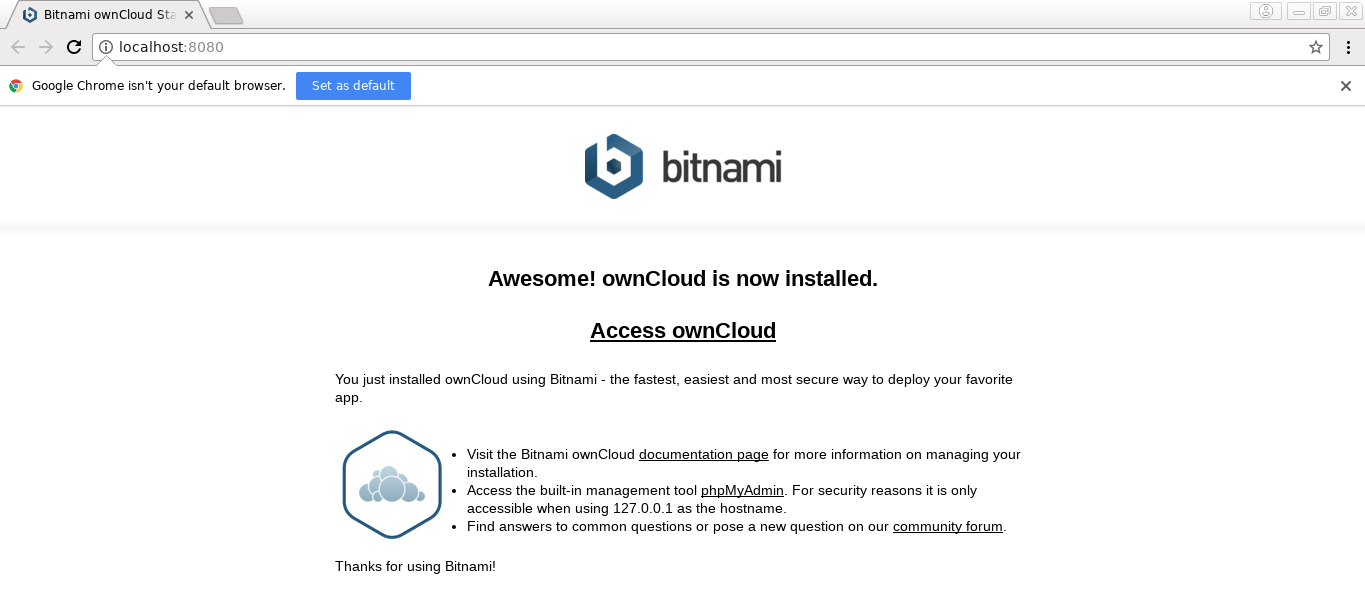
The connection URL to your Cloud Server is:
http://127.0.0.1:18080/owncloud/
 The port can be changed later, easily from the binami panel that allows you modifications to PHP and mySQL.
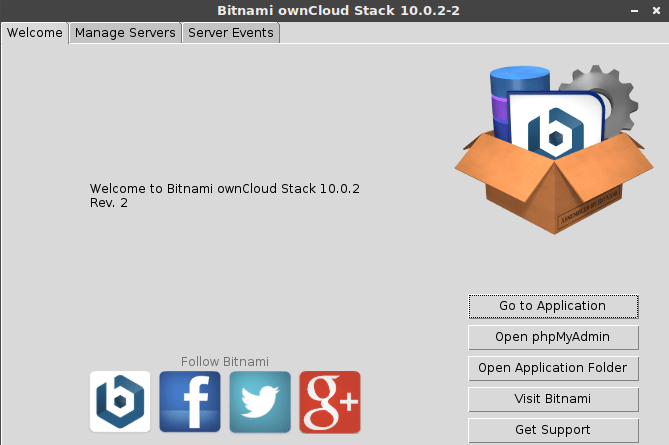 So you can have your own Cloud.
Because I imagine you do not have a static IP to get your server out, read below:
We will do so through the router you are using and if your router does not support it we will add a program that will find your dynamic IP anytime.
For a start, make one account on the www.noip.com service. (I used this one because I already had an account and my router supports it). Find a free domain that corresponds to your computer's IP. Normally you should only find the domain, the IP assignment is done automatically.
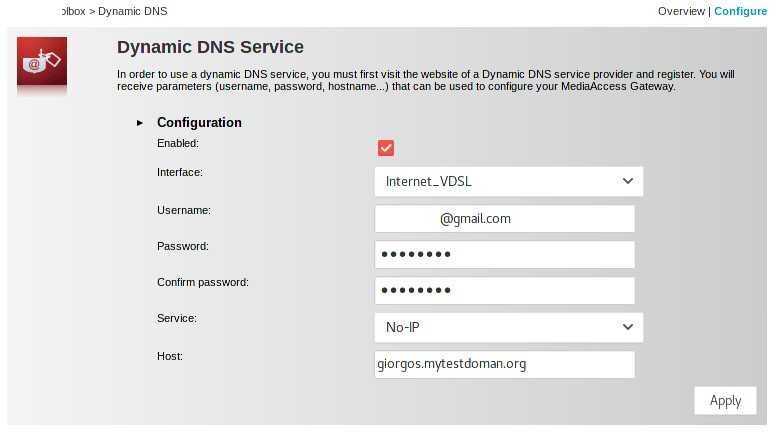
Open the router's configuration page and find the settings (if available) for the dynamic IP. Fill in the missing items (login email, service password, and the domain you chose).
That's it. Your router with every IP change will update the service, which will match the new IP to the domain you selected.
If your router does not have the above settings, change the router or install the following application:
https://www.noip.com/download?page=linux
With the commands make and make install you can install the application. Read the readme or help pages of the service for more details.
Good Luck!
