
The default Windows file explorer, File Explorer, contains a useful one choice for projection photos in a slide show. Its activation process only requires a few clicks. In this article we will see how to use it.

The Slide Show feature of Windows 10 It actually started with the Windows ME version released in 2000. The then operating system had the ability to view slides through the built-in "File Explorer" application and through the Windows photo viewer.
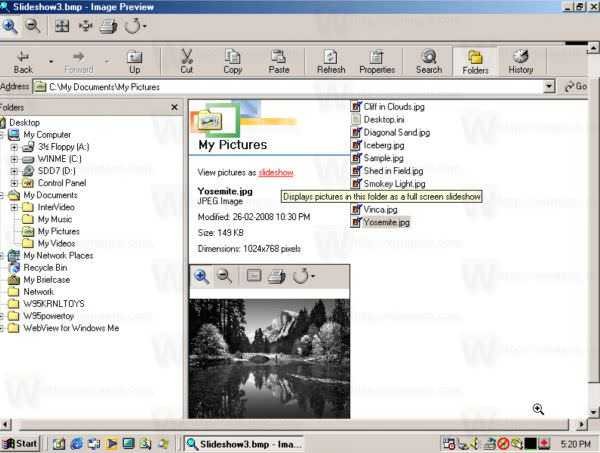

Since then, each version of Windows has a feature-viewer slide show. But in Windows 10, the classic Windows Photo Viewer application has been removed (although it can be restored). The ability to view photos is now built into File Explore.
To view images in a Slide Show from within Windows 10 and from File Explorer, do the following.
1. Navigate to the folder that stores your images or generally to any folder you have inside pictures.
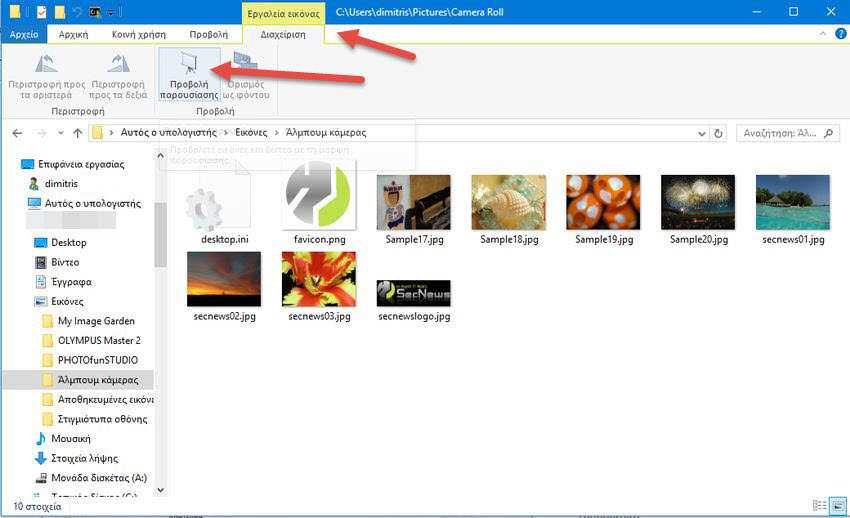
2. Click the first image in your folder. A new yellow section called "Image Tools" will appear in the bar at the top, highlighting the "Management" tab.
3. On the Admin tab, click the View Slideshow button. An image and photo view of all the images in the folder will start.
Note: If you do not even select an image in the folder, the presentation may not be displayed at all.
Tip: You can start a new presentation with just a few pictures from the folder. Select some images in the folder and while holding down the SHIFT or CTRL keys then click the "View Slideshow" button. The Slide show will start only with the selected images!
It is worth noting that modern third-party programs such as IrfanView, XnView and many more come with more sophisticated slide sho capability, and are also much more customizable than the built-in file shows of File Explorer.
