
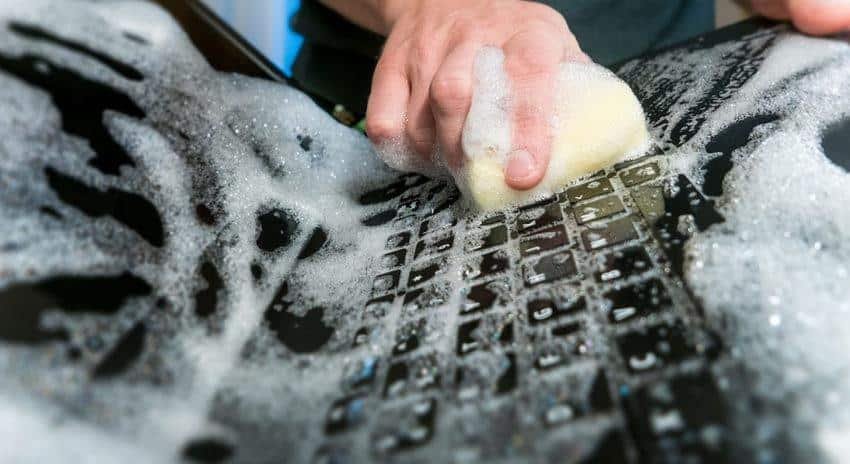
Find an imaginative way to clean your dirty keyboard in the dishwasher, without damaging it.
We used to have you show a rather difficult way to clean your keyboard. We suggested removing all the keys, which is rather time consuming and laborious. Today we will see how to safely wash your keyboard in the dishwasher, saving half the time and half the work.
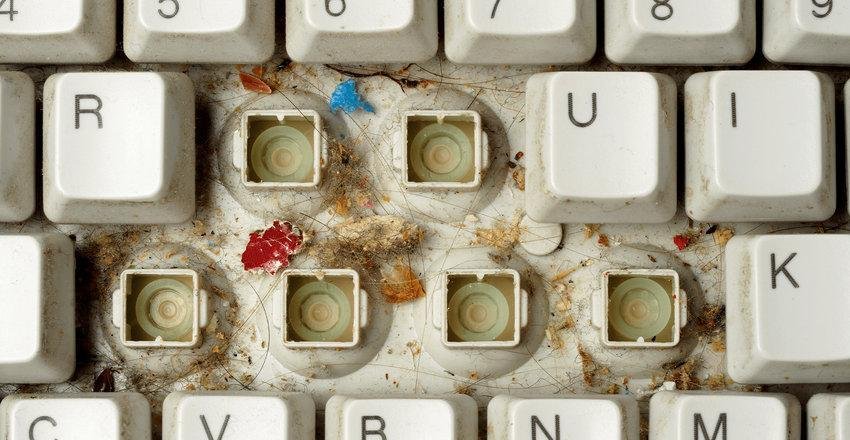
Your whole story as a computer user is literally inside your keyboard. Dreamy nights on the computer with a slice of pizza in hand, or hair pulling when you lost your data, are all there to remember the good and bad days.
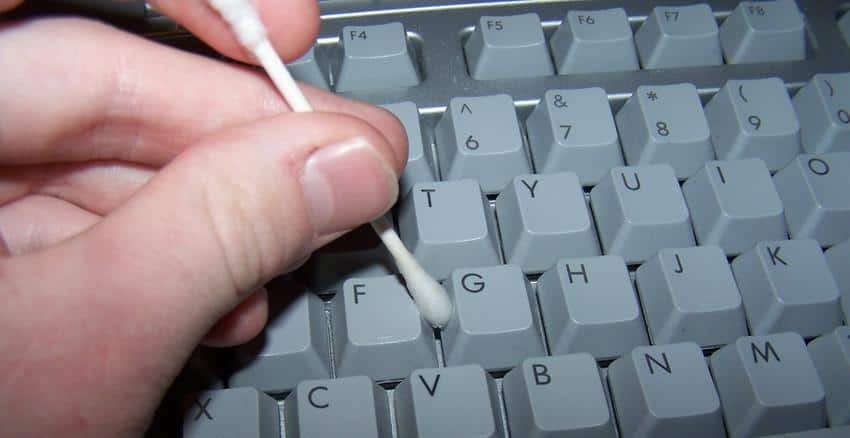
As you can see the keyboards are usually literally dirtier and from the toilets. Removing the keys one by one and cleaning them with alcohol is a really time consuming and laborious task.
A dishwasher could do wonders in ten or fifteen minutes. See how you can clean and disinfect your keyboard by putting it in the program for freshening!

First of all, we are talking about a very common PS2 keyboard with mechanical keys and not anything flexible or membrane. But to do the following you need to "catch" your hands a little. Opening your equipment runs the risk of damaging it if you do not know what you are doing.
Of course, most keyboards are extremely simple, so this is pretty much safe for anyone with a small ability to handle a screwdriver. On the other hand, if you do not spoil it, you will not learn, they say in our village. And the keyboard is not an expensive accessory.
Let's see the cleaning steps.
1. Disconnect the keyboard from the computer
First of all, make sure that the keyboard is not active while cleaning it. Disconnect it from your computer, as this will protect you from electrical problems and accidental typing nonsense to your friends.
2. Turn the keyboard over an appropriate trash collector
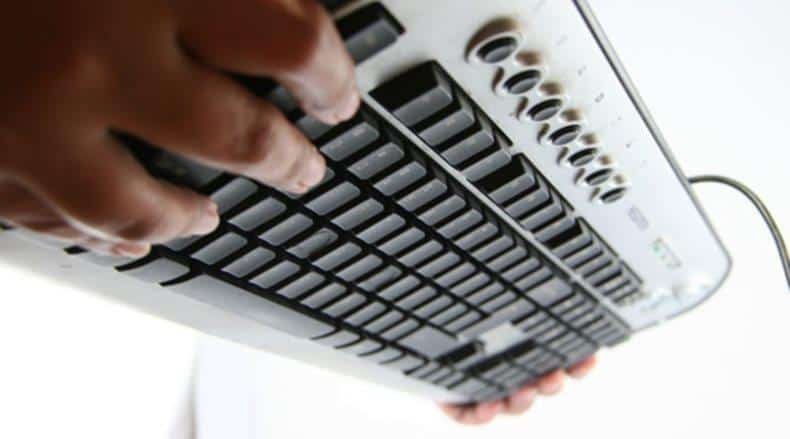
You can get rid of some large-sized dirt with minimal effort. Place the keyboard on a trash can or over the sink, then shake it vigorously in all directions. This easy trick should remove any large particles before you start the proper cleaning process.
3. Unscrew the keyboard
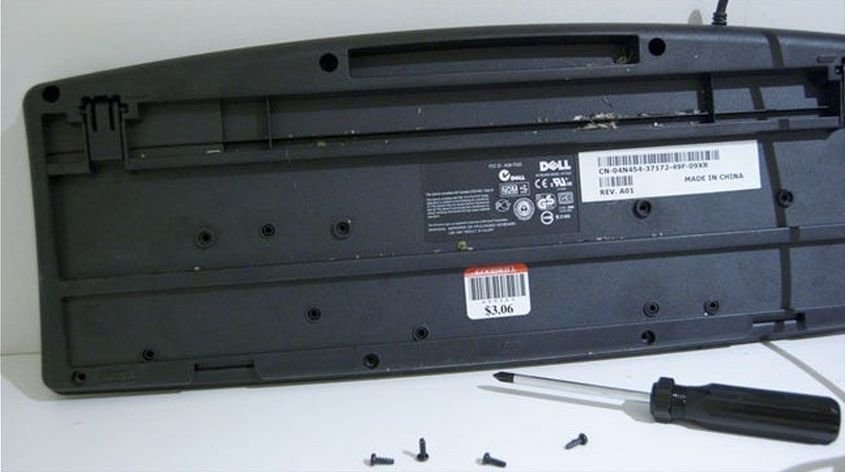
Turn the keyboard over, place it on a workbench to remove the screws that secure the case of the keyboard together.
You will find that there are several screws. Check all visible screw holes, including some that are deeper, as well as those hidden under any stickers.
With a standard screwdriver (cross-head screwdriver) gently unscrew the screws. You do not need power except for the initial turn. Then they should be unscrewed softly. Be careful, check each screw that you take out if it is the same as the others and keep it in a box so that they do not get lost on the floor. If you find one or more different screws, note where you removed them.
4. Open the keyboard
The top cover with the bottom cover of the keyboard should be easily detached without the retaining screws. It may have a button or other handle that allows it to break, but most likely if it does not open immediately, you still have screws that hold it in place. Look for it.
The following steps of step 5 are for all those who want to go a little deeper into the cleansing. Otherwise you can go straight to step 6.
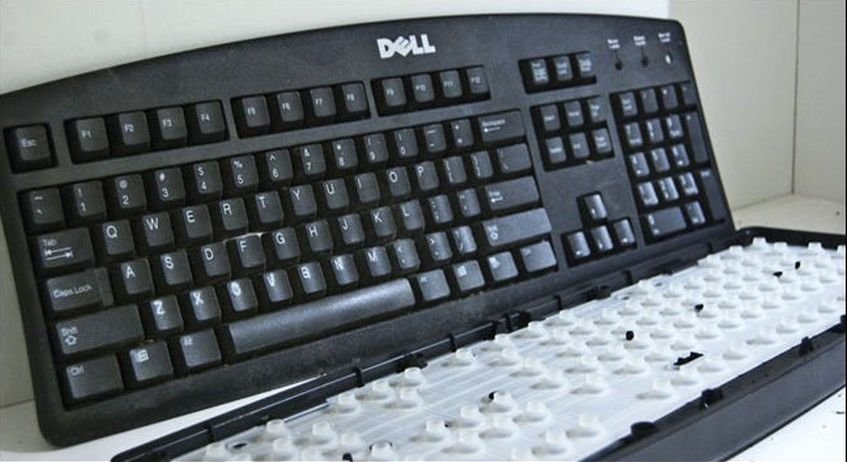
5. Remove the "entrails"
Let's take a quick look at the inside of the keyboard. This is the back of the keys on a keyboard. Nothing else except από πλαστικό και metal. Above all is the membrane and the controller.
This is the controller and under the membrane there is the printed circuit board. You can easily reach and pull the membrane with your hands, it is probably not tied anywhere. At most it has some holes - guides on how to install it later.
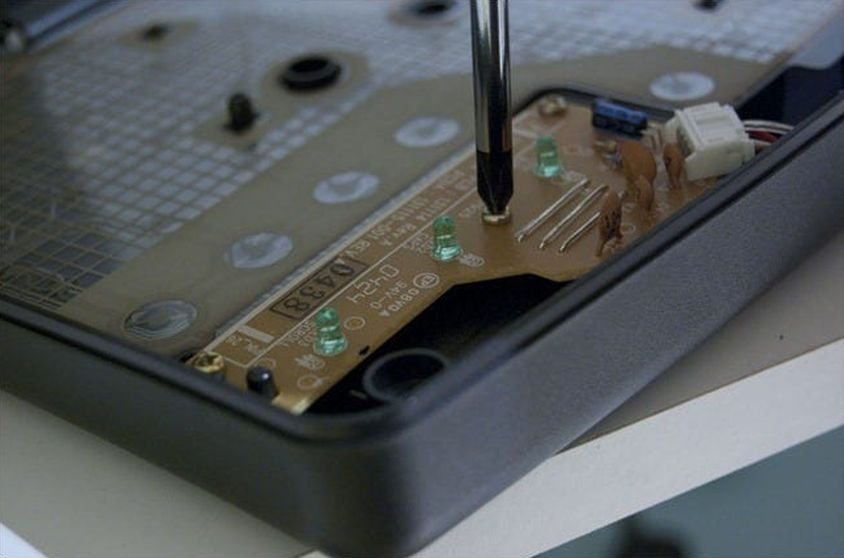
The printed circuit board, which has the contacts and the controller, are probably held in place by several screws and are connected to each other as well as to the cable of the USB port sticking out of the case. Your same screwdriver should remove all the screws without a problem. Put them in a different box from the previous ones.
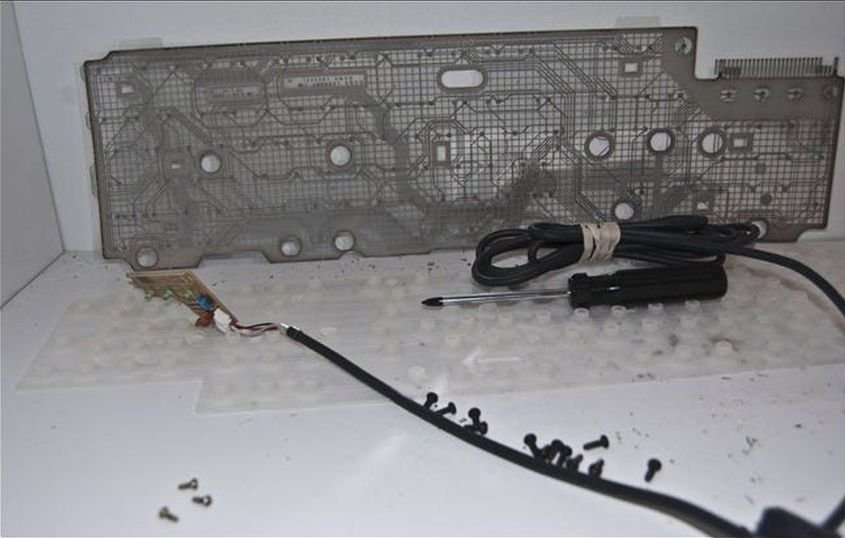
Gently remove the cable and controller, and then remove the printed circuit board from the bottom. These are the only parts of the keyboard that are water sensitive. Put them away where they will be safe, and remember how they were to put them back in the same order. If necessary, take a photo before taking them out.
Keep the components that you took out, ie the flexible membrane, the controller, the printed circuit board with the cable and all the various screws, in a safe place. You will not clean these.
Only the membrane and ONLY from the top can be cleaned with a soft cloth and alcohol, if it is dirty.
6. Wash the lid.
Take the disassembled and disgusting case of your keyboard (or just the top if you did not do step 5) and put it in the dishwasher, as if it were a ketchup dish.
Set your washing machine to the simplest program (see anything for freshening dishes) and make sure you have the lowest temperature you can. Temperatures above 55 oC are not recommended.
Do not let your washing machine dry the keyboard with the resistance it has !!! Tell him without a drying program, or if not then stop washing as soon as the wash is over and drying begins. Remove the keyboard from the washing machine and let it air dry for 12 hours.
Once dry, simply reassemble it in the same way you separated it, making sure to install all the components correctly. If you do not install an individual part correctly, your keyboard will not work. However, it is not very sensitive, so just try again until you succeed.
It may seem a bit risky, but this method is no more likely to damage your keyboard than pouring alcohol on it while wiping the keys.
The total time it takes, other than the time it takes to wash it in the dishwasher, is about 15 minutes, and that if you really take the time.
With all of this in mind, this is a very fun way to learn how keyboards work, to clean and disinfect them without much effort.
