
The new Sandbox feature of Windows 10 allows you to check safely programs and files you've downloaded from the Internet by running them in a secure container.
It is easy to use, but its settings are saved in a plain text configuration file.
Windows Sandbox is easy to use
Windows Sandbox was first released with the Windows 10 May Update and is available in the Professional, Enterprise or Education versions of the Microsoft operating system. The service is not available in Windows 10 Home.
If available on your system, you can enable the Sandbox feature and then launch it from the Start menu.
Sandbox will launch, make a copy of your current Windows operating system, cut off access to your personal folders, and give you a clean Windows desktop with Internet access.
Microsoft is adding a configuration file from which you can customize your Sandbox. For example, if you do not want to access the Internet, you will need to change the text file. If you need access to files on your host system, you need to copy and paste them into the Sandbox. If you want specific third-party programs to be installed, you will need to install them after starting Sandbox.
Because Windows Sandbox is completely deleted when you close it, you should go through all the above changes-settings every time you start it. On the one hand, this creates a more secure system, as if something goes wrong, you close the Sandbox and everything is deleted. On the other hand, you have to make the changes constantly, with every start and this is quite annoying.
To address this issue Microsoft has provided a configuration feature for Windows Sandbox. Using XML files, you can launch Windows Sandbox with specified parameters. You can turn it off connection on the Internet, configure shared folders, or run whatever you want to install apps. The options are a bit limited in the first version of Sandbox, but Microsoft will add more in future Windows 10 updates.
How to set up Windows Sandbox
A copy of Windows 10 in a sandbox environment can access a shared folder on your host operating system.
This wizard assumes that you have already set up Sandbox for general use. If you have not already done so, you must first enable it from the Windows Features dialog box.
To get started, you will need Notebook or your favorite word processor (we recommend Notepad ++) and an empty new file. You will create an XML file containing the settings. Once you have your file ready, you should save it with a .wsb extension (from Windows Sand Box.) Duplicate click in the file and the Sandbox will start with the settings you saved.
Such as says Microsoft , you have many options for configuring the Sandbox. You can enable or disable vGPU, enable or disable the network, specify a shared folder on the host, set read / write permissions on that folder, or run a script at startup.
Using this configuration file, you can turn off the virtual GPU (enabled by default), turn off the network (enabled by default), specify a shared folder (sandbox applications do not have access to any by default), set read-write permissions on this folder or run script at startup
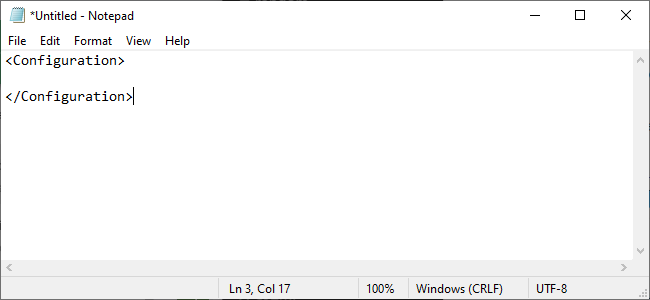
First, open Notepad or your favorite word processor and start with a new text file. Add the following text:
All the options you add must be between these two parameters. You can only add one option or all of them. If you do not set an option, the default will be used.
How to turn off the virtual GPU or network
According to Microsoft, activating the virtual GPU or Network increases the possibilities that malware can use to escape the testing environment. Therefore, if you are trying something you are particularly worried about, it would be good to turn them off.
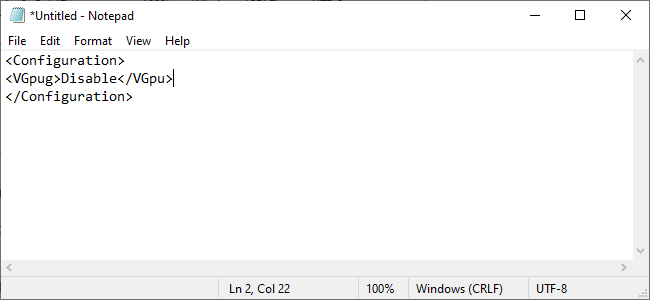
To turn off the virtual GPU, which is enabled by default, add the following text to the configuration file.
Disable
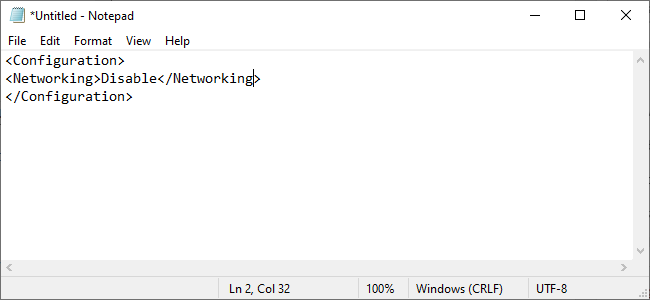
To turn off network access, which is enabled by default, add the following text.
Disable
Add a folder
To add a folder, you must specify the folder you want to share, and then specify whether the folder should be read-only or not.
Add a folder:
C:\Users\Public\Downloads
true
In HostFolder you specify the specific folder you want to share. In the example above, the Users \ Public \ Downloads folder in Windows is shared.
ReadOnly determines whether Sandbox can write to the folder or not. Set it to true so that it can write to the folder or to false read-only.
Be aware that setting to true is dangerous if you do not know what you are doing. Giving Sandbox access access increases the risk if you try something you think is malicious.
How to run a script at startup
Finally, you can run custom scripts or basic commands. You could, for example, force Sandbox to open a folder that you added to the startup settings.
Let's see how it works:
C:\Users\Public\Downloads
true


explorer.exe C:\users\WDAGUtilityAccount\Desktop\Downloads
WDAGUtilityAccount is the default user for Windows Sandbox, so you will always mention it when you open folders or files as part of a command.
How to start Sandbox with your settings
When you're done, save your file and give it a .wsb file extension. For example, if the word processor saves it as Sandbox.txt, save it as Sandbox.wsb. To start Windows Sandbox with your settings, double-click the .wsb file. You can place it on your desktop or create a shortcut in the Start menu.
For your convenience, you can create a DisabledNetwork file to save you a few steps. Rename the extension to .wsb and you are ready to start Windows Sandbox.
Disable
