
A system restore point (System Restore Point) is essentially one backup copy of your system settings. It includes your installed applications, Windows registry, and system files. It's incredibly useful when something breaks on your system, for example, after an update to one new edition of Windows 10.

You can use a system restore point to return to a stable system. Below we will see how you can create a system restore point in Windows 10.
To create a system restore point in Windows 10, you must have administrator privileges.
Open File Explorer and in the navigation bar on the left, right-click on “This PC” or This Computer and select Properties. In the Properties window and in the options on the left, click Advanced System Settings.
In the System Settings window, switch to tab "System Protection". The System Protection tab will list all drives configured for System Restore Point on your system.
You can create a system restore point for each drive, but in most cases, it is enough to create a Restore Point on the disk that contains Windows.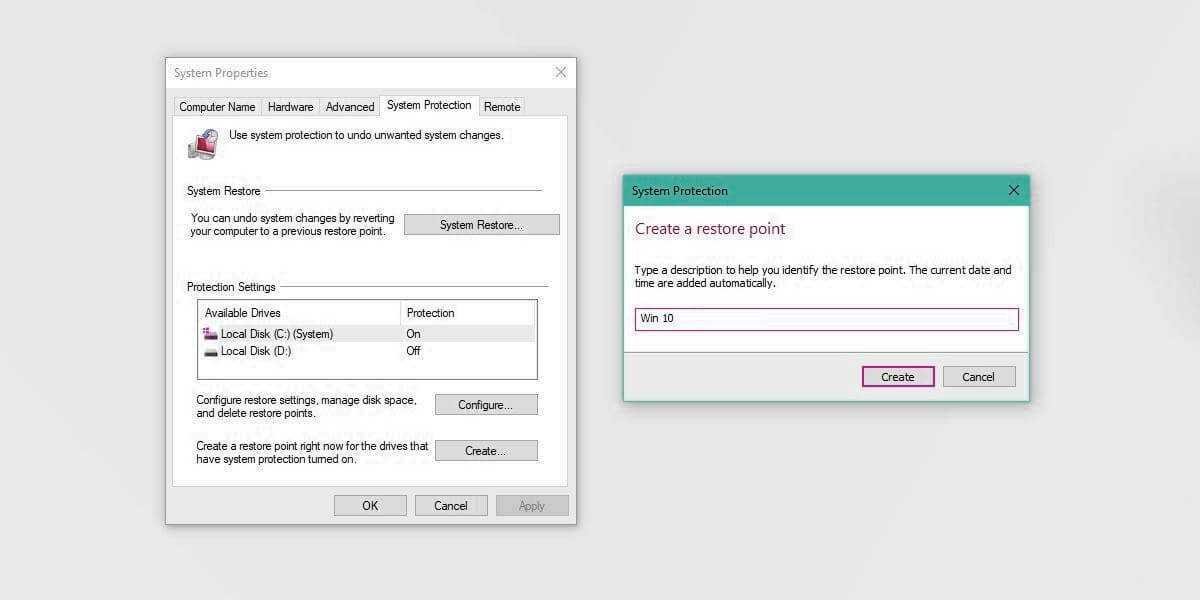
Select the Windows disk and click the Configure button.
Select Activate System and activate the space they will need points reset. Usually, 500 MB is enough, but you can allocate up to 1 GB if you have it. Adjust the space by dragging the slider towards Max Usage. Click Apply and close the window.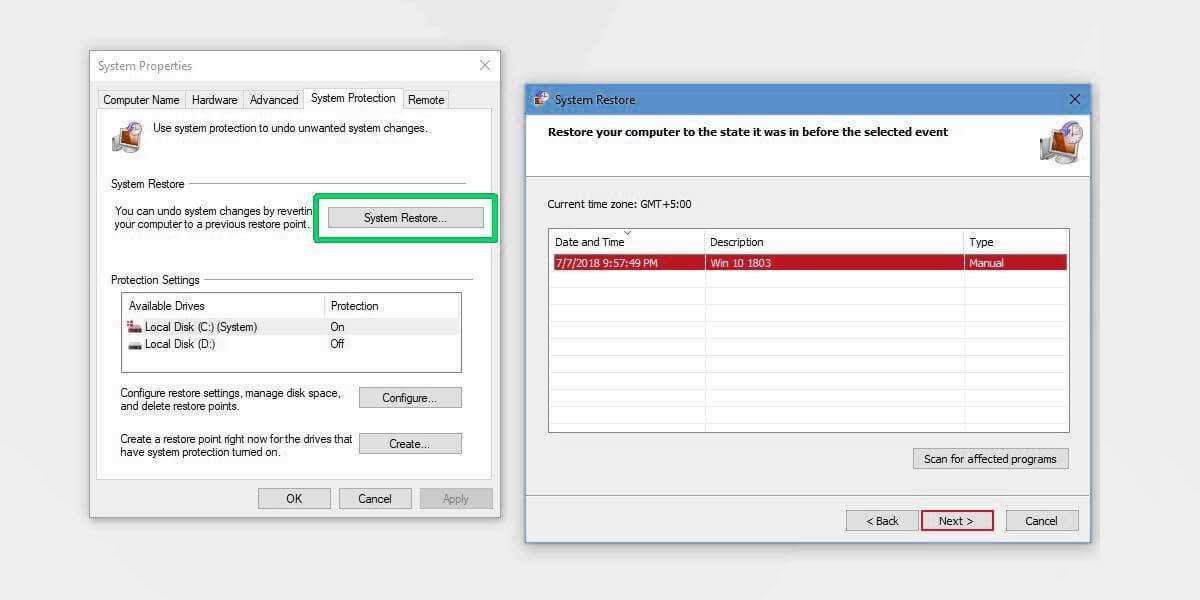
You can then go back to the System Properties window and click the Create button at the bottom to create a System Restore Point for the disk you selected. Give it a name to identify it and create the restore point. Its creation takes only a few minutes. The date is added automatically so you do not need to include it in the name.
To reset your system now, you need to open the same system settings window. Select the disk you want to restore and click the System Restore button.
A window will open and after clicking Next, you will see a list of restore points that have been created. Each restore point contains a date and all you have to do is choose which one you want to restore. Follow the instructions in screen you.
If you still want to delete all the restore points you have created, click the Setup button in the System Properties window. Then click the Delete button at the bottom to delete all restore points.
To delete individual restore points, open the command prompt with administrator privileges.
Type the following command to display all restore points.
vssadmin list shadows
The restore points will not appear with the name you gave them, but with an ID and the date they were created. Make a note of the restore point ID you want to delete.
Delete the restore point you are interested in with the following command:
vssadmin delete shadows / shadow = {id}
For example:
vssadmin delete shadows /Shadow={12a345kj-rra4-8z94-q7g9-5f4fhhg6534t}
___________________________
- Encrypt SD cards using Windows 10 BitLocker
- Video recording with VLC media player
- Windows 10 Superfetch when and why to disable it
- How to download the latest ISO version of Windows 10
- Screen Sketch create desktop shortcut
