
Videos or GIFs on Ubuntu? Videotaped guides on YouTube or anywhere on the internet are now widespread. Among us, many of us will agree that it is more pleasant to see a video guide than a text guide.
Below we will see how we can record every move on the computer and save it as a video guide!
The first application we will see is RecordMyDesktop. In an Ubuntu environment you can find it in the Ubuntu Software Center or by clicking here. You will be asked if you want to install through the Ubuntu Software Center, click "Launch Application" and then "Install".
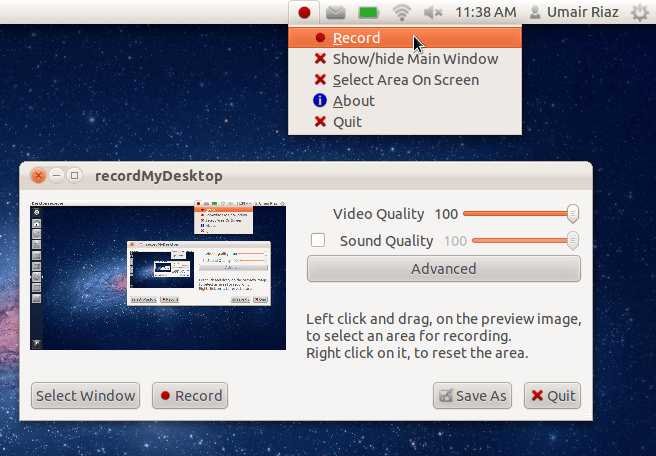
The application appears as in the image above. You can choose more part of it screens will be recorded, if not all of it. You can also choose frames.
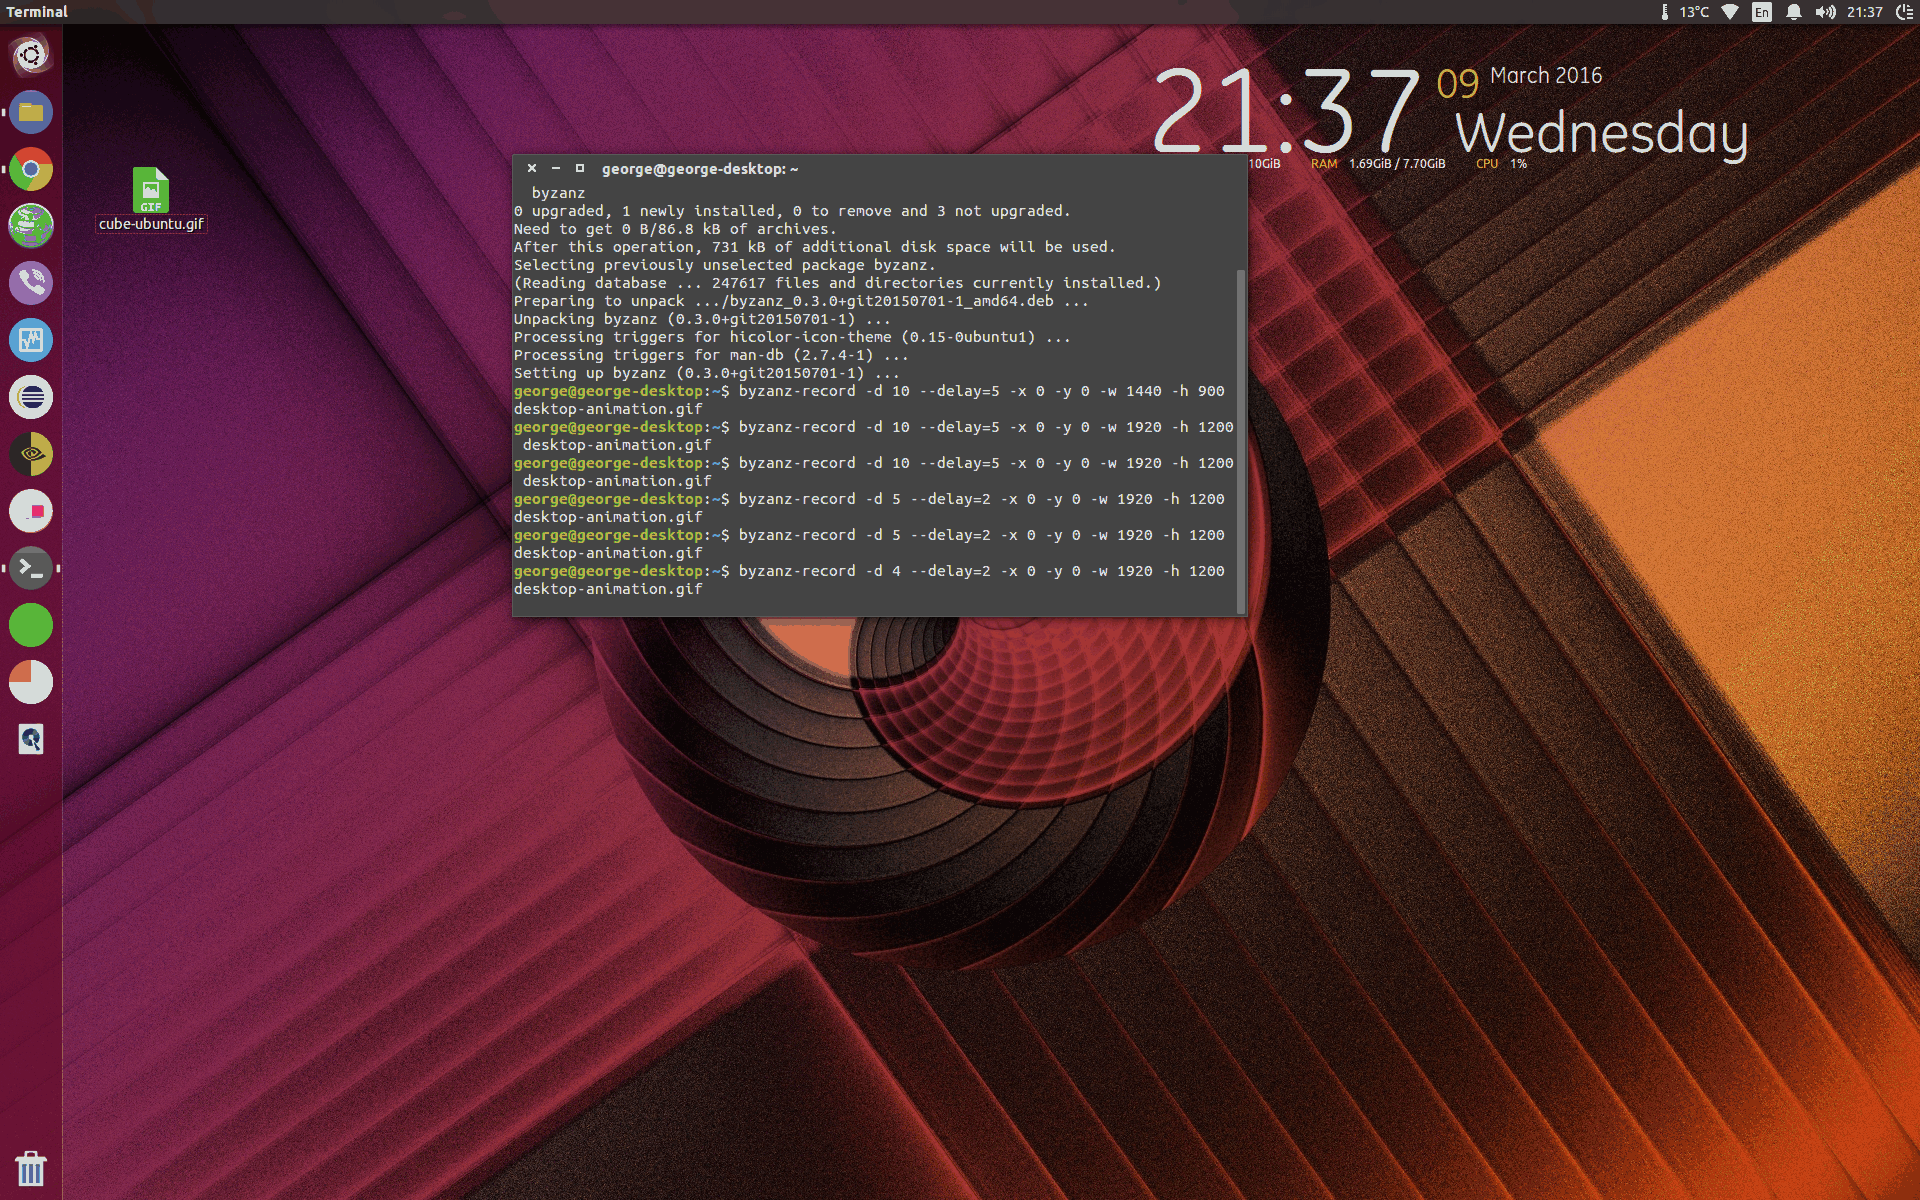
The next application is Byzanz.
With Byzanz, we can record our screen and save it in .gif (Graphics Interchange Format. As shown in the picture below!
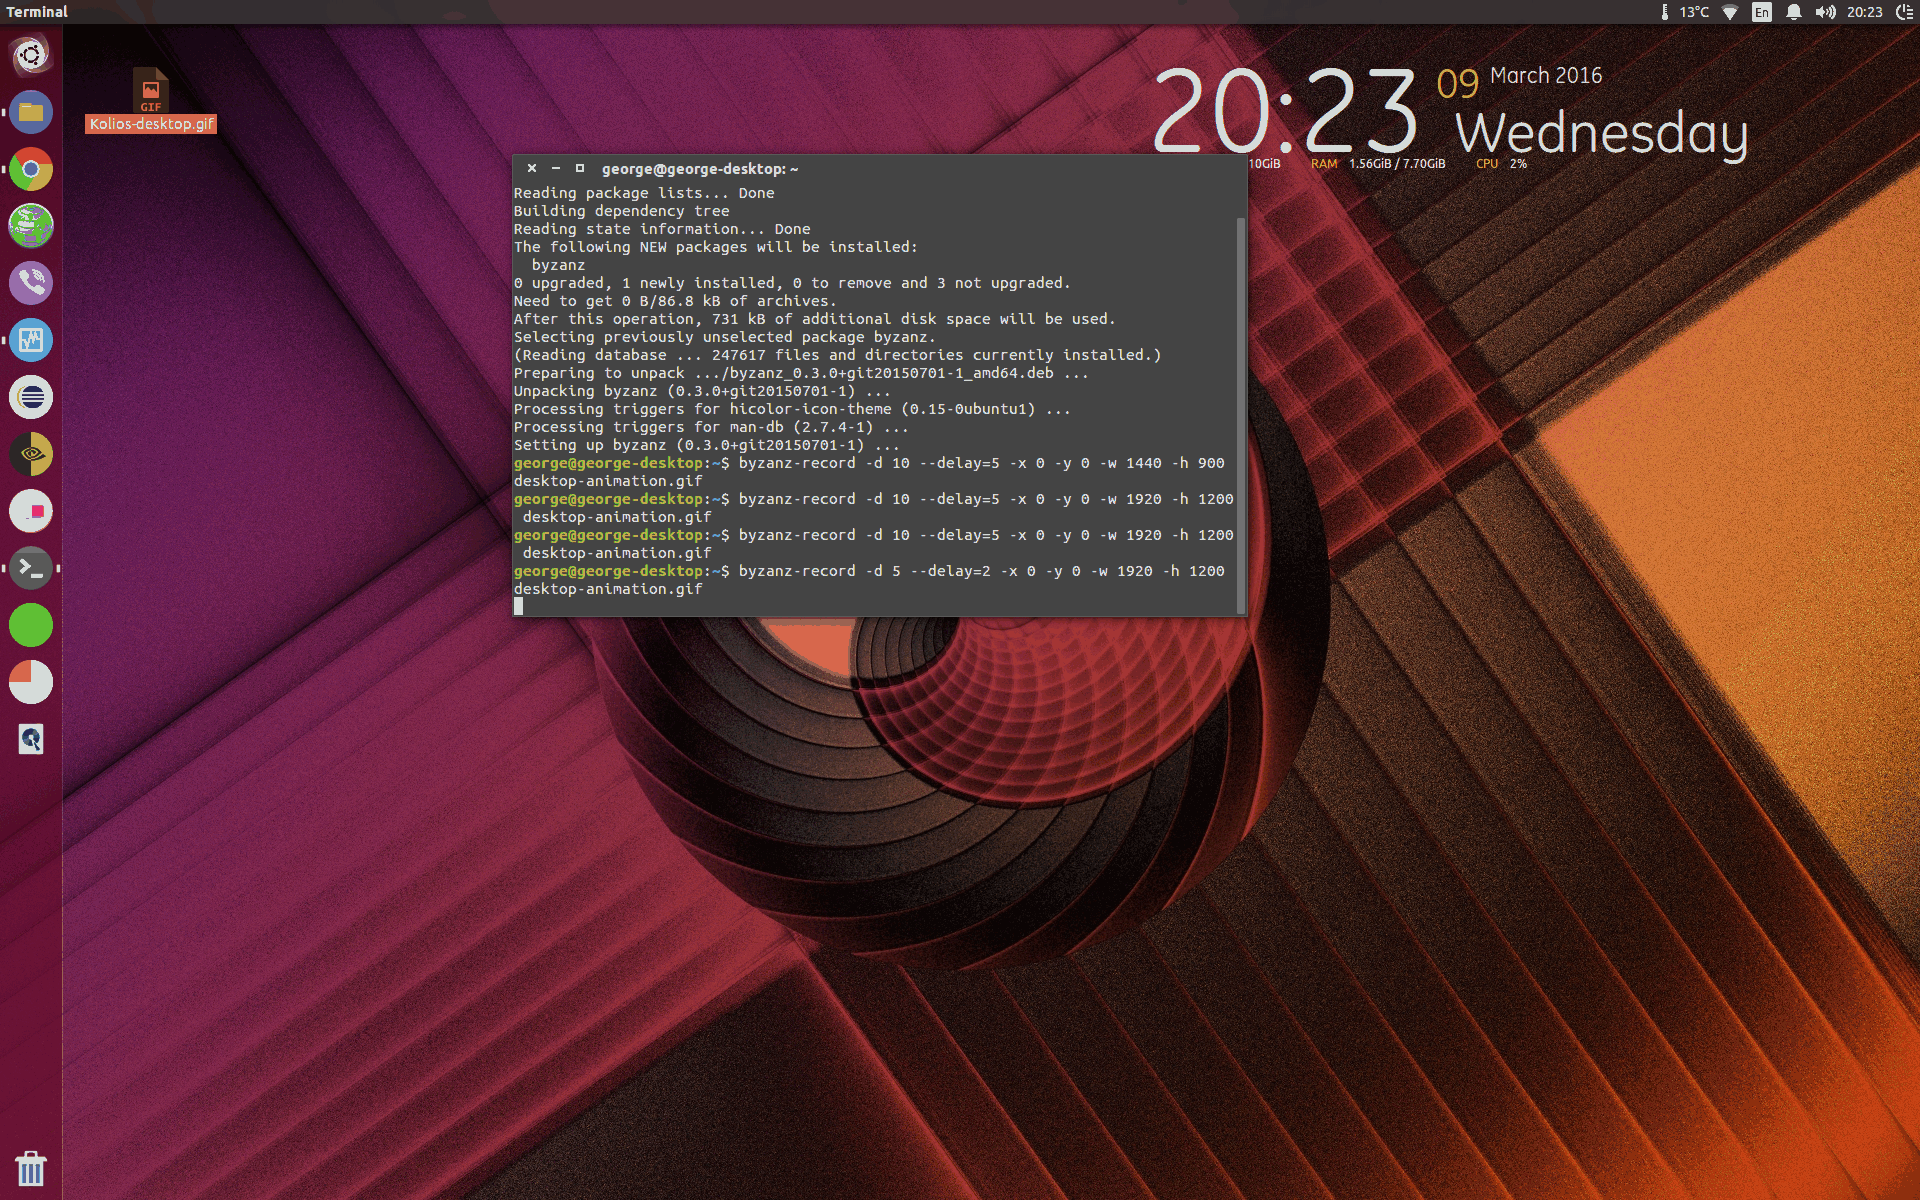
Both installing and running the app are simple!
To install, open our terminal (CTRL + ALT + T) and issue the following command:
sudo apt-get install byzanz
Implementation
In order to start mapping our work in .gif format, we need to give the following command to the terminal
byzanz-record -d "DURATION" --delay = "SECOND" -x "X-COAST" -y "Y-COAST" -w "WIDTH"
Where:
- -d – It is the duration in which our actions will be recorded seconds.
- –Delay - How many seconds do we want the recording to start? This action is done to close the terminal, for example, before we start the recording so that it is not included in our file.
- - COMPILED – They refer to region of the screen we want to capture.
- -w - The resolution width of our screen.
- -h - The resolution height of our screen.
- -FILE_NAME - It is the name under which our file will be saved.
The following .gif was depicted with the following command:
byzanz-record -d 5 --delay=2 -x 0 -y 0 -w 1920 -h 1200 desktop with-animation.gif
Join !!
