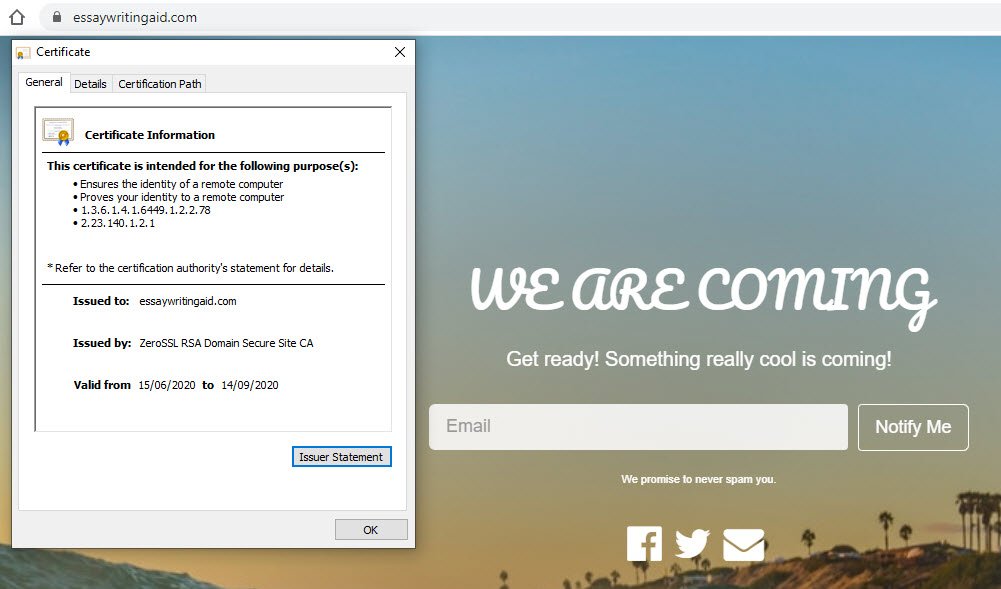
Free SSL prevents warning messages from appearing when visitors view your site and displays the security lock.
If you want to test the functionality of an SSL certificate, how it works, or how you use it, use a free 90-day SSL certificate from ZEROSSL and get a trusted HTTPS connection for your site.
With an SSL certificate, your site can use the HTTPS protocol to securely transfer information from one point to another. This is vital when transferring sensitive information such as credit card data to purchase integration pages or login / registration forms.
It is also important to understand that SSL does not protect your website. This guide is only designed to show novice users how to develop a free SSL certificate from ZeroSSL/Let's Encrypt / SSLFORFREE for their websites.
Types of certificates SSL
- Domain Validated (DV) - DV certificates only need the CA to verify that the user requesting the certificate owns and manages the page. Visitors will see one icon lock in the address bar, but they will not have specific information about its owner.
- Organization Validated (OV) - The OV certificates confirm that the applicant company is registered and legal. When visitors click the green lock icon in their browser, the business name is displayed.
- Extended Validation (EV) - EV certificates require even more documentation to validate the organization from the certification authority. Visitors will see the business name inside the address bar (except clicking on the lock icon). However, most updated browsers no longer display EVs.
step 1 - Subscribe to ZeroSSL.com and add your page to the New Certificate area, as shown below:

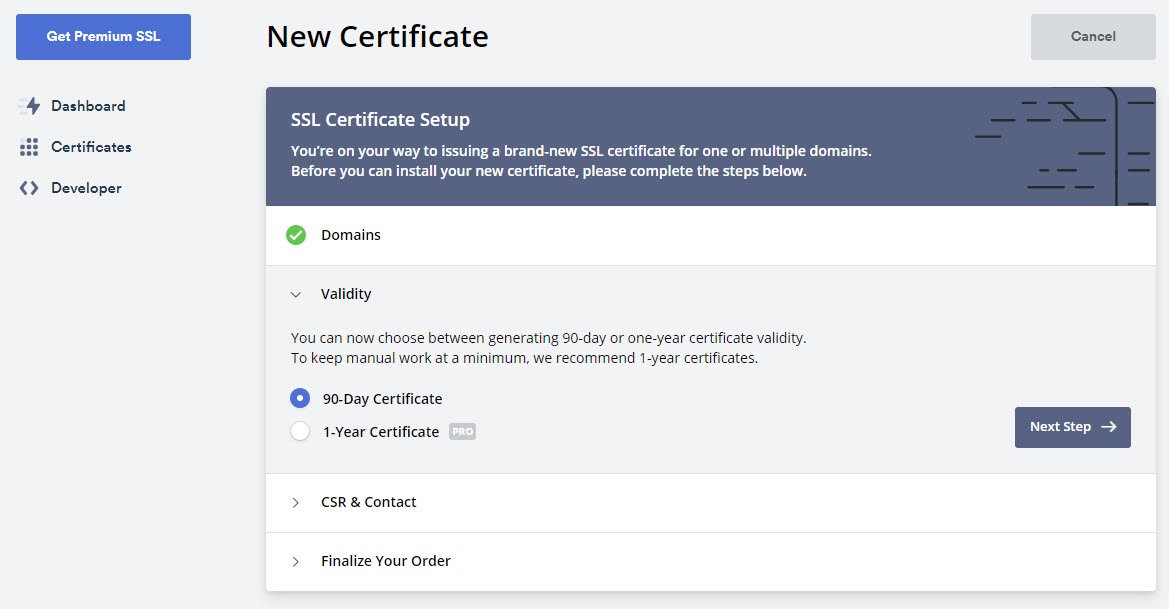
step 2 - In this step, you can select, 90-day certificate validity, or 1-year certificate validity.
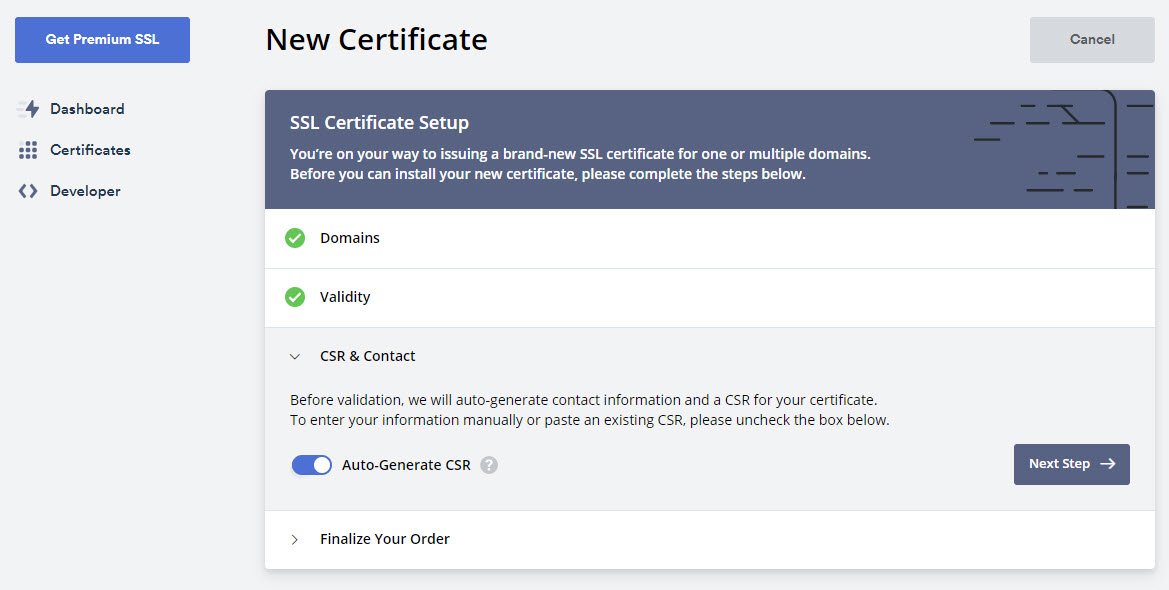
step 3 - Now before finalizing it, it will automatically generate contact information and csr for your certificate. If you want to change or edit any information, then clear this option.
step 4 - Με βάση την επιλογή σας για 90-ημέρες Πιστοποιητικό SSL, επιλέξτε "Δωρεάν " ($ 0/month) σαν επιλογή.
In this FREE program, you can create up to 3 SSL certificates for your various pages valid for only 90 days.

step 5 - In order for your certificate to be issued, all domains included in your certificate must be verified. There are three methods that can be used to verify domains:
- email verification
- DNS verification
- verification through archiveυ
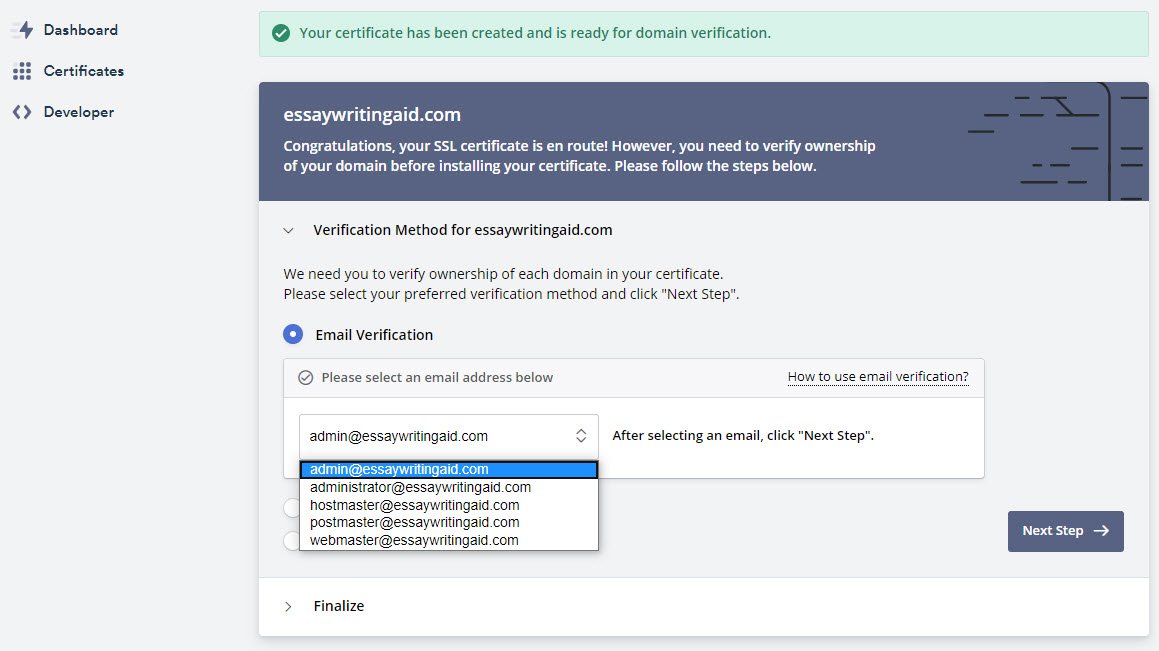
You can use whichever method suits you best, but in this case, go with email verification.
You will receive a verification email at the selected verification email address (paradeigma@iguru.gr) for each of your certificate domains.
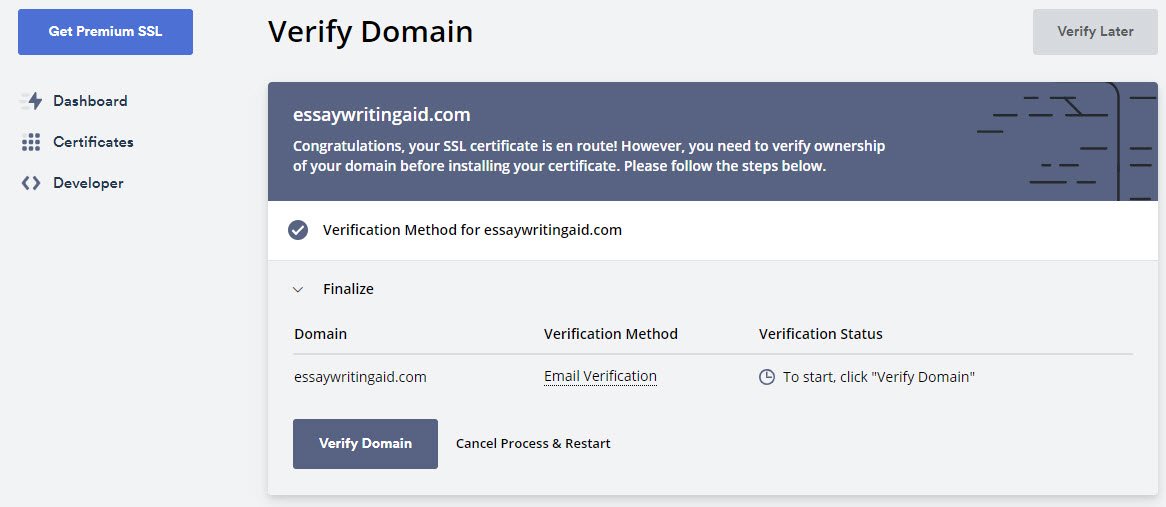
To issue your certificate, you must follow the steps that appear in the verification email, but it sometimes displays an error related to the DNS CAA registration.
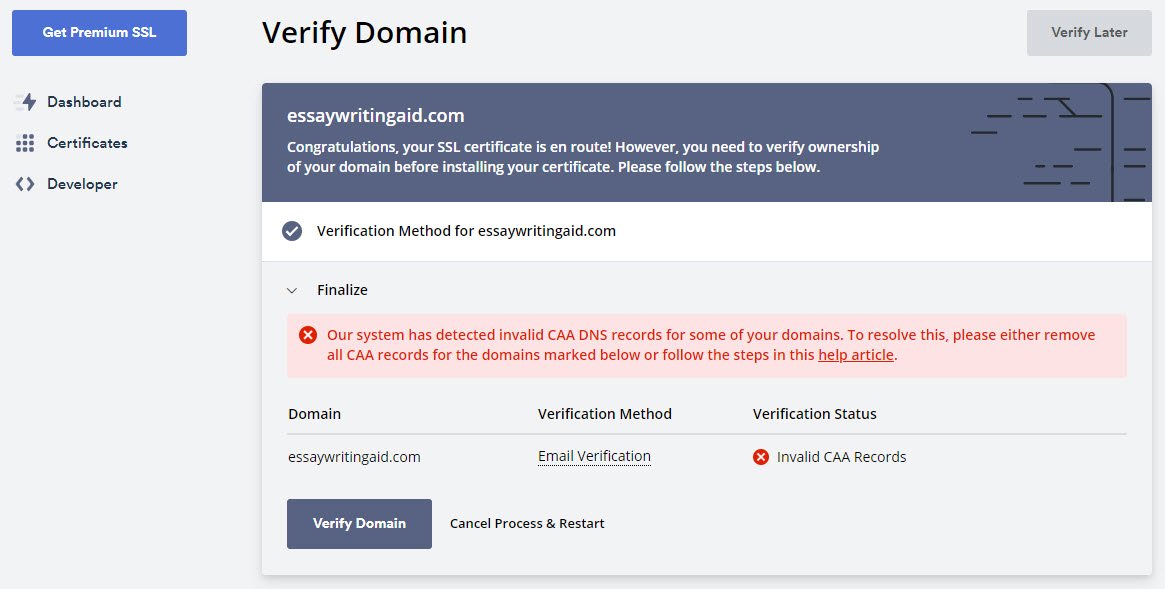
CAA records are DNS records that link to pages that specify which certification authorities are allowed to issue certificates for your page.
If your page is not CAA registered, the system will have no problem issuing your certificate. If, however, your page has CAA records on file, but none for sectigo.com as an allowed CA, the system will not be able to issue your certificate.
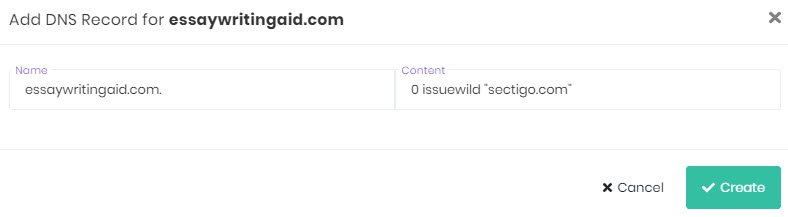
To add CAA records that will allow ZeroSSL to issue certificates for your domain, log in to your page or hosting provider, go to managements DNS and add a set of CAA records as shown below:
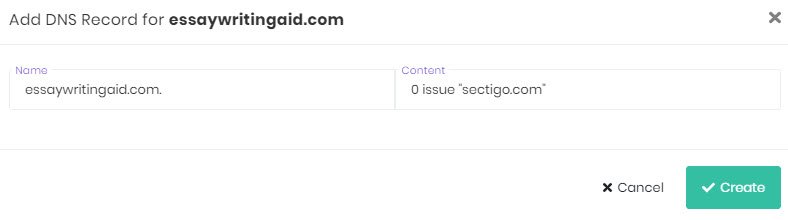
and
step 6 - Τώρα θα λάβετε ένα email για την επαλήθευση του Domain σας.
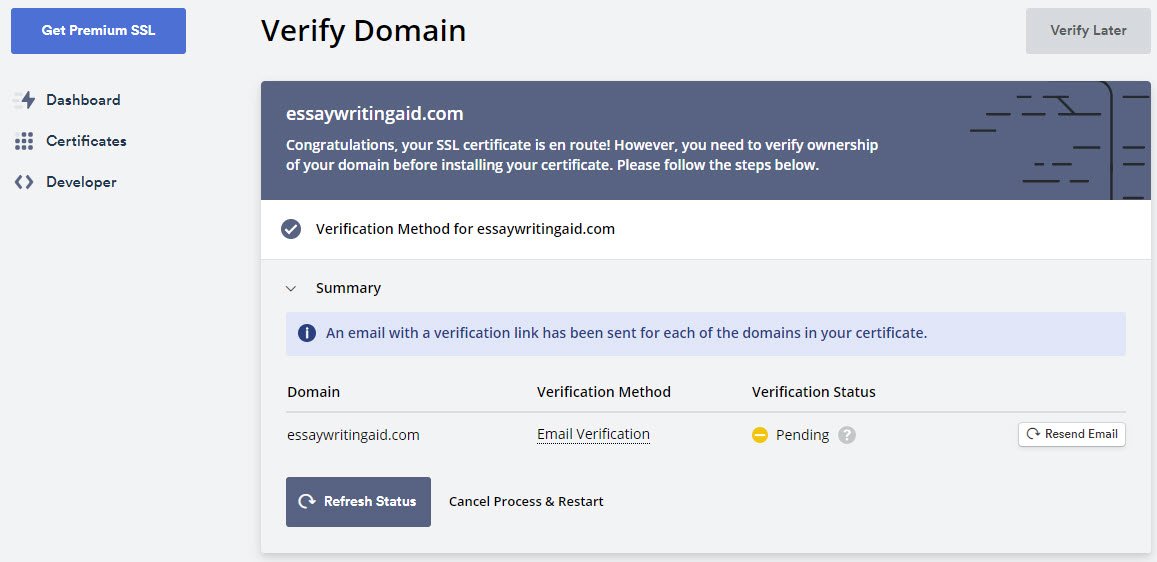
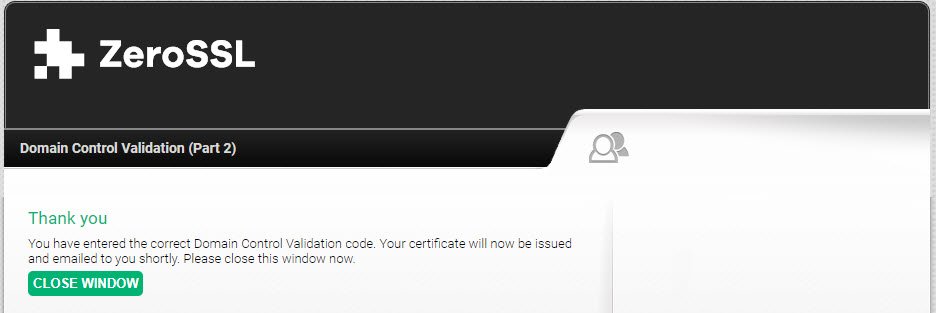
Εδώ είναι το δείγμα προεπισκόπησης του ηλεκτρονικού ταχυδρομείου, όπου θα πρέπει να κάνετε κλικ στο " Go To Verification Page" και να επικολλήσετε το ακόλουθο κλειδί που αναφέρεται.

step 7 - After completing the email verification process, you will see an option to install the certificate, as shown below.
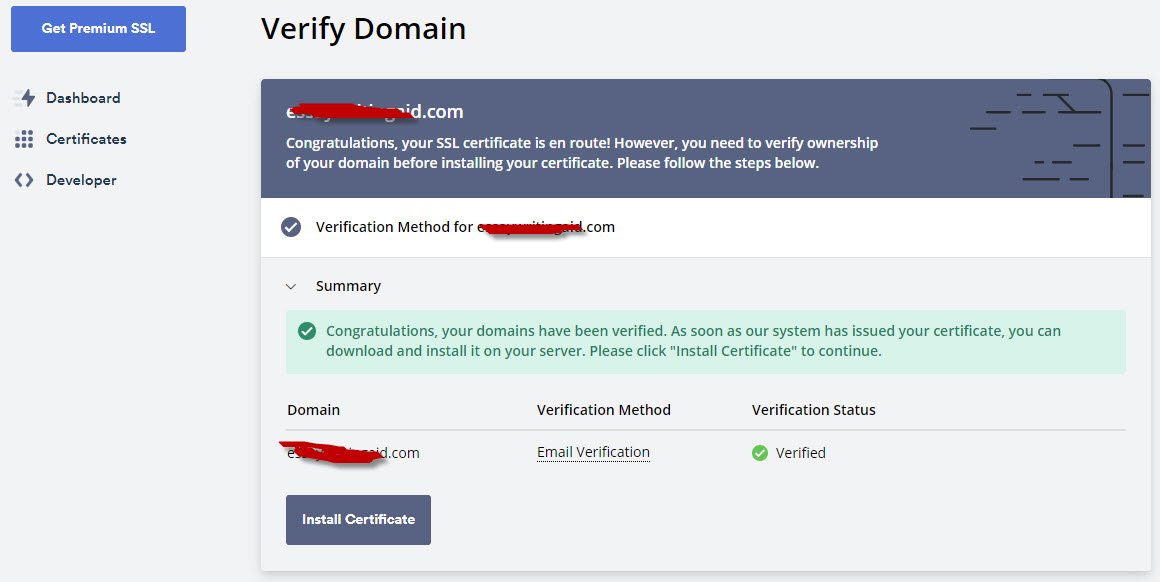
Κάνοντας κλικ στο κουμπί "Εγκατάσταση πιστοποιητικού", θα δείτε ένα μήνυμα επιτυχίας "Το πιστοποιητικό σας έχει εκδοθεί και είναι έτοιμο για εγκατάσταση". Κάντε λήψη του αρχείου zip του πιστοποιητικού SSL και ακολουθήστε τα παρακάτω βήματα για να το εγκαταστήσετε στην σελίδα σας.
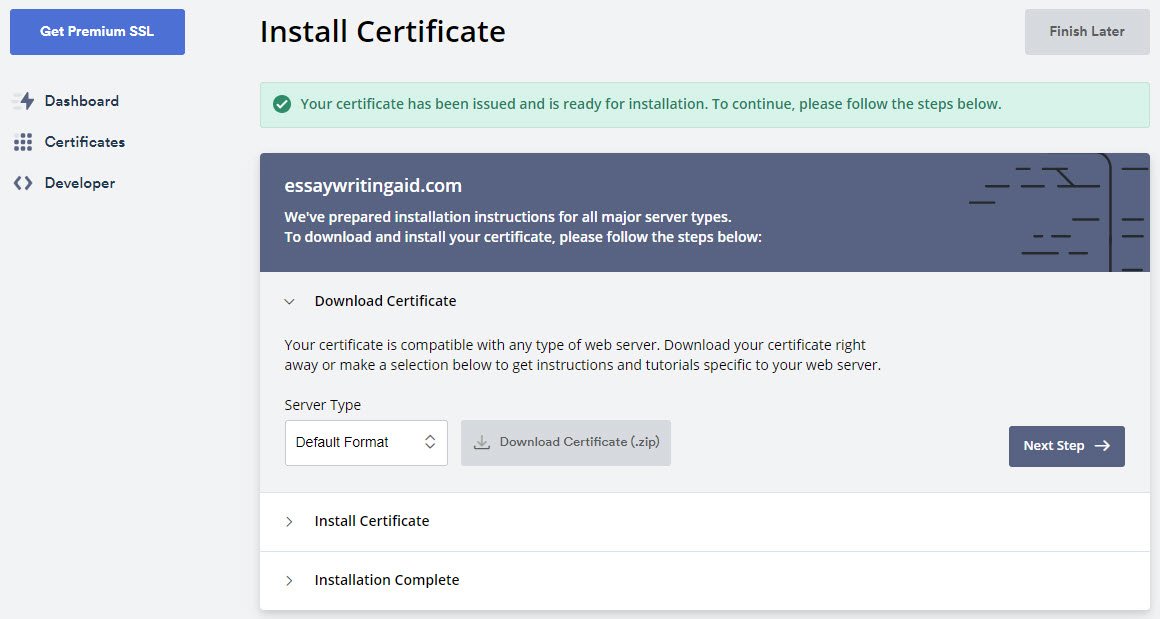
After verifying your page, check your email (the one you used in the second step) for a message stating that the SSL certificate has been issued. Open it and follow the download certificate link (or click the Start button next to the SSL certificate in the hosting panel).

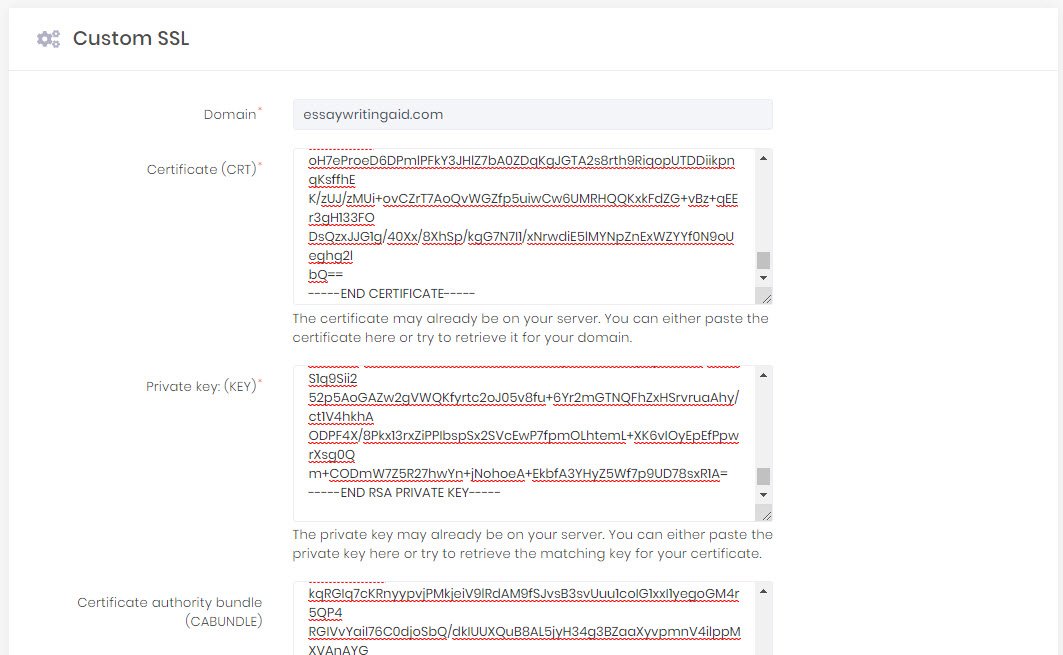
You can also use the SSL / TLS Management tool in Control Panel to add SSL certificates yourself. Allows you to manage installed certificates, as well as create certificate signing requests and private keys. To access SSL / TLS Manager, log in to your cPanel, Security tab, SSL / TLS Administrator.
In the SSL / TLS Manager, in the box labeled CRT, Private Key and CABUNDLE, paste the contents of all the corresponding files.
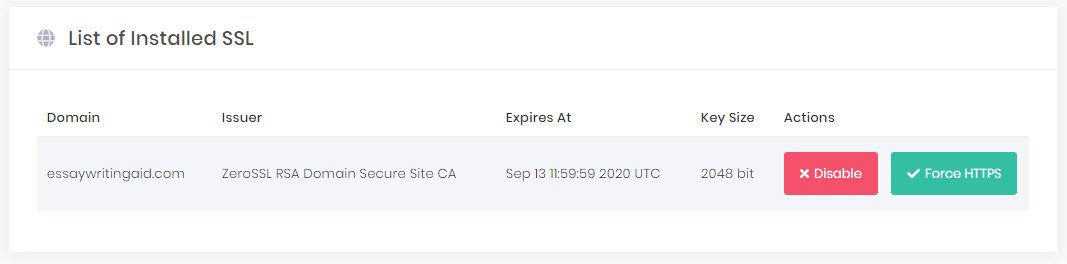
The SSL certificate should now be installed and your domain set up to accept secure connections. You may need to restart Apache for it to work, and you may even see the expiration date of your 90-day SSL certificate.
In case you are facing any problems with SSL installed, you can use the SSL Certification Tester tool that can help you diagnose common problems.
Testing the certificate
Go to https://example.com. You should not receive certificate warnings in your browser.
As a final test, you can browse to https://www.ssllabs.com/ssltest/. Enter your page name and click "Submit". After some time, you will get a full report.
It is best to check with your browser as well as it will display a warning if the intermediate certificate is not installed. You should not receive warnings or errors in your browser.