
Today's article is rather a tutorial on how to make a NAS with OpenMediaVault installed on a virtual machine via VirtualBox for free.
Actually setting up a virtual machine and loading it with a NAS-friendly OS might work, but it's rather cumbersome to use in real-world situations.
But let's try it since it will cost you absolutely nothing and at the same time it will provide you with knowledge and experience.
Since everything will be software, even the hardware part of a NAS, let's see what you will need and what each of the required ones does.
VirtualBox
It is a free software that creates virtual machines by consuming some of the processors, memory and disk of your normal, physical machine.
How much it will consume is defined by you and additionally virtualBox can see and handle your peripherals (cameras. speakers, USB, keyboard, mouse, CD-Player etc), create a standalone network card and connect to the internet, create a bridged network card and connect to your real internal network and a bunch of other goodies.
Our suggestion is to include it permanently in your set of applications, set up various virtual machines (linux, windows etc) and do any tests on them that you don't trust, such as dreaded software, registry interventions etc, than on your normal one machine. If something goes wrong, just delete the virtual machine. He speaks Greek for non-English speakers.
So download the free, open source VirtualBox from here, selecting the appropriate one for your operating system (runs on Windows, Linux, MacOS, Solaris), install it, and then download the extension pack from here (it is common for all functionals).
Finally run the Oracle_VM_VirtualBox_Extension_Pack-7.0.14.vbox-extpack file you downloaded and say Yes and Agree to what it asks.
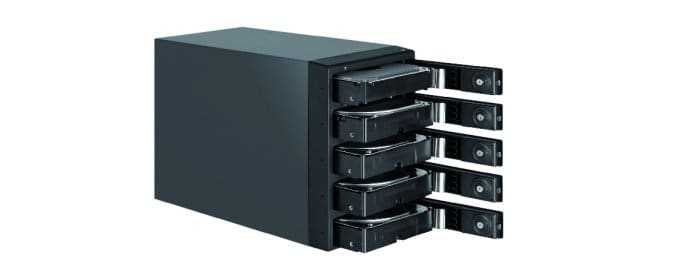
OpenMediaVault
A NAS requires a low-resource machine (even a Raspberry pi will do) on which to run a NAS-friendly operating system. In our case the virtual machine will be created by VirtualBox and for operating we will use OpenMediaVault.
This operating system is based on Debian Linux and has a simple management page that you see from a browser and from which you can change and configure your NAS storage.
OMV is extremely simple and easy to use and can also manage Debian packages for you. It allows for multi-user usage, scheduled tasks, a certificate system, and even a system of add-on packages for extra functionality.
As for OMV's storage management capabilities, you have support for GPT partitions and all major file systems, including EXT3, EXT4, XFS, JFS and Btrfs. Btrfs also allows snapshot management and automatic scheduling of cleanup and error checking jobs. It offers software RAID support.
Its requirements are low as it only needs an x86, x64 or ARM-compatible processor, 1 GB of RAM and 4 GB of storage. It speaks Greek, it's free and open source. You can download it from here (prefer the Stable version).
Setting up the NAS
In our example, VirtualBox is running on a physical machine running Windows 10 Pro.
Step 1: Run VirtualBox, click “New” to create a new machine, and in the window that appears say the following:
- Name = Give any name you want or something related to know what your virtual machine is doing.
- Folder = Tell it where to store the virtual Machine on your physical hard drive. The whole engine will be a single file, usually a .vdi along with 2-3 helper files, all in one folder.
- ISO Image = Tell it where you downloaded the OpenMediaVault iso file you downloaded earlier. VirtualBox will understand that it's a kind of Debian Linux and free you from the rest of the fields.
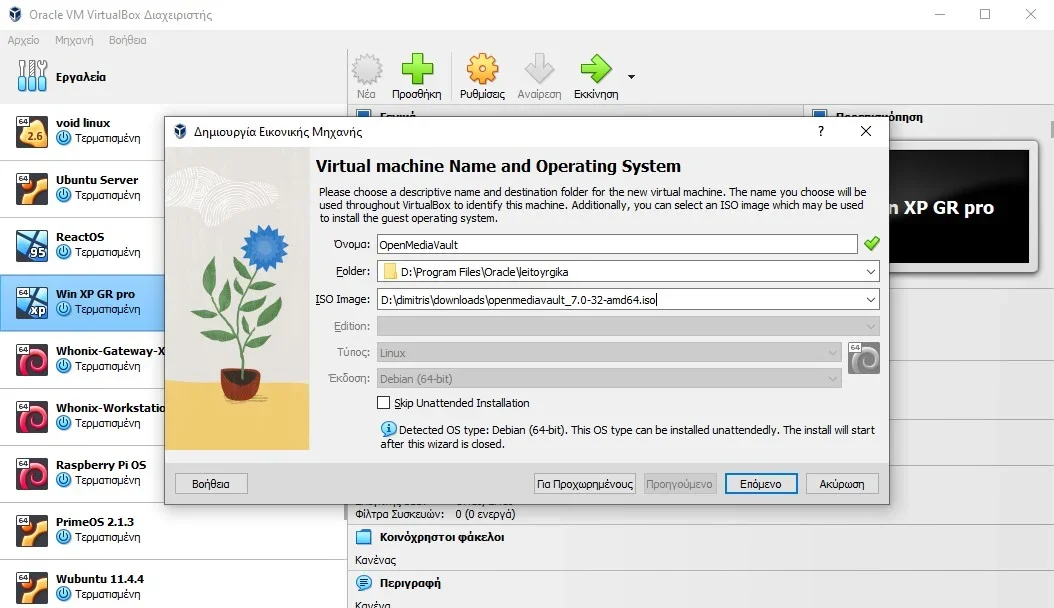
Click the “Next” button
Step 2: On the next page, provide your own username and password that is valid only for the install. Also give the name of the NAS of the network so that those on the same network as you will see it, but only for the procedure install. And default to let go doesn't matter so much.
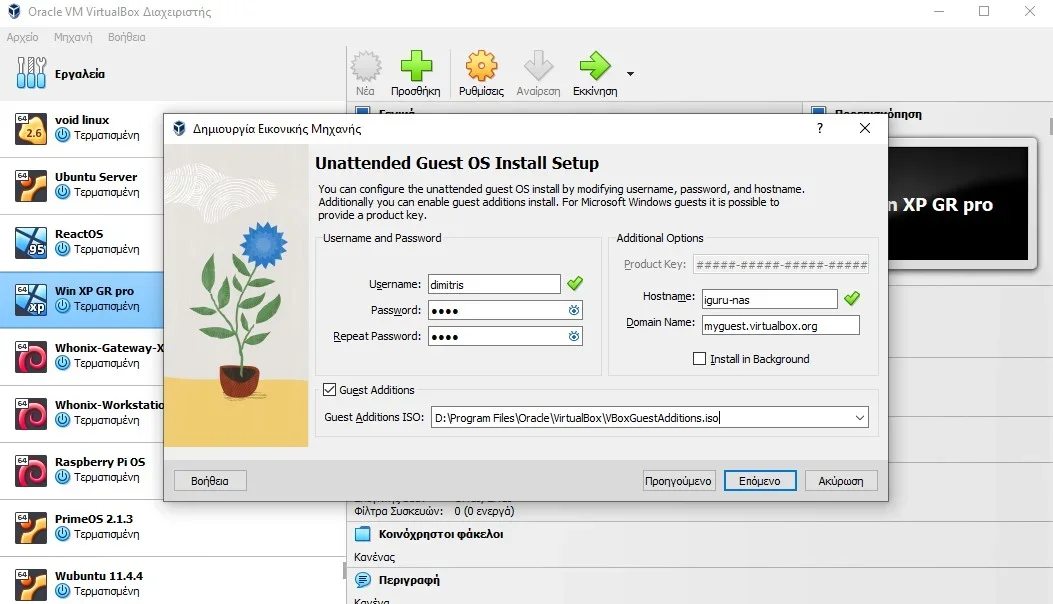
Click the “Next” button.
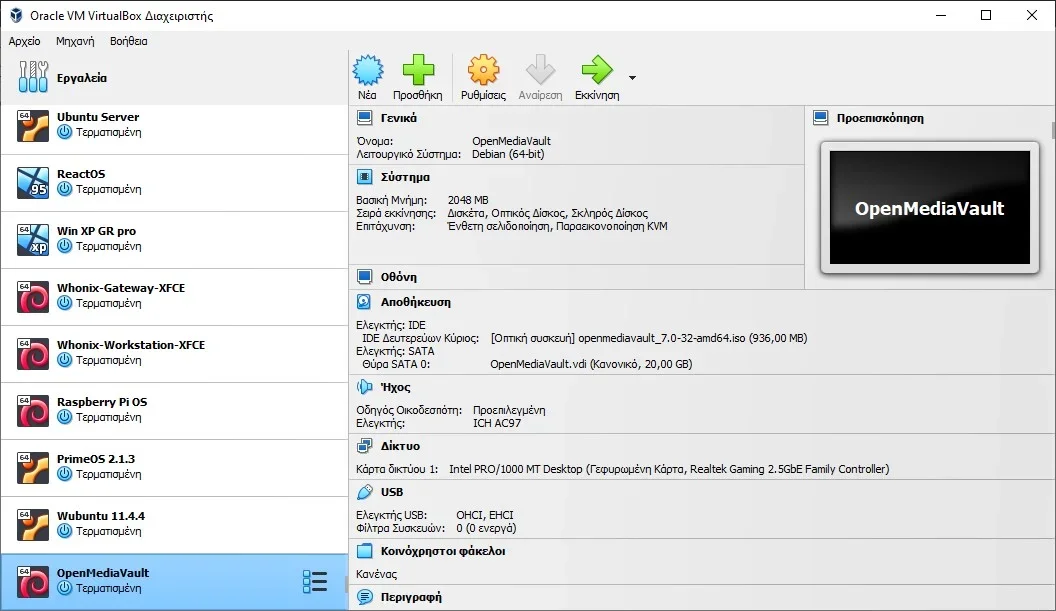
Step 3: Leave the rest as set. That is 2048 MB memory, one processor, 20 GB virtual disk (you can later increase it if needed), until you reach the “Finish” button and click on it.
VirtualBox will try to run the virtual machine but it won't even boot.
Step 4: Mark your machine on the left and go to Settings > Network and there choose instead of NAT to connect with a Bridged card, so that VirtualBox will include the virtual machine in your network.
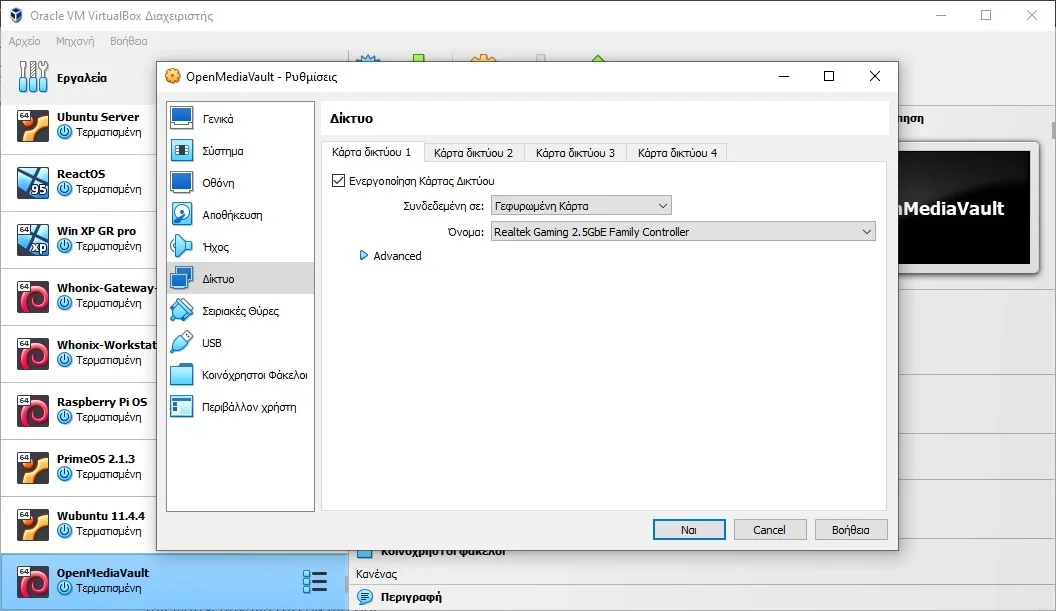
Click the “Yes” button.
Step 5: You will be returned to the original window. Click Save > Optical Device [Empty] and browse to the openmediavault_X.X-X-XXXXX.iso file you downloaded.
Now run the engine by clicking Start, top center, the one with the green right arrow.
Step 6: Sit back as OpenMediaVault begins installing on your virtual machine.
Because there are many questions and screens you will see and to save on writing the article, please do sographics THE EXCELLENT:
- In the first question press Install, but wait a while it will proceed by itself
- In the second question, choose your language (Greek is available)
- In the third question, select your country (region)
- Fourth question choose the keyboard language (Greek is available)
- Fifth question choose how to switch languages on the keyboard (Alt + Shift is fine)
Installation begins. It will ask you for the computer name. Give a name of your choice.
Then it will ask for a network name. Leave local unless you have already created a network with another name.
Then give it the root password (it will be asked twice for confirmation). Give him something to remember.
Then it will ask you where to connect for easier downloading of Debian packages. Give it a country near you or even your own, as well as the name of a repository that hosts Debian (choose whichever one you like).
Do not write anything in the use proxy to download the packages and simply tab to “Continue”. Let it download the packages it needs.
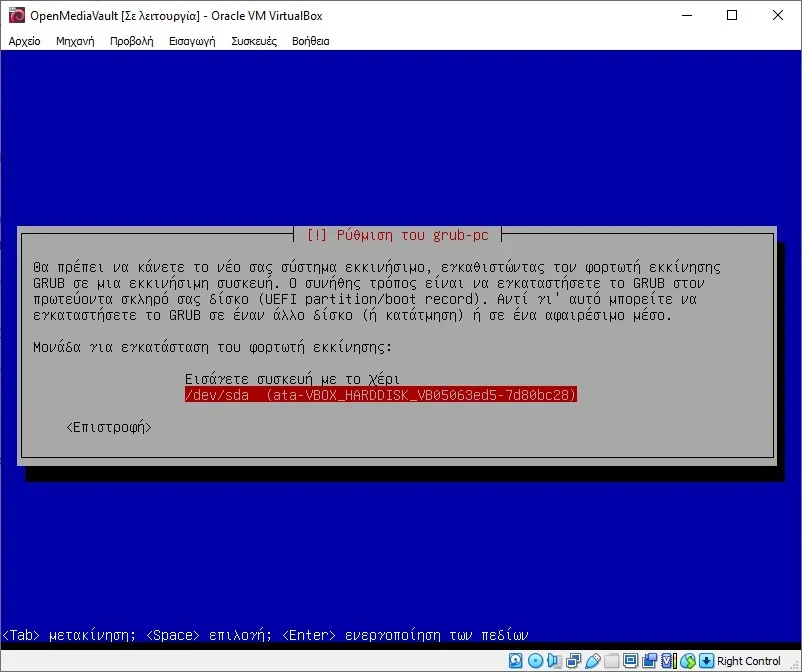
At the prompt to set up grub-pc don't select it manually and just tell it to install it to the virtual disk.
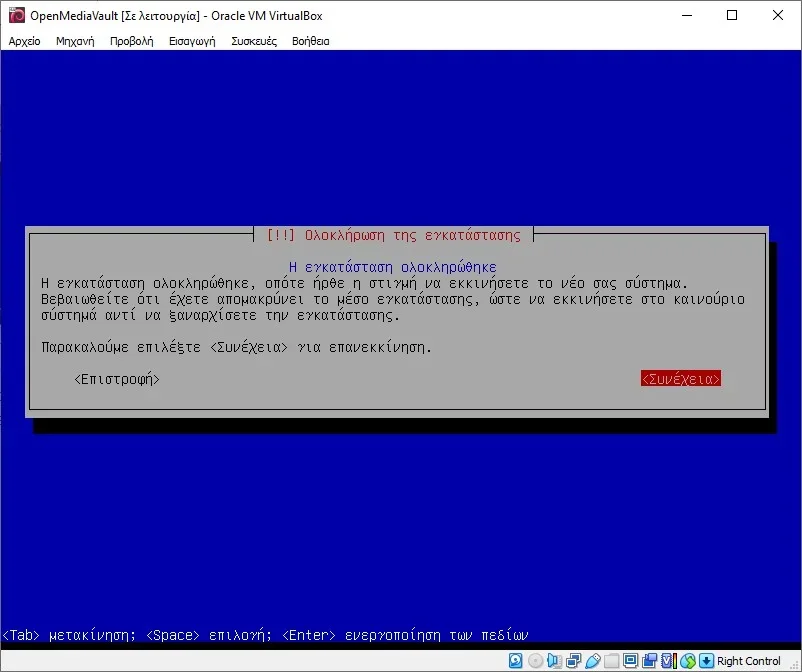
It will then complete the installation, ask you to remove the file openmediavault_X.X-X-XXXXX.iso from the virtual cd-player (which it will do by itself, it just asks for confirmation), and reboot machine.
Launch OpenMediaVault
Every time you start openMediaVault in VirtualBox it will ask you whether to run DEBIAN GNU/Linux or do something else. If you don't disturb it it will enter itself within 2 seconds.
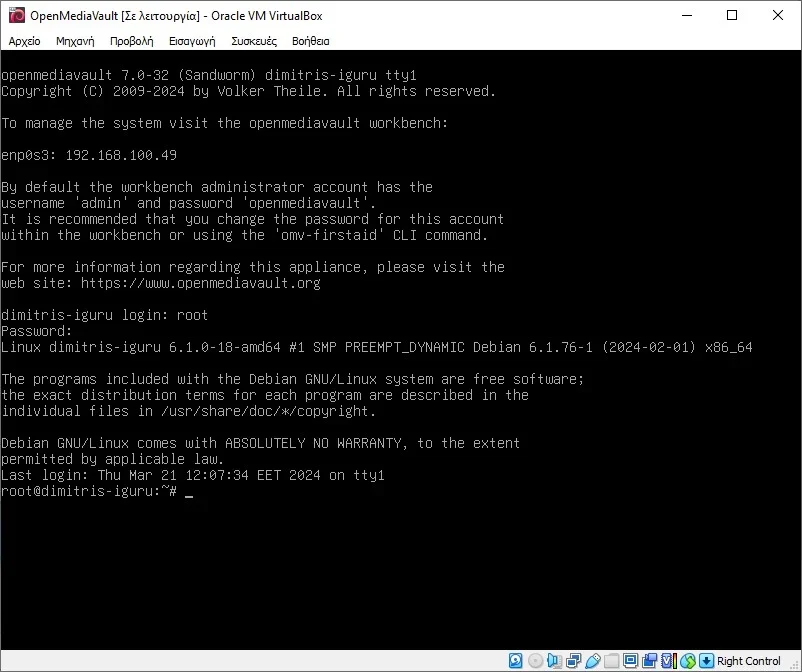
Give it the name (root) and password of the root user you set in step 6. The password won't look like you're writing anything but it accepts it normally.
Welcome to the Linux terminal!! For those of you who don't know linux ssh, don't panic. But at some point you have to enter the world of terninals and commands that are given one by one by hand.
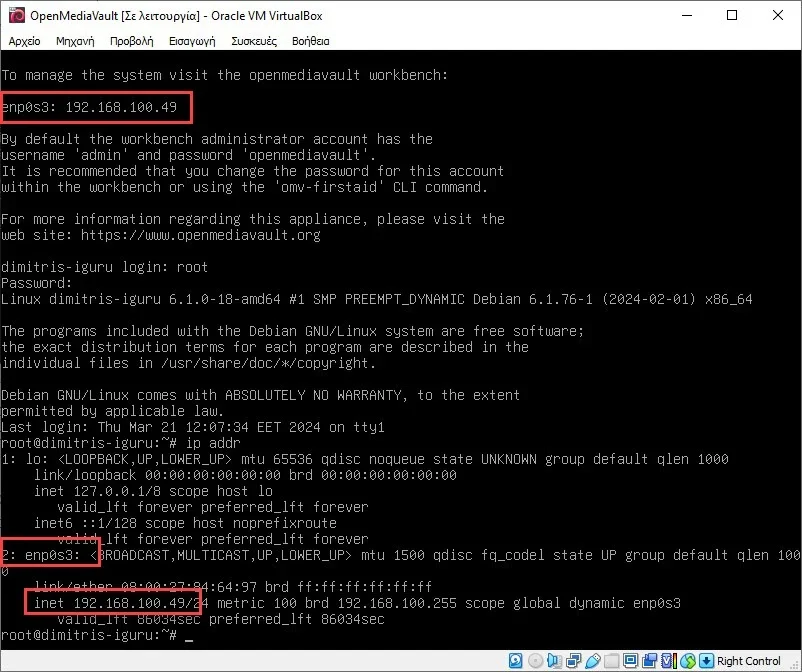
We want to find out which IP our virtual machine has taken on our local network. He may be writing it already, he may not. So you better give the order ip addr for sure.
It is the IP referred to enp0s3. For us it is 192.168.100.49
Setting up OpenMedia Vault
Leave VirtualBox running OpenMediaVault as it is and go to a browser on your regular machine.
There in a new tab give the specific ip in the url address.
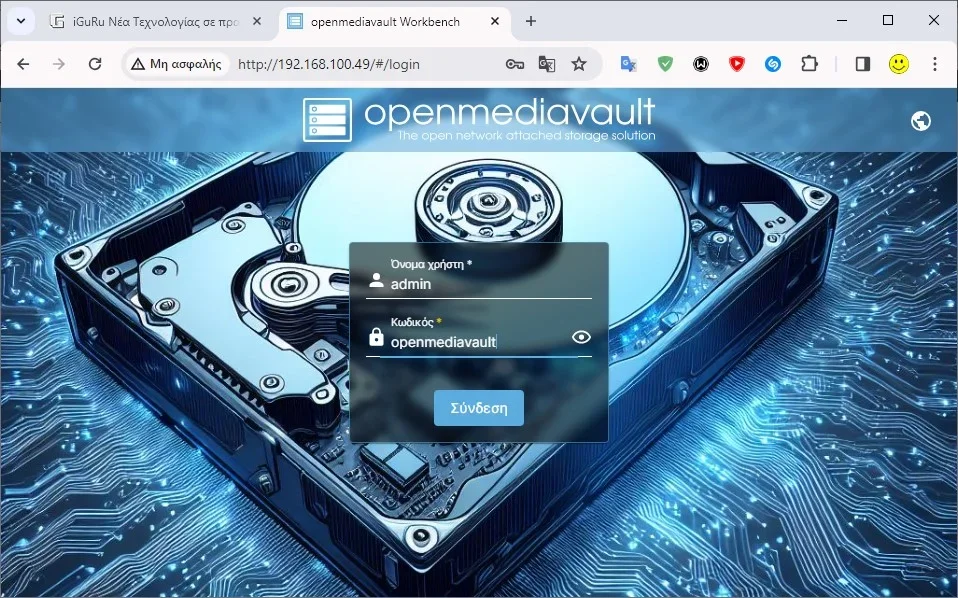
The default name is admin and the default password is openmediavault. Enter them to login.
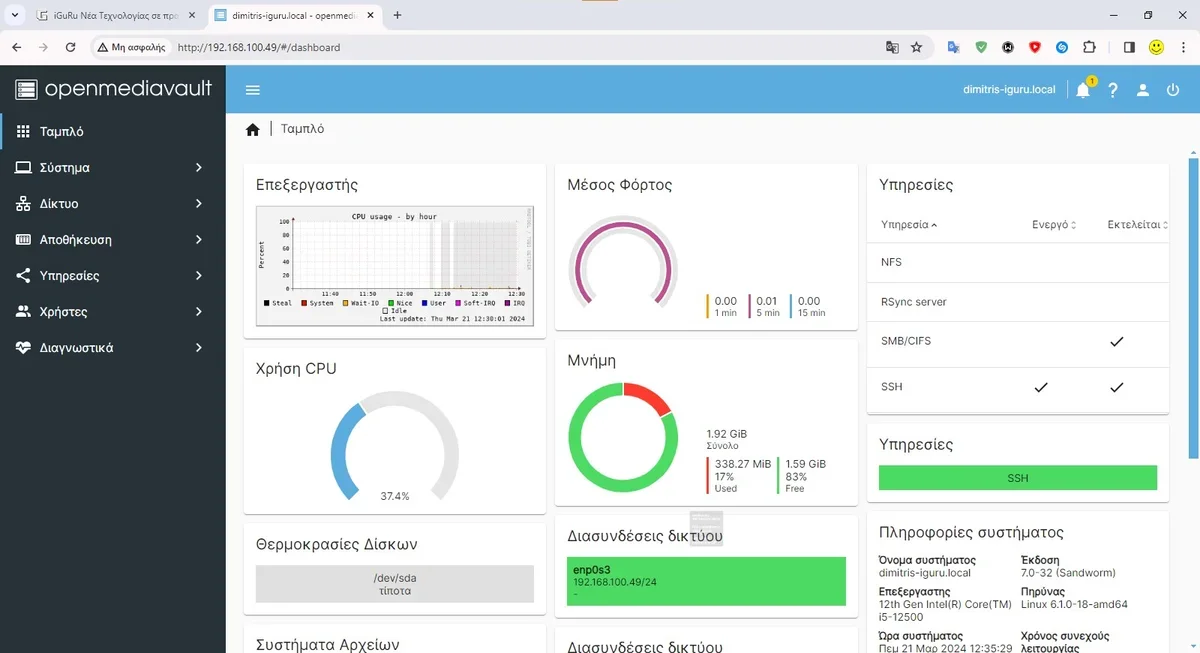
On the home page you land on, click the X in the welcome box, then click “settings page” where it says:
Informations
The dashboard has not been configured yet. Customizable from the settings page.
Select any items you want to see on the initial dashboard and press “Save”.

So you have set up the OpenMediaVault home page with the information that you have chosen:
On the left you have a simple but complete menu to "play" with your NAS, configure your disks, who will be included, etc.
If you go to explore your normal, physical, machine you will see the NAS on your network as normal.
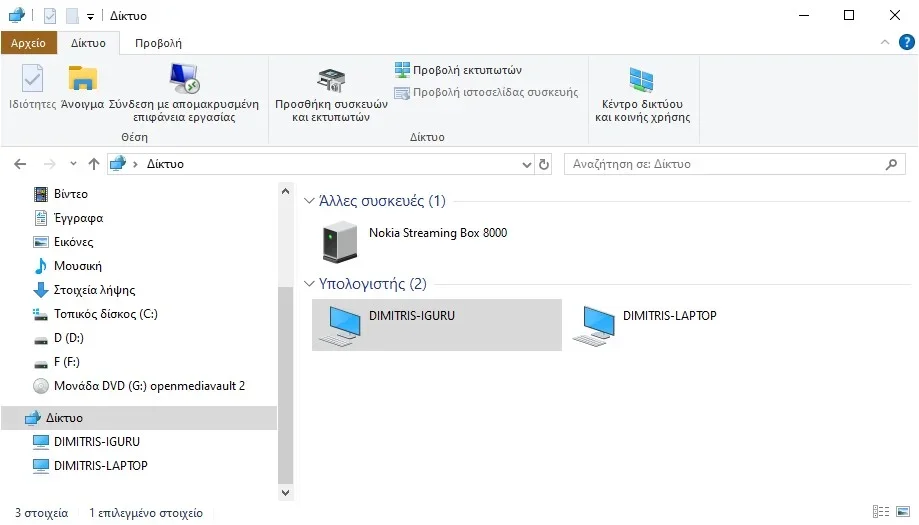
Accordingly, those computers on your network will also see the new virtual machine and with the appropriate settings they will be able to write and delete files. You will also see the OpenMediaVault operating system as a disk.
In short, you have set up a NAS inexpensively. You can start playing and learning with it and if you screw something up you don't have to worry about ruining your machine. Everything is virtual!. You just delete them

Why would OpenMediaVault be installed on windows without a VM?
However, I would like you to show something with bsd for those of us who don't want systemD, even though it can be done in debian.
Its utility also good just didn't understand the reason of vm. I mean better in bare metal isn't it?
Try it TrueNAS CORE. Free and based on FreeBSD. Just as good. As for the vm, the reason is to use the personal computer for learning purposes and not a server.