Computer monitors need to be properly adjusted to produce the best image they can. Do not rely on your device's default settings. If you have a Windows computer, see what you need to do to set them up correctly.

A computer screen is a display device and as such, you should adjust its colors to get maximum performance.
Both Windows 11 and Windows 10 have an anonymous driver called “Display Color Calibration” (Display Color Tuning) and which can help you adjust your monitor properly for the best possible color image.
Let's see how to work with this guide.
Why adjust your monitor?
Color setting of your monitor is essential if you want it to display images and colors correctly.
And since the sense of appearance is subjective, by the word right we mean that colors and images should look as close as possible to what their creators wanted you to see.
Think of it this way: A properly color-adjusted screen should display a photo almost identical to a smartphone screen or a friend's computer screen that is also properly adjusted.
Display settings terminology

There are two basic concepts in setting up a monitor that you should know. Correctly configuring these two parameters results in more realistic color rendering.
Gamma
The concept of gamma can be a little difficult for most people to understand, so let's describe it as simply as possible.
Our eyes don't perceive light like cameras do. Compared to a camera, we are much more sensitive to changes in dark tones than similar changes in light tones. Devices therefore need to translate what they see into something that looks natural to the human eye.
This is called “gamma coding”. Screens do “gamma correction” to ensure that what we see on the screen resembles what we see in the real world.
The pixels on a screen are made of red, green and blue (often referred to as RGB) and their mixture is what gives us the multitude of colors we see on a screen.
Monitors are more sensitive to individual RGB values, and if they were rendered as the monitor sees them, then you would see them somewhat distorted, especially in the color boundaries, in the points that is, where the colors come together.
The Gamma setting takes the RGB values and scales them to ensure that the display represents all colors appropriately. For a more detailed explanation, see this article: Understanding gamma correction.
Color balance
Color balance is an adjustment to how different intensities of color appear on your screen.
Many of us have seen images where the color balance is not right, resulting in a screen that appears to have too much or too little of a certain color. Remember when we used to say that Sony TVs were bright red in the 1980s?
It's especially important to get the color balance right, especially when you're projecting neutral colors, because you don't want, for example, your white or gray screen to look pink. And if you're using special filters on your images (to give them the look of old sepia photos, for example), you want to be sure that what you're seeing on the screen is actually what you're getting with your image.
Read this Wikipedia article in Greek, about color balance, which may clarify the concept.
Screen Color Tuning

Windows 10 and 11 have a complete guide, which is not easily accessible, that can adjust your screen. Let's go see him:
step 1. The easiest way to open the display setup wizard in Windows 11 and 10 is to use search. In the search box on the taskbar, type “Minimize screen colors”.
If you have English Windows the corresponding term is “Calibrate display color”. Then click on the first result.
Alternatively:
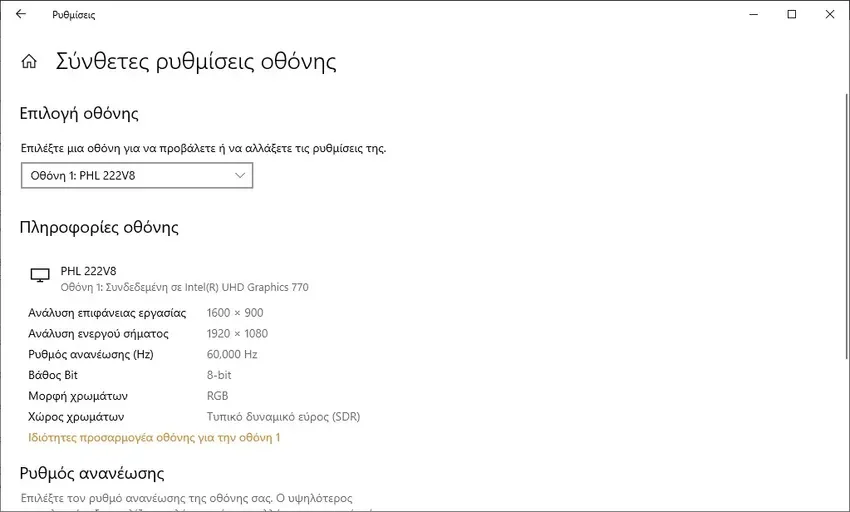
Navigate to Settings > System > Display > Advanced Display Settings > Display Adapter Properties on Display 1.
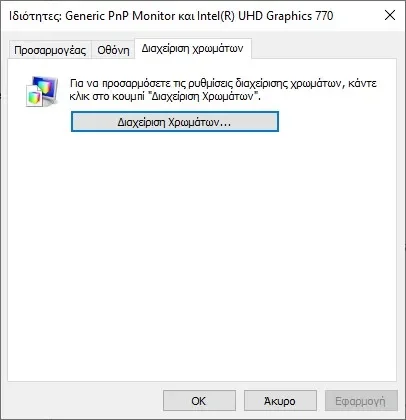
In the new window go to tab “Color Management” and click the “Color Management” button.
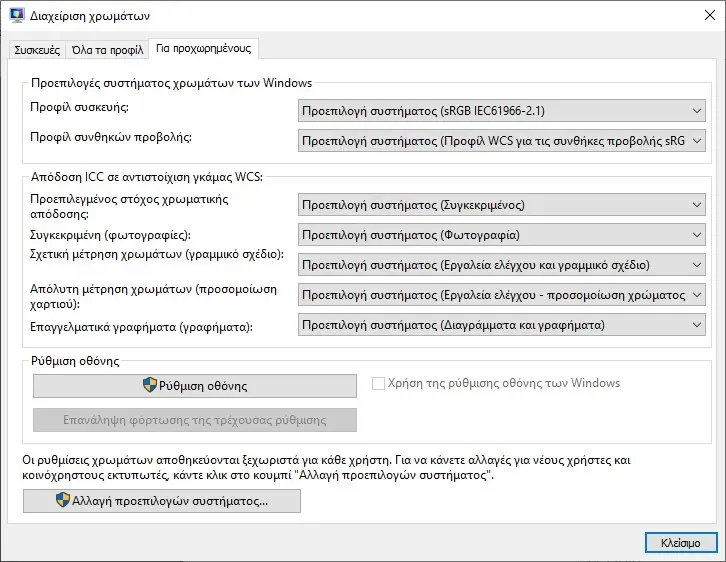
In the next window go to the “Advanced” tab and click on “Display Setting”
The Windows Wizard for Tweaking Screen Color will open.
step 2. Operation of screen color micro-adjustment in Windows
In the display color tweak window you will see a prompt to move the window to the display you want to adjust.
This is for those who have two or more monitors and if you only have one just ignore this message and just hit “Next”.
However, if you have more than one monitor connected to your computer, do as the instructions say: move the wizard window to the one you want to set up, then click “Next”.
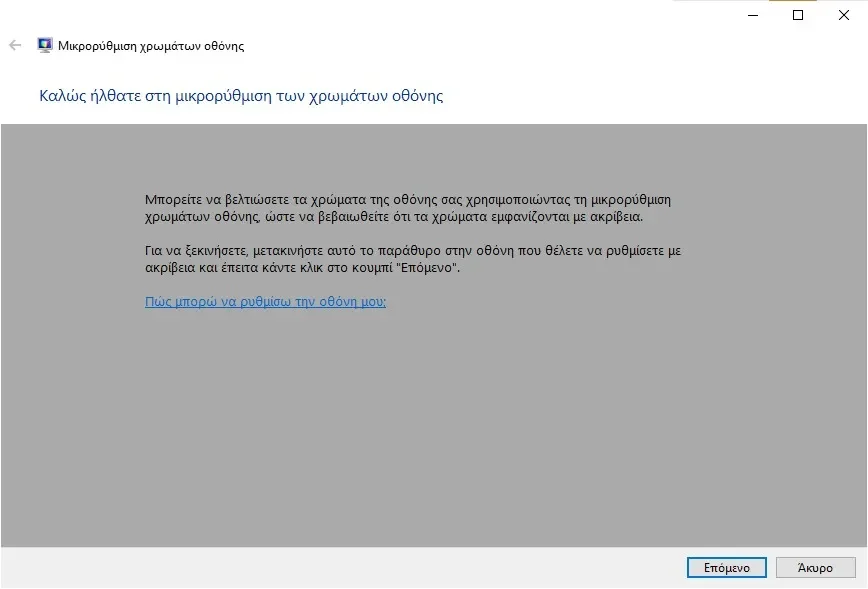
Pressing it key “Next” if you have minimized the window, it will open fully on your screen and you will be on a page like below:
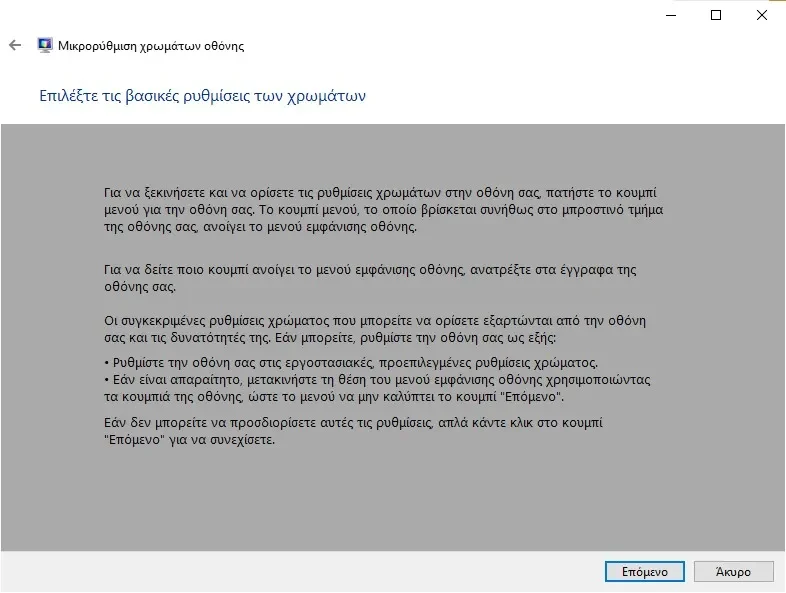
You are prompted to press the Menu button of your monitor and reset your monitor to its factory settings.
If you can't find this button, check your user manual. Note that a laptop or tablet may or may not have an equivalent Menu button for its screen.
Even if you can't adjust your screen, just press the Next button.
Gamma setting
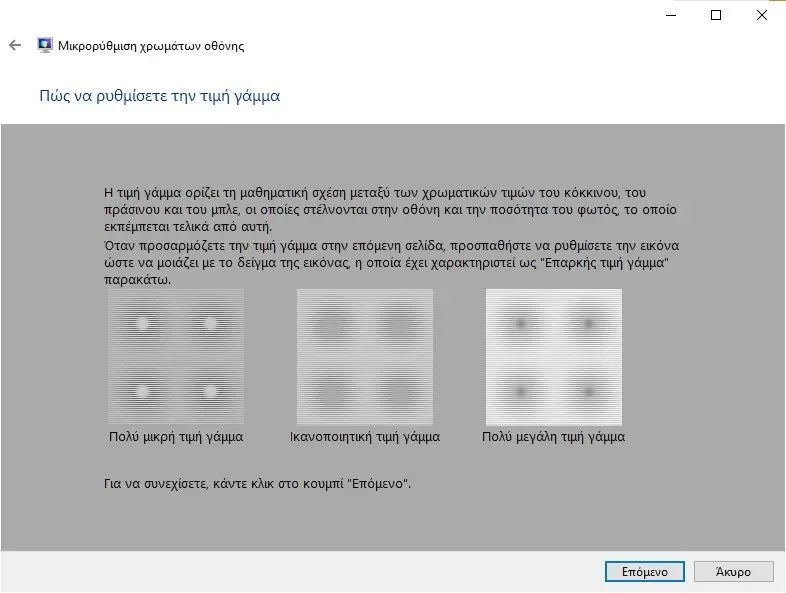
Then you get a helpful explanation of the gamma setting and why it's necessary to get it right. Read the information on this screen and make sure you understand what you're looking for.
It is important to remember the pattern that indicates a correct gamma setting. Press “Next” to continue.
On the next screen there is a vertical slider that allows you to adjust the gamma setting until the graphics on the screen look more like the middle example of the previous screen.
Basically you shouldn't see the middle dot in every shape.
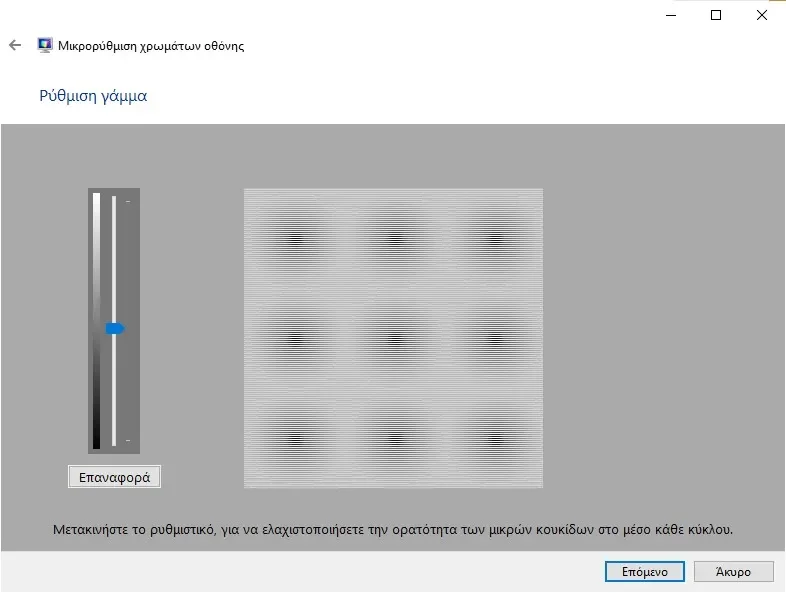
Take some time to play with this because getting the gamma right is crucial to the settings that follow. Click or tap Next when you're done.
Brightness and contrast adjustment
On the next screen, you are given the option to “Skip brightness and contrast” (contrast), but we do not recommend this.
Getting the brightness and contrast right can make a big difference in how your graphics look. Click or tap Next to continue.
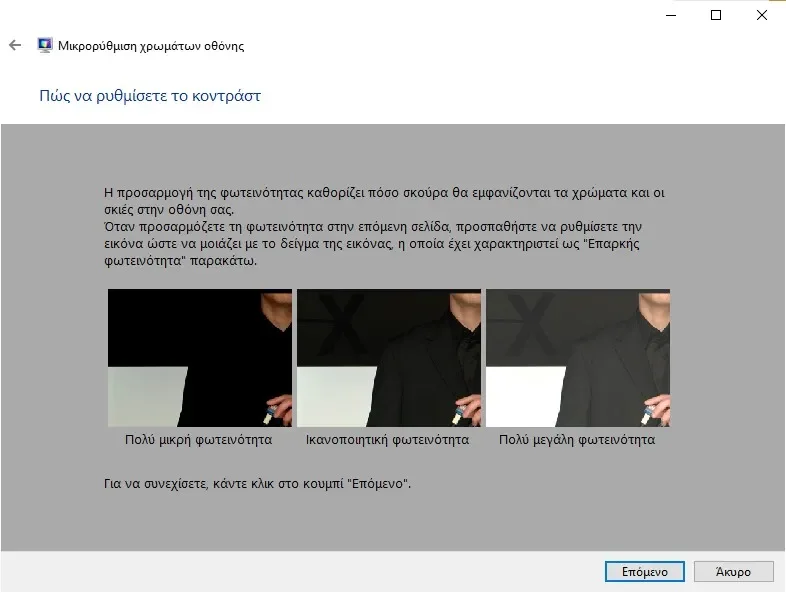
The next screen guides you through the brightness adjustment process. Please read and understand them before clicking/tap Next to proceed.
To adjust the brightness and contrast, use the buttons on your screen.
How you do this depends on your own hardware, so read the manufacturer's instructions for your monitor and proceed accordingly.
Since the appearance of each screen is different, our screenshots only show the instructions and not the results.
Also, please note that if you are using a laptop or similar portable device, you may or may not be able to adjust these features.
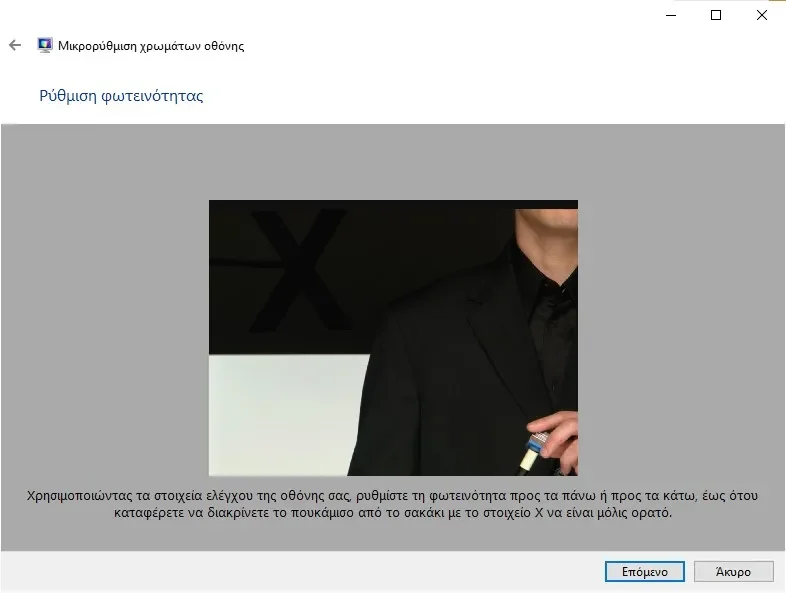
You should "play" with the brightness so that the black shirt stands out from the black jacket and also shows a huge X, in the upper left of the photo.
Next comes setting your screen contrast.
As the monitor color calibration guide tells you, this is an important step in the process of calibrating your monitor because it checks the level and sharpness of highlights (the brightest areas of images displayed on the screen).
Check the three sample images in the guide and try to note the image of satisfactory contrast : this is what you aim for in the next step.
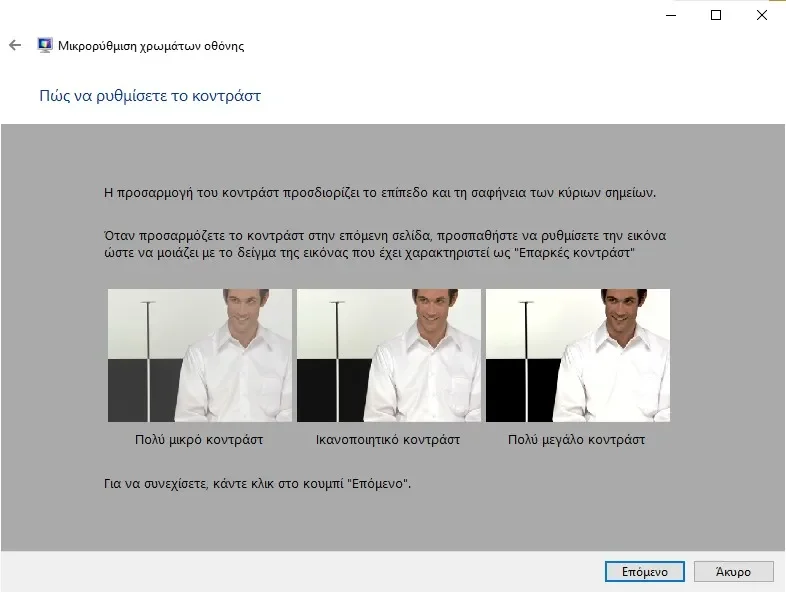
Then use the buttons and OSD menu on your monitor to adjust the contrast so that in the displayed image you can see the pleats and buttons of the shirt.
Here set the maximum value but see the above two elements of the shirt.

Adjust the contrast on your screen
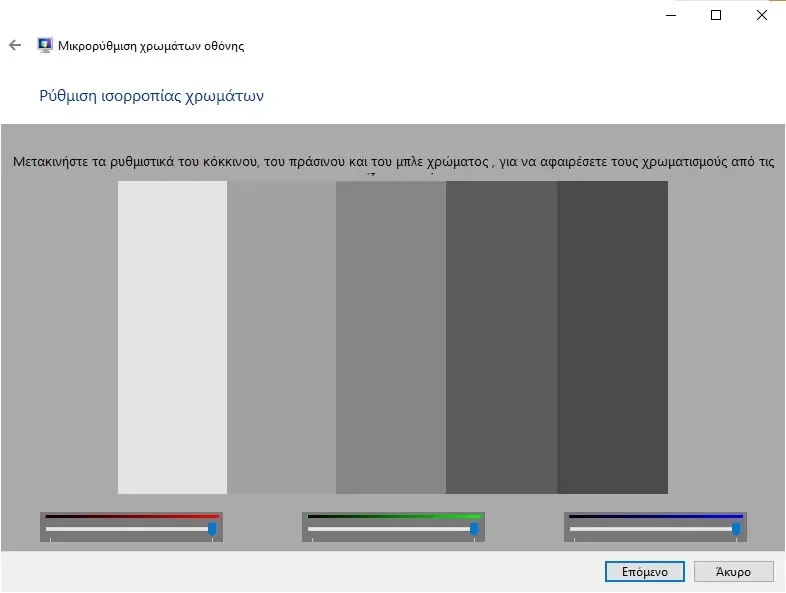
The next step is to adjust the color balance. Read the Microsoft wizard instructions before clicking Next.
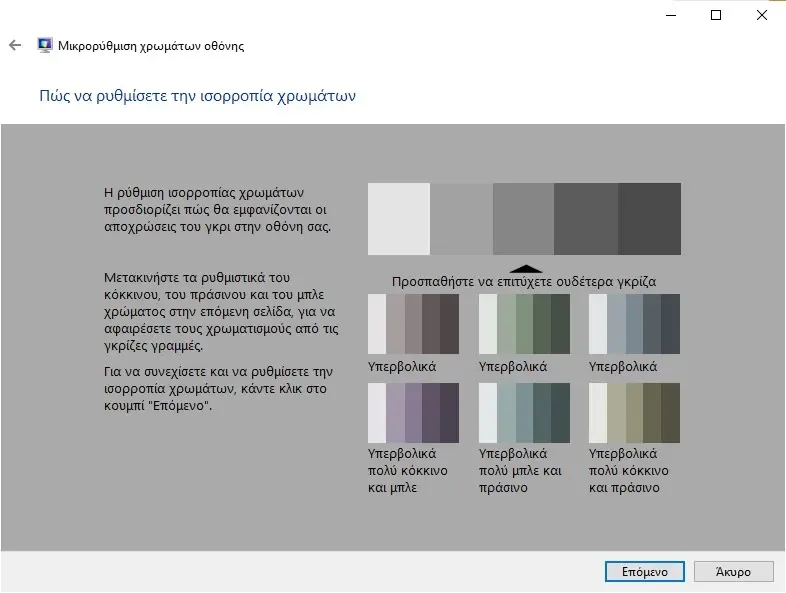
On the next screen you need to use the three sliders below the red, green and blue elements to try to achieve a neutral shade of grey.
Take your time with it and move all the sliders until you get the best result.
Once you're done with color balance as well, you've reached the end of Microsoft's guide.
If you want to see the changes you've made, you can switch between your previous settings and your new ones.
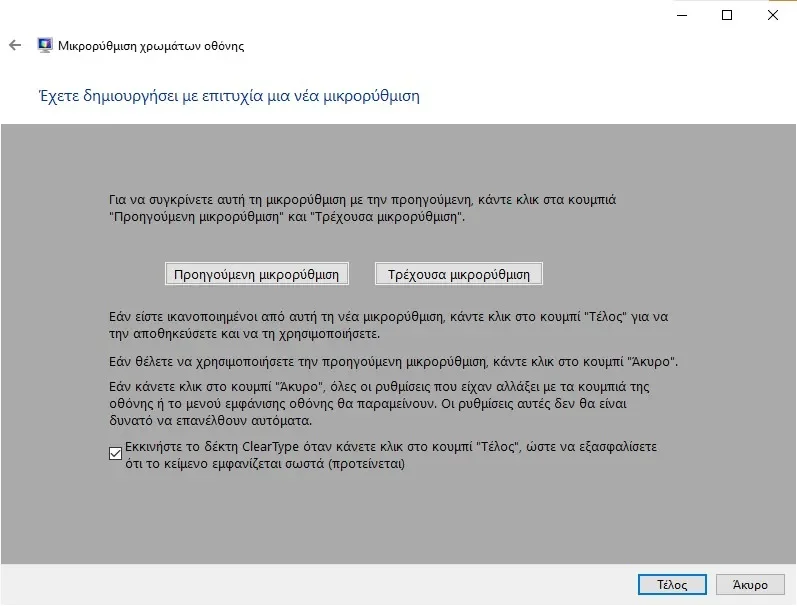
Now, you can press “Finish” to apply the color tweak for your screen.
However, before you do that, there is one more thing worth mentioning: the wizard also gives you the option to start the “ClearType” receiver on this last screen.
We recommend that you select this option to also customize how your screen displays a text. Check out our guide to ClearType.
If you missed it by mistake, you can find this setting again by searching the taskbar for the text “Customize ClearType text”.
In conclusion
Monitors don't have a better setup if you leave it at the default settings. You should set it up immediately after installing it for the first time.
Also keep in mind that monitors change behavior over time as they age. The change is so slow and gradual that we don't even notice it.
The Windows Display Color Tuning Wizard lets you see what's happened and adjust your display to smooth out the inevitable changes.
While the guide isn't perfect and has its limitations, it's worth going through the steps to see what kind of improvements can be made.
