
See this article for a guide on how to restore or delete CMOS on a Windows 10 computer.
Sometimes when your computer won't boot or you are facing another error during startup, you may need to reset or clear CMOS to fix the problem. So let's see how you can do it.
What is CMOS?
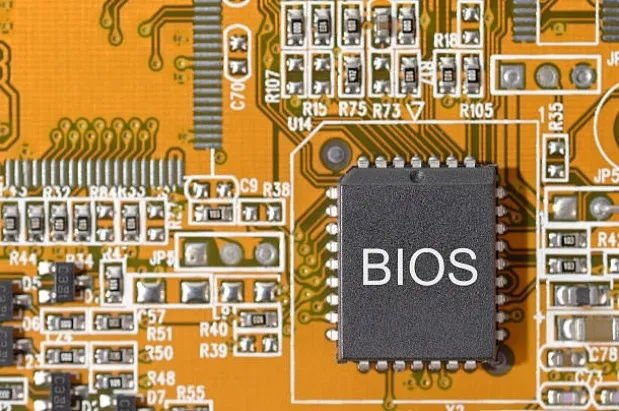
CMOS = Complementary Metal-Oxide-Semiconductor is a small amount of memory on a computer motherboard that stores the basic input / output (BIOS) settings.
The BIOS is the software stored on the memory chip on the motherboard. It instructs the computer on how to perform certain basic functions such asmovement and keyboard control. The BIOS is also used to detect and configure hardware on the computer.
For startup problems or appearances, clearing CMOS can help you recover your motherboard because it restores the default BIOS settings.
Resetting the CMOS from the BIOS
You can easily reset CMOS using the BIOS menu. This method will change all the BIOS settings to the default and thus restore the CMOS to its original state.
Step 1: Restart your computer and boot the BIOS.
When your computer starts up, your motherboard gives you the right to press a key to enter the BIOS. The right key for your system could be F1, F2, F10 etc. It depends on your manufacturer.
You may be able to see what the key is for you when you start your computer if you notice the lower left or right side of the boot screen. Therefore, be sure to pay close attention to the first screen that appears when you turn on your computer.
Step 2: Once the main bios screen appears, look in the menu for something like Load Setup Defaults or something with a corresponding meaning. Select it and press enter to proceed with the process.
Delete the BIOS with a screwdriver or short circuit
If you are confused by the word "delete", we mean that you will delete the additional settings that you have made or the sales store in the bios and you will essentially restore it to its default settings.
So if you can not enter the BIOS setting at boot, follow these steps to delete the CMOS and restore it to its original settings. Here you may need the services of a computer technician.
Step 1: Turn off all peripherals connected to the computer.
Step 2: Disconnect the power cord from the AC power source and press the start button to discharge the internal capacitors that “hold” current. Make sure you are grounded, otherwise static electricity on your hand can cause damage to parts of your computer. To ground yourself, simply grab something metallic that is unpainted and reaches the Earth (radiator pipes, water pipes, socket grounding, railings, etc.).
Step 3: Remove the computer cover.
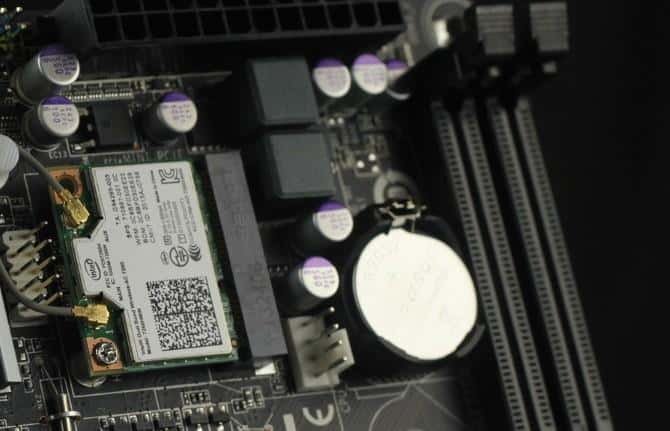
Step 4: Find the battery on the motherboard. The battery can be in a horizontal or vertical battery case or connected to an integrated cable and plug.
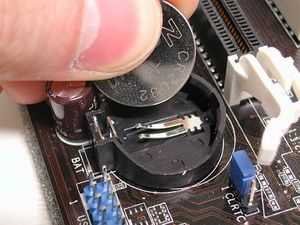
If the battery is in a case, note its orientation, ie where the + goes and where - goes in the battery. With a small straight-nosed screwdriver, gently remove the battery from its case. Be especially careful not to short-circuit the + with the - with the metal screwdriver or with your hands as you discharge the battery. The photo below is indicative of this common mistake.
If the battery is connected to a built-in cable connector, disconnect the plug from the motherboard.
Step 5: Wait 10 minutes, then reconnect the battery. Intel recommends 5 minutes but a little more for sure does not matter.
Step 6: Replace the computer cover. Plug in the computer and all peripherals. Now you can test the computer and logically the BIOS should have got its default settings.
Alternatively, you can use a jumper that your motherboard usually has for this job. Find it, put it in Clear or CLR, and restart your computer. Be sure to return the Jumper to its original position after starting your computer.
Be careful which jumper you will touch because a motherboard does not have only one but several more that do different tasks.
In general, because there are many types of motherboards and correspondingly many CMOS deletion manipulations, the above methods and manipulations are general and represent a large sample of motherboards. But it would be good to read the user manual of your motherboard first to see the exact way of handling it.
