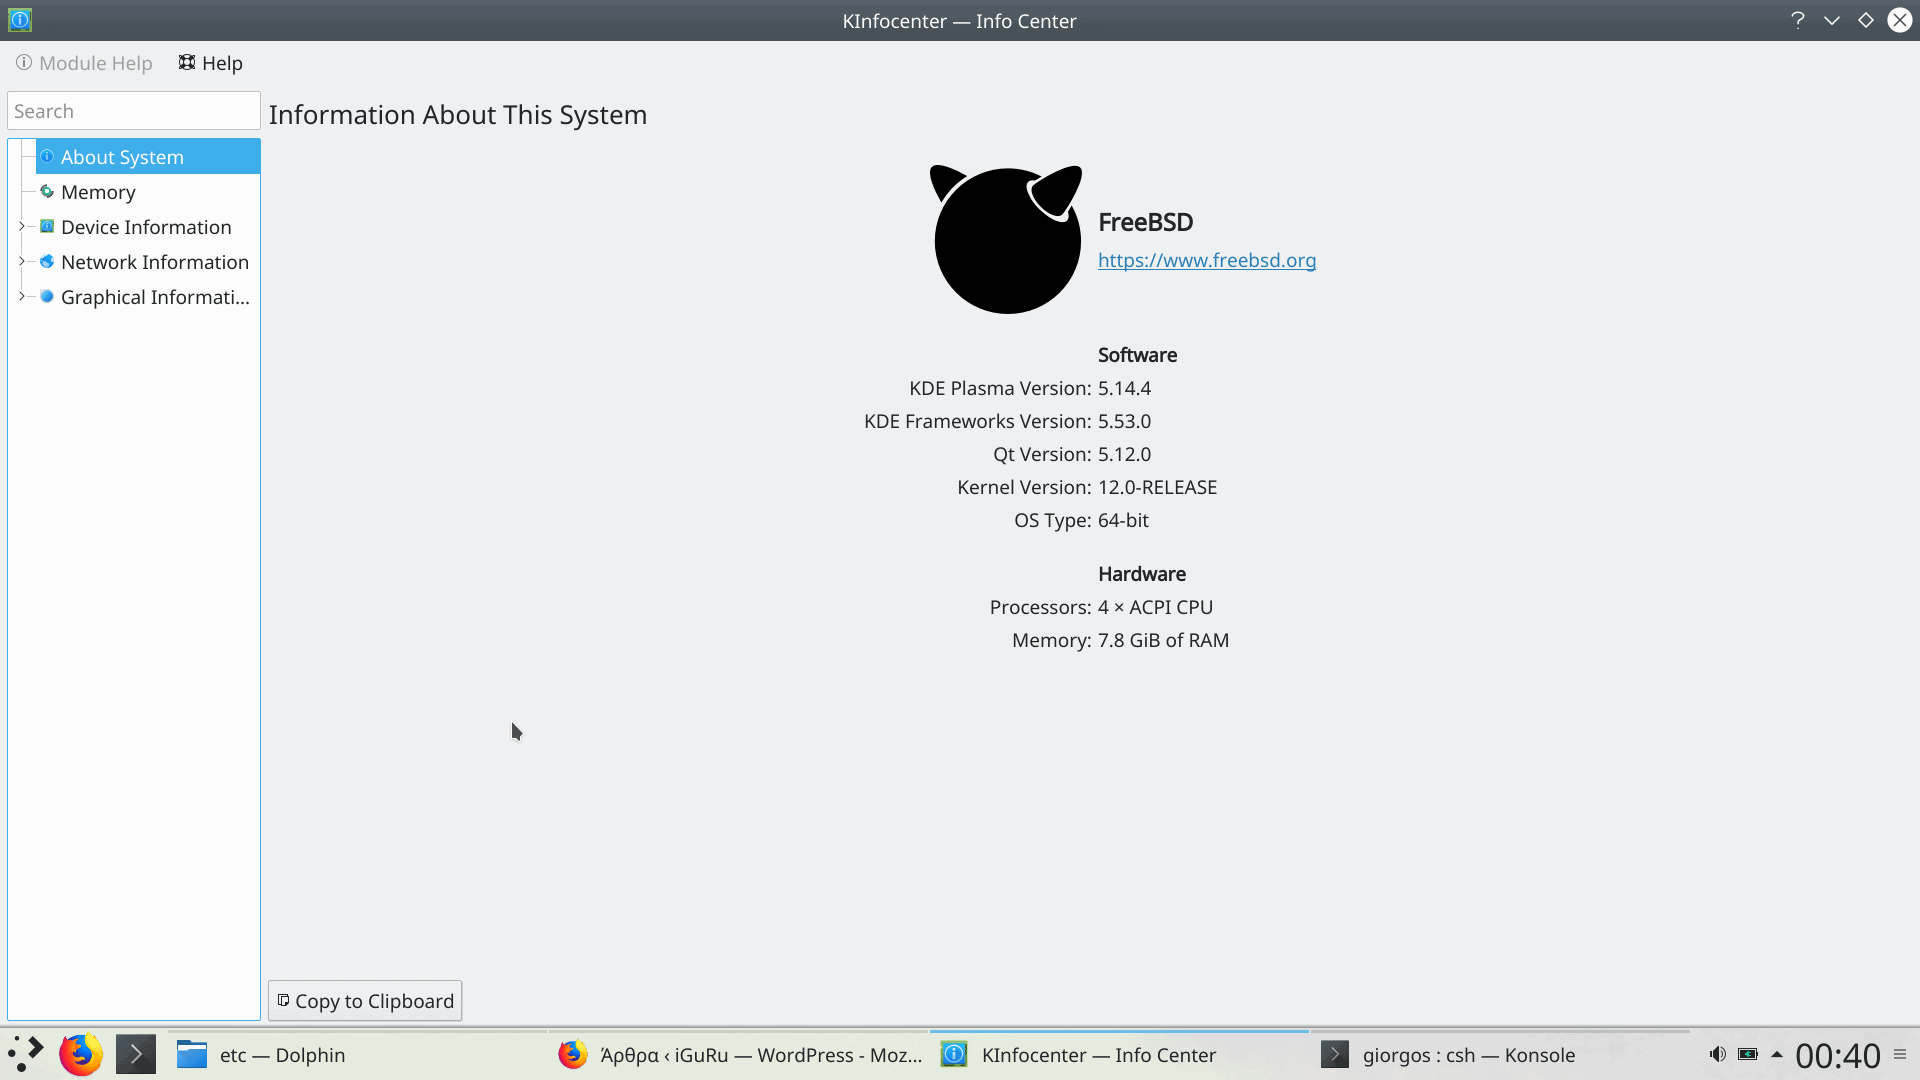
In previous publication we saw how you can install FreeBSD 12 on your computer, but also how to add it to your Linux distribution boot menu.
Today we will add the necessary desktop environment to have a graphical management environment.
FreeBSD and Xorg
First we will install xorg. The Xorg is default X11 implementation for FreeBSD. Xorg is the X server of the X.Org Foundation's X Window System implementation, and it is open source. Then we will see how X11 is configured so that you can install a working desktop environment.
In most cases, X11 is automatically set. If your system is old or has very new hardware, it will be useful to collect some extra information about your hardware before you start the setup.
We will not see it so thoroughly. Let's start with installation. Log in as root (su and enter root password). Run the following command.
pkg install xorg
Xorg uses HAL to automatically detect the keyboard and the mouse. Sysutils / hal and devel / dbus ports are automatically installed by x11 / xorg dependencies, but should be enabled with the following entries in /etc/rc.conf:
nano /etc/rc.conf
dbus_enable = "YES" hald_enable = "YES"
Restart your system to activate the services, or just run the following commands to turn them on:
service dbus start service hald start
It's time for the first test of x11. Operates; run the following command.
If you see a graphical environment, we can continue with installing the desktop environment.
startx
In some cases, auto-tuning may not work properly, or may not set the devices exactly as you wish. In these cases, you will need to make some manual adjustments.
The first step is to create an initial configuration file. Run as root the following command (the X-Chapter):
Xorg -configure
This will create a standard X11 configuration file in the /root directory named xorg.conf.new. X11 will attempt to detect the subsystem graphics of the system and create a configuration file that will load the correct device drivers for the detected hardware on your system.
The next step is checking the existing settings to confirm that Xorg works with your system's graphics subsystem. Type (the X capital):
Xorg -config xorg.conf.new -retro
If a black and gray grid appears and a index finger X-shaped mouse button, setup was successful. To end the test, and change your environment to terminal again press Ctrl+Alt+Fn (F1 for the first virtual console) and press Ctrl+C.
FreeBSD 12 Installing KDE
To install the ready KDE package from the network, simply type:
pkg install x11 / where5
However, KDE also needs the /proc file system to function properly. Add it below line in /etc/fstab with nano /etc/fstab
proc / proc procfs rw 0 0
Install and configure KDE Display Manager
pkg install x11 / sddm
After installation, add the following line to rc.conf
sddm_enable = "YES"
Edit the file with
nano /etc/rc.conf
(Tip: To save the file that you are editing to nano, press ctrl + X together. On the next screen, type y and press enter.


Buen trabajo gracias. This explains how the freebsd 12 installation is a ssd, and there is one particular configuration that is installed by the normal handler.