
You can inexpensively and without buying the device, create a Raspberry Pi virtual machine and work with its operating system from your main computer.
The Raspberry Pi is an amazing little machine with a very low price, but also very low on features and adaptability. But it's a very capable solution for the hobbyist who wants to do basic work on a budget. If you don't want to spend the small amount of money required to buy it but are curious about what the operating system is like, all you have to do is set up a virtual Raspberry Pi on your main computer.
You need a Windows or Linux or Mac computer to install an Oracle VM VirtualBox which in turn can run virtual machines and extension a Raspberry Pi virtual machine.
Due to its simplicity the Raspberry Pi has a peculiarity in its installation. This guide will show you how to install them. Let's go see it.
Setting up the programs
step 1 : To build a virtual machine with Raspberry Pi, you will first need a Raspberry Pi ISO image. Unfortunately, the version normally installed on a Raspberry Pi will not work because it is saved as an IMG file.
So, go to the Raspberry Pi OS image download page. You should see a list of links and versions to download.
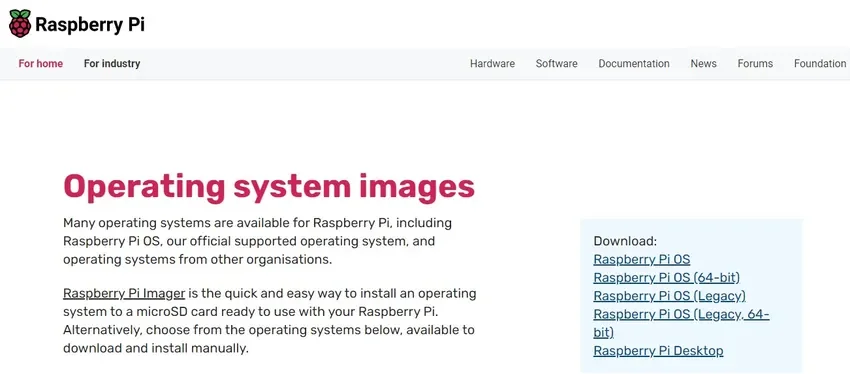
Scroll down, find and download it Raspberry Pi desktop (click the “Download” button). This is the only version on the list that saves as an ISO file.
step 2 : We assume you already have VirtualBox on your computer. If not, download and install Oracle VM VirtualBox from its official page.
step 3 : Run VirtualBox and click the “New” button. The “Create Virtual Machine” window should appear. In the “Name” field, add the name of the virtual machine you want, for example Raspberry Pi OS.
In the “ISO Image” field, click the drop-down menu and select “Other…”. A file explorer will appear to find the Raspberry Pi OS ISO file you just downloaded.
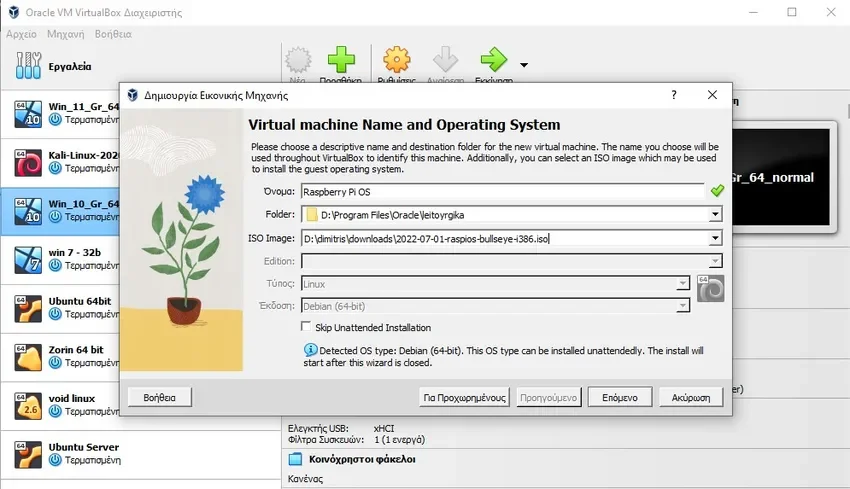
After selecting the ISO file, all other fields should be grayed out. Click the “Next” button.
step 4 : On the next tab you should see a choice for Unattended guest OS Install Setup. You can skip this part, but you may need to change the “Hostname” field if you have previously chosen a name with spaces. Put dashes in the blanks so you can continue.
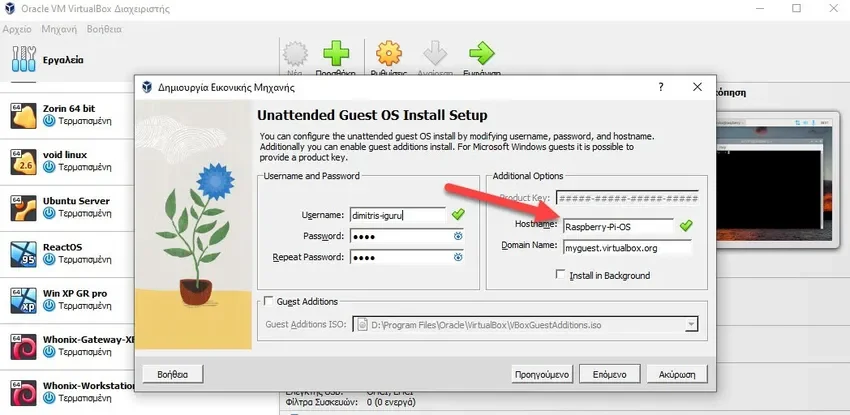
Click “Next” after that.
step 5 : Below you can increase or decrease the random access memory (RAM) and CPU count for your Raspberry Pi virtual machine. The default should work fine, but if you wish you can add more to speed up your virtual machine even more. Click "Next" after you complete the setup.
Next is the virtual hard drive. This is the size of your physical disk that your Raspberry Pi virtual machine can use. Selecting the “Pre-allocate Full Size” checkbox immediately allocates the maximum size to your host's hard drive.
You should allocate at least 8 GB of virtual hard disk to ensure that you have enough space to install the Raspberry Pi OS and any other programs you may need to work with it. The preset 20 GB is enough.
After clicking “Next”, you should see a σελίδα to check your current virtual machine settings.

If you are satisfied, click “Finish”.
Install Raspberry Pi OS
step 6 : The moment you click "Finish" from the summary section, VirtualBox should automatically run the virtual machine.
But you will see the following problem: the ISO will not load and you will find an error code that says “No DEFAULT or UI configuration directive found!” (No DEFAULT or UI configuration directive found) in VirtualBox.
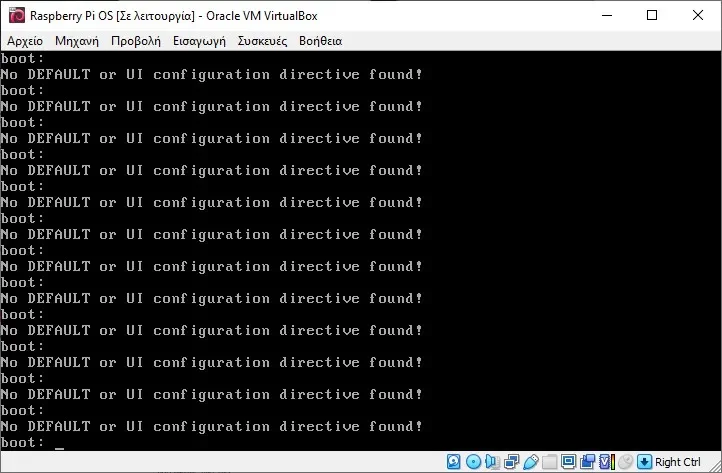
To fix this, you will need to turn off your machine.

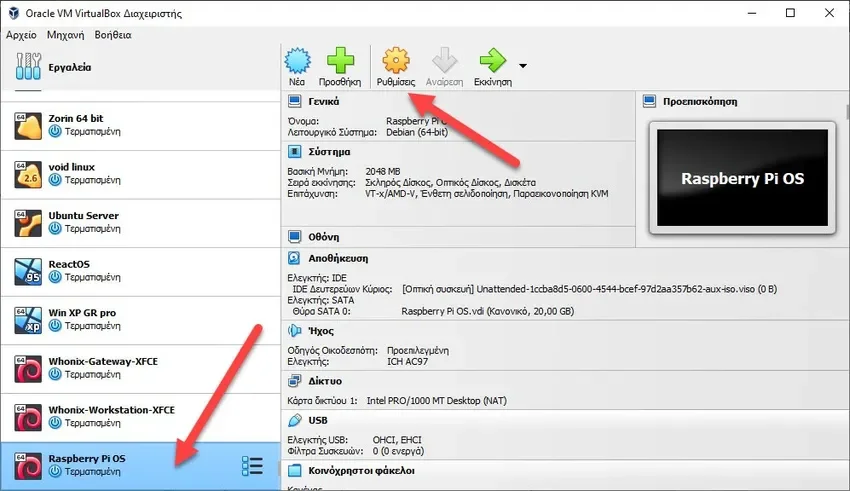
step 7 : From Virtualbox's list of your virtual machines, select your Raspberry Pi virtual machine, then click Settings.
Go to “Save -> Controller Contents: IDE”. Normally, it should be called “Unattended” followed by a series of alphanumeric characters. You may sometimes get an “Empty” name.
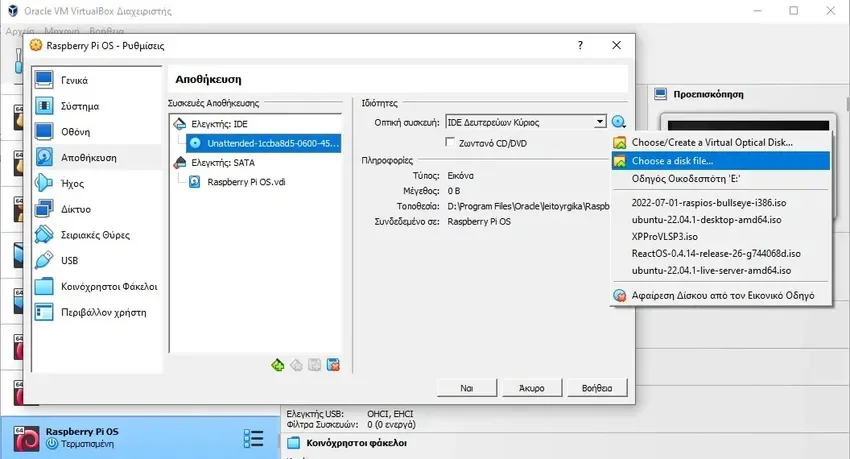
Click the disk icon next to the drop-down menu. A separate drop-down menu will open allowing you to select an ISO image. Select “Choose a disk file…” to access the file explorer and then select the Raspberry Pi ISO image you downloaded from step 1.
Click “OK” to finalize your settings. Your Raspberry Pi virtual machine should now run without problems the Raspberry Pi installer the next time you run it.
Note: The BIOS mode settings will appear when you run the Raspberry Pi virtual machine. Leave it until you see the Raspberry Pi welcome screen or hear the screen reader say “To install the screen reader, press Ctrl+Alt+Space.”
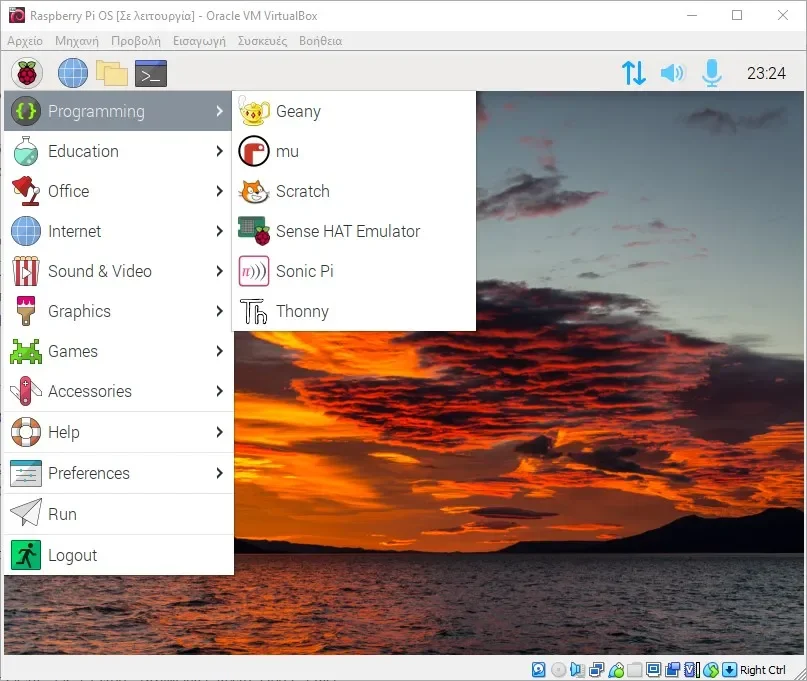
From this point on, setting up the rest of the virtual machine will be similar to performing post-installation configuration on a regular Raspberry Pi. This means you can now configure and customize your new Raspberry Pi virtual machine.
When the OS installation is finished you will see some pre-installed programs, utilities, a Chromium based browser, games, VLC, LibreOffice and of course a terminal.
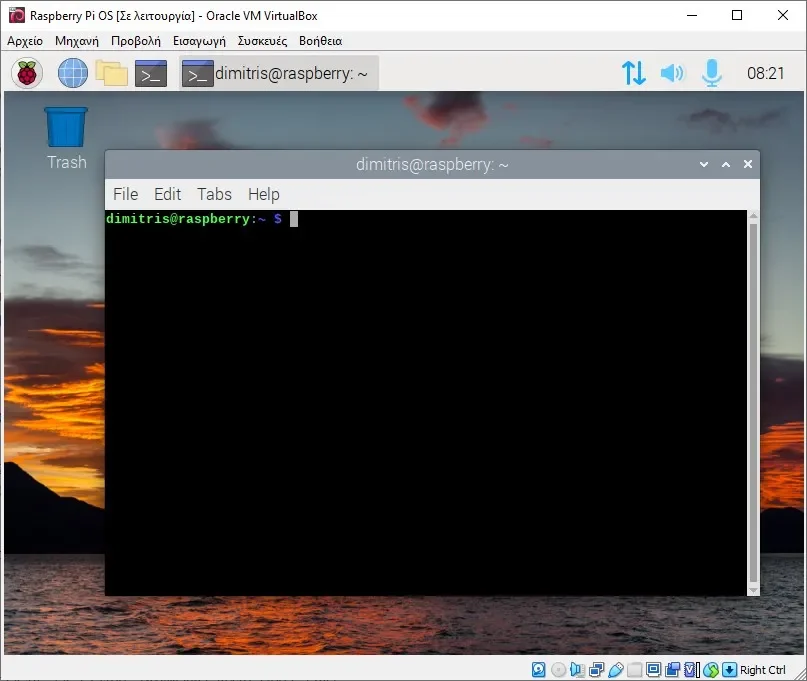
Raspberry Pi's operating system is based on Debian 11.
