
Gmail is popular and available for free. So many of us have more than one account to Google's email service. Did you know that you can link all your accounts into one, and very easily be able to receive and send emails from that main account?![]()
Below we will see how to connect all of them accounts in Gmail, so you can have everything in one without having to switch between accounts.
All they need is a few tears in Gmail's settings.
You'll see that it's very easy to link your accounts, but most importantly, organize your Gmail inbox to know which account each email is.
So we follow the following 4 steps:
1: Add a second one addresse-mail
2: Forwarding incoming mail
3: Label for all incoming emails
4: Create a filter to automatically organize your inbox
As you can see, the first two steps will link two accounts together and the next two will organize the inbox for an improved email management.
Add a second address
You will use the Gmail account you control most often. Use it as your primary email, which will receive all emails from your sub accounts. Personally, I use my main Gmail account with my Google Calendar.
This main Gmail account will allow you to receive, search and send replies with the email name of the accounts we will add….
So let's go to the main Gmail account and link the second Gmail address to it.
Click on the gear icon and then Settings from its upper right corner screenς σου.
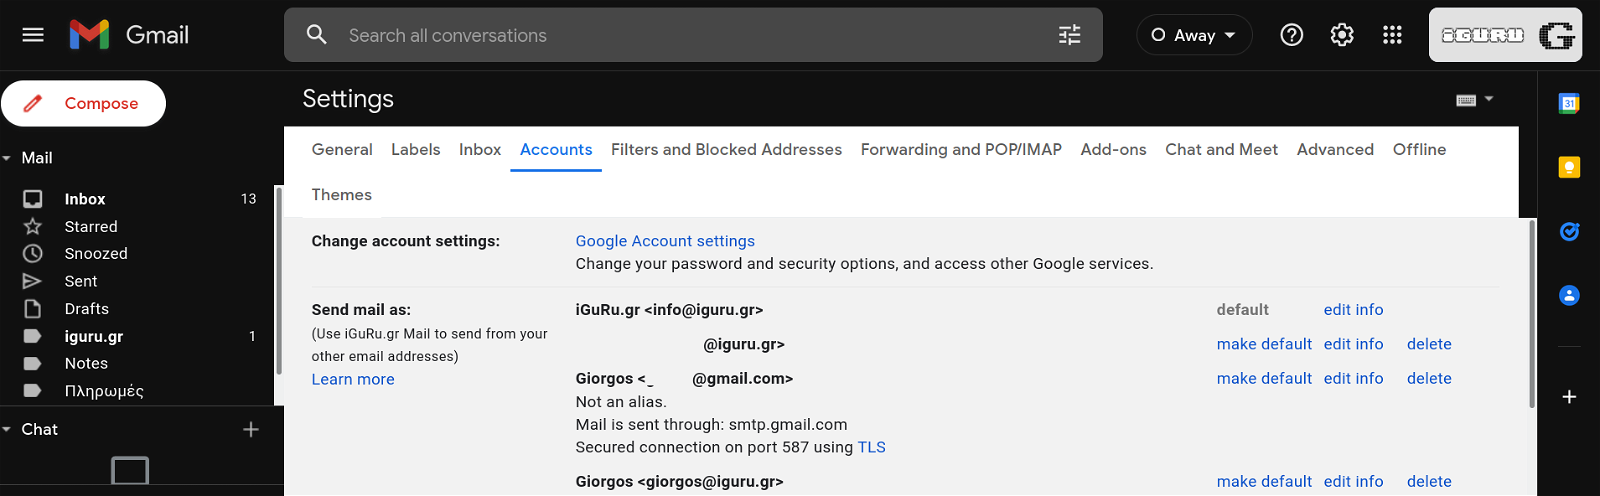
Click the Accounts and Import tab. Now, in the "Send Email as:" setting, click Add another email address that belongs to you.
It will open a new website. In the name field, enter your full name. For the email address, type the second email ID that you want to link to this account.
Select the Reply box from the same address the message was sent to answer without having to change the address each time. Google will do it automatically.
Gmail will send a verification message to this account to confirm that you are the owner of the account.
Next, you need to enter the verification code that will be sent to you and click on "Verify". Or click the verification link.
After verification, you can see that the second e-mail address will appear in the Mailing section of your primary account.
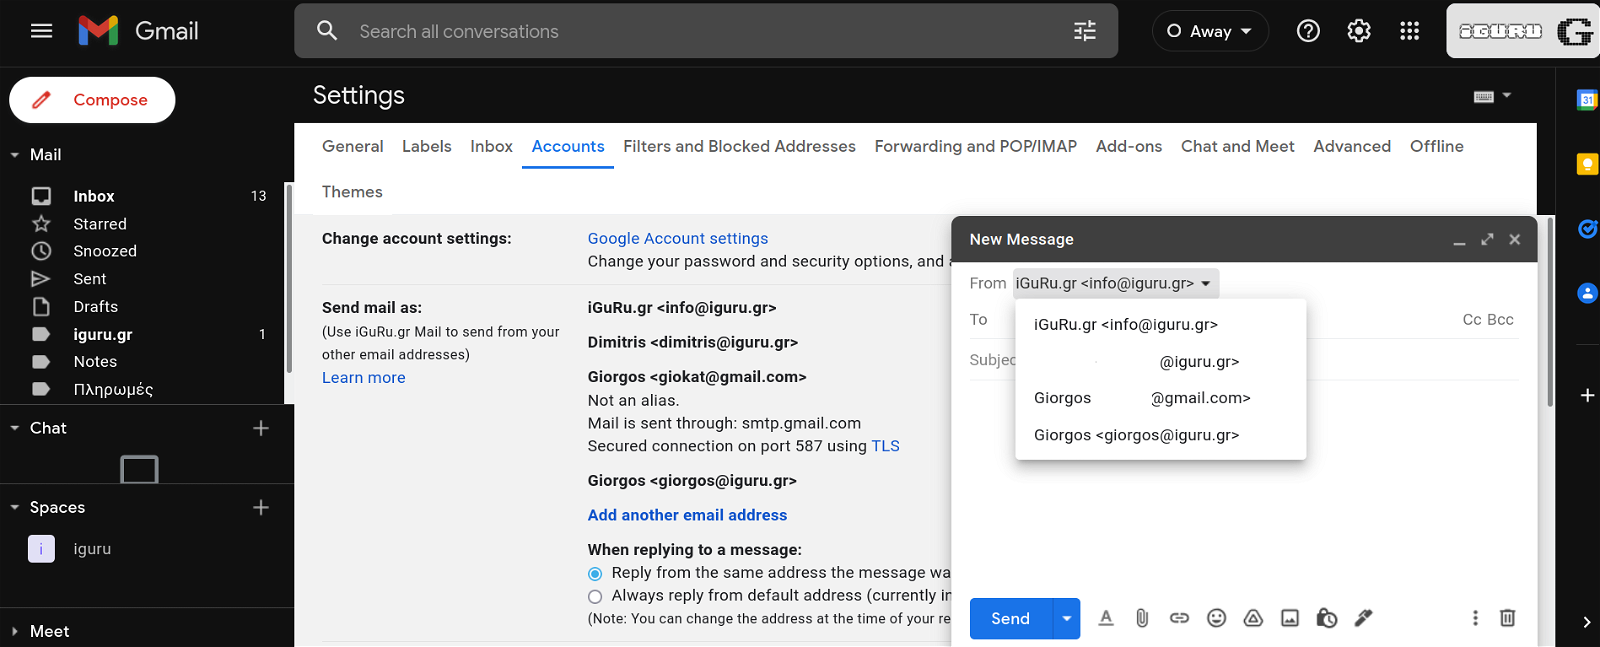
Now, each time you compose an email, you will have a new option in the "From" field. Just click there and select the address you want.
 Do not close your second account yet. We will need it in the next step.
Forward incoming mail
Open the Settings page in second account of the Gmail from which you want to receive the email.
Click the Forwarding and POP / IMAP tab.
Type your primary e-mail address in the Forward copy of incoming mail box.
Then select an option from the drop-down list:
Keep a copy of Gmail in the Inbox
Archive your Gmail copy
delete the copy of Gmail
Click Save Changes.

Now, you will no longer need to open this sub-account to check your messages. You can simply sign in to your main account.
The next two steps now will help you set up your main inbox to differentiate each account from others.
Create a tag for incoming messages
Smart tagging in Gmail is one of the most effective ways to improve your inbox. You should not think, who he is and to whom he was sent.
You can create specific tags for each linked Gmail account and then use smart filters to find email.
Let's see how:
From your primary account, at the bottom of the page, look for the Create new tags link on the left side of the window.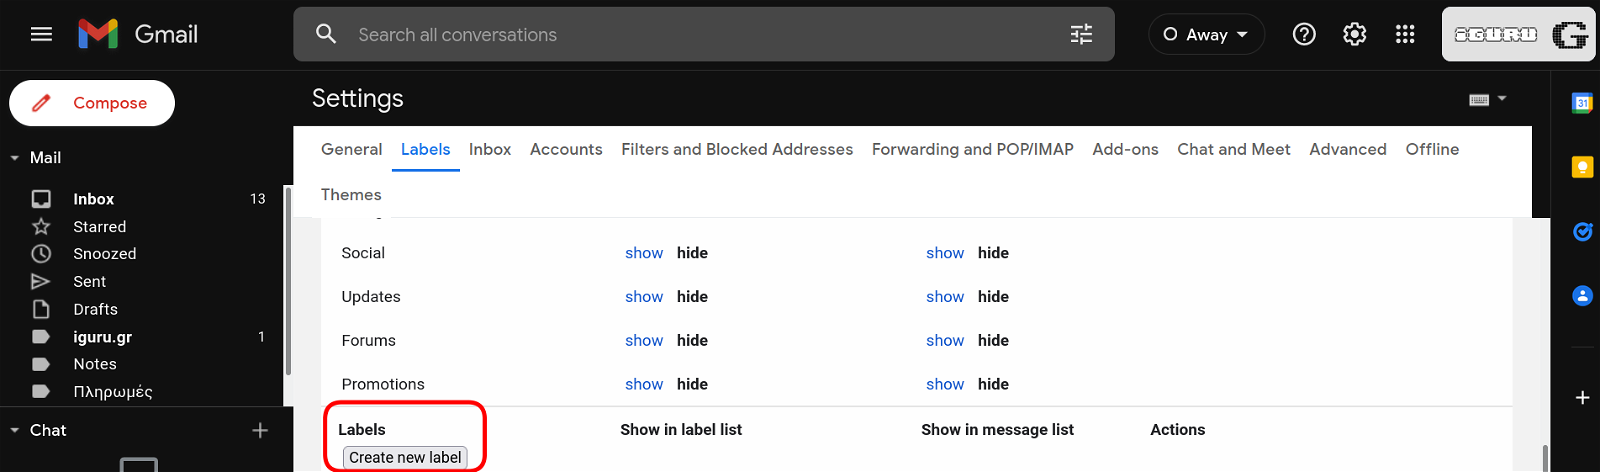 Click the link to open the New Label box. Type a name for the label you want. You could also use the actual email address if you want. Click the Create button.
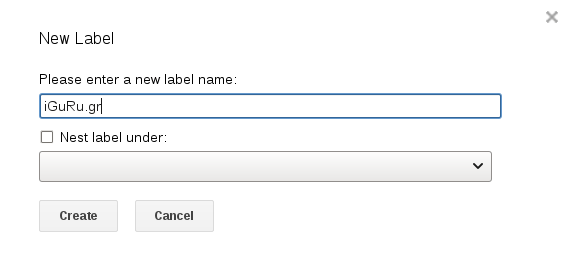
You can do the same with as many tags as you need. Give each connected account a different one Colour ή ακόμα και δημιουργήστε υπο-ετικέτες για διαφορετικά είδη messages email.
4. Create a filter to automatically organize your inbox
Filters are very useful if you are used to the way Gmail works. On your Main Account Settings tab, click the Filters and Blocked Addresses tab next to the Accounts and Login tab. Scroll down to find and click Create New Filter.
Type your secondary e-mail address in the From field
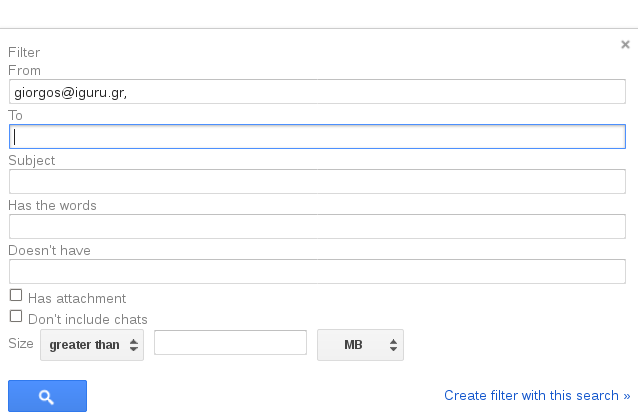
Click Create Filter with this search. On the next screen, there are several options in the box: When a message arrives that matches this search.
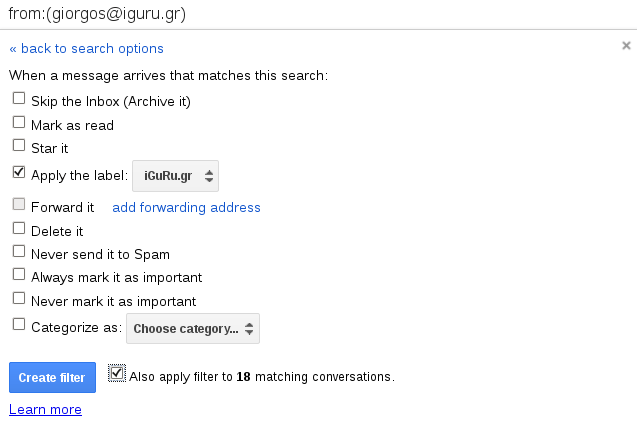
Select Apply the lebel) and select the label you specified in the previous step.
Click the blue Create filter button. You can also choose to apply a filter to previous mail as your inbox to your primary account from the secondary address.
That's it! Now the messages from your sub account will come to your main account and will be automatically marked with the tag (think it as a folder) you created. You will also be able to send emails to those emails that you add to your main account without having to go to the secondary account.
Updated on 4/12/2021
