
A copy security as an image is probably the best and only way to properly back up your Windows 10 installation.

This is the kind of backup you want if you want to make the right backup of your Windows 10 installation, including your favorite programs, applications, and settings.
Of course, a quick one too search on the Internet will point you to several applications that can help you create and restore a Windows 10 system backup. For example, Macrium Reflect Free or Acronis True Image (paid), which are widely used for create and restore Windows 10 backups.
But Windows 10 has a built-in and of course free tool for creating type system backups pictures. Although the tool hasn't been updated since it was introduced by Windows 7, a decade ago, it's part of Windows 10 and does its job very well. So, in this guide, we'll see how to use the built-in backup utility to create a Windows 10 backup.
What is a system backup? In the words of Microsoft, is a copy of the disks required to run Windows. Essentially it includes all the partitions and files required for the reset of Windows 10.
Back up your Windows 10 system
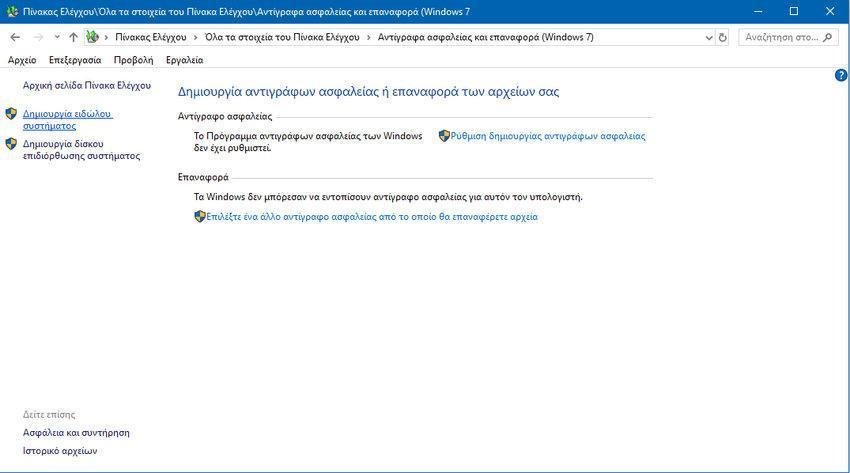
Step 1: Open Control Panel. Change "View by:" to small icons. Click "Backup and Restore (Windows 7)".

Step 2: In the left pane, click the "Create System Image" link to open the image backup wizard (or image if you prefer, it's the same thing).
Step 3: Here, select a location to save the system backup. Remember that the tool will not let you select a drive on the same disk that you are trying to back up. That is, the Windows 10 drive must not be on the same physical drive (HDD or SSD) you select to save the system backup. If you only have one physical disk in computer Connect a USB drive, then select.
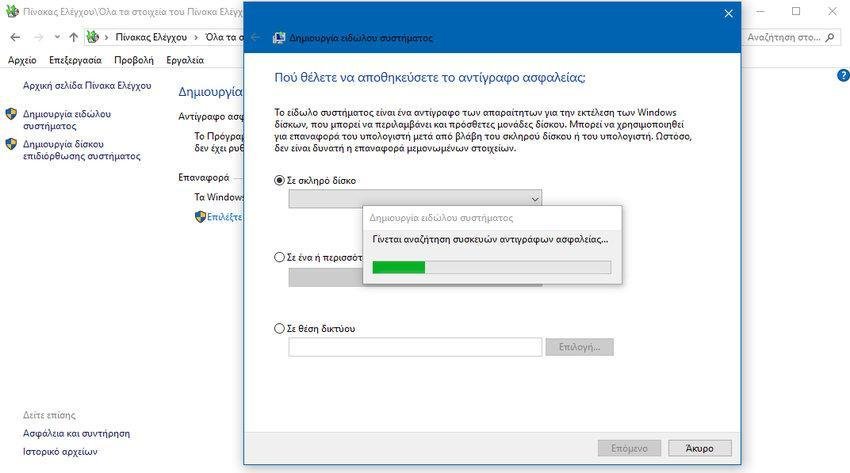
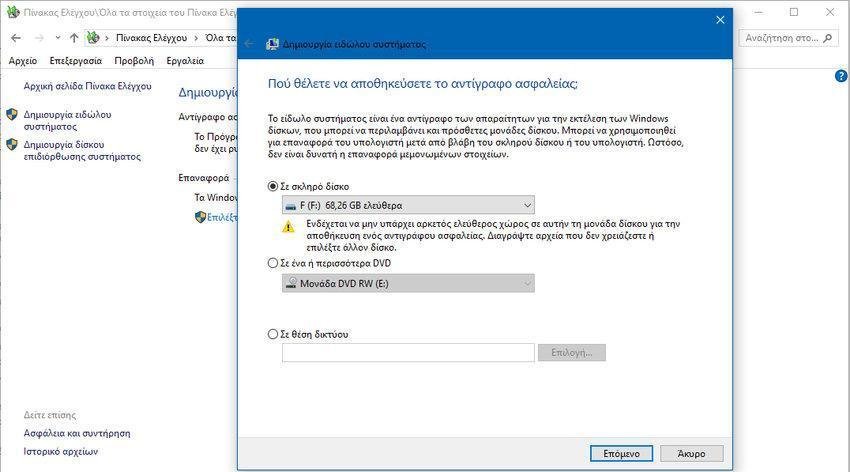
Make sure your chosen location has enough free space. The backup image will take up approximately the current size of the Windows 10 installation unit, unless you want to include additional units in the backup.
Click the Next button to continue.
Step 4: In this step, you need to select the disks you want to include in the backup. Note that the tool automatically selects the drives required to run Windows 10 on the backup. So you do not have to worry about what to include in the backup. If you are backing up your Windows 10 system, you do not need to select additional drives other than the ones selected by default.
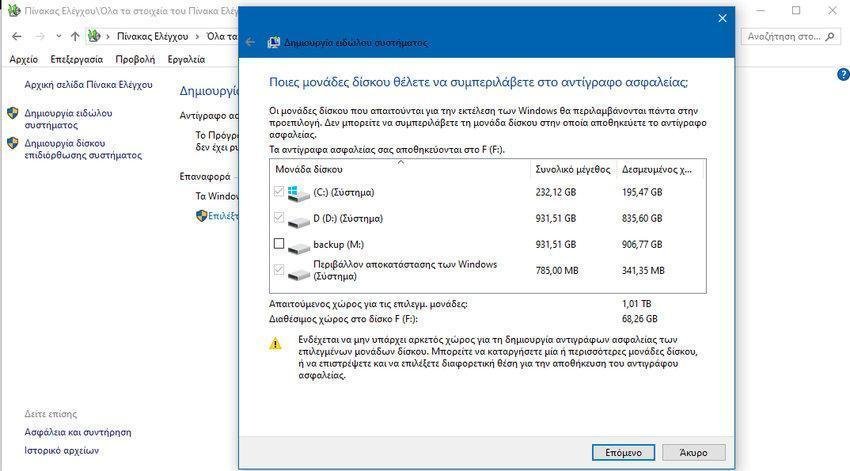
Here, the tool displays the amount of free space required to save the backup of the selected drives. Make sure the selected backup unit has the required free space before continuing.
Click the Next button or if you want to go one step back click the left arrow next to the title of the "Create system image" window.
Step 5: Finally, you will receive the confirmation screen where you can see the backup settings, including the units included in the backup. Click the "Backup" button to start backing up your Windows 10 system to the selected location.
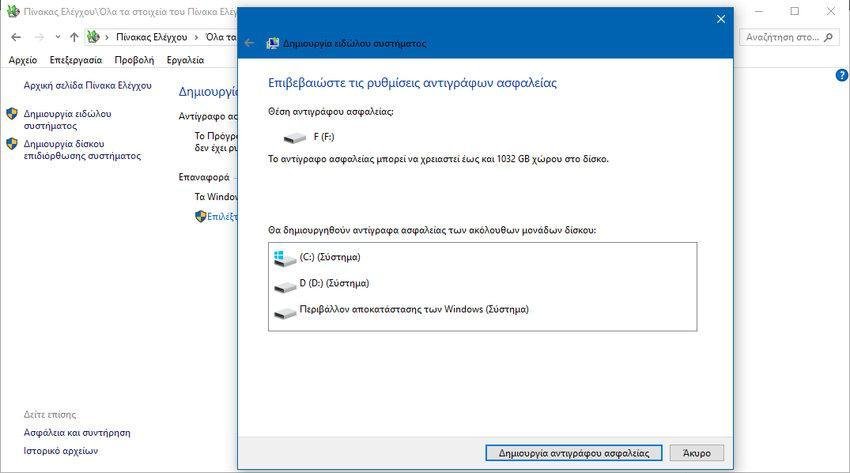
Windows 10 will create a folder called WindowsImageBackup at the root of the selected drive and will store the image (VHDX) there.
Depending on the size of the data, the process can take up to several hours. Do not turn off your computer until the backup is complete.
Once the backup is ready, the tool will offer you an option to create a system repair disk. Click the No button. If you want to create one, just follow the guide.
