
In this guide we'll show you how to generate all the SSH keys you'll ever need using three different methods. You'll also see how to generate your initial set of keys, as well as additional keys if you want to generate different keys for multiple locations.

Step 1: Generate keys in the command line
Windows 10 has a built-in OpenSSH client since the April 2018 update. Windows 11 also has this feature built-in.
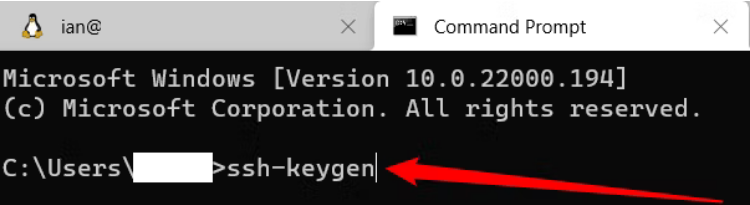
To use it, open the Windows command prompt by pressing the Windows key and typing “cmd”.
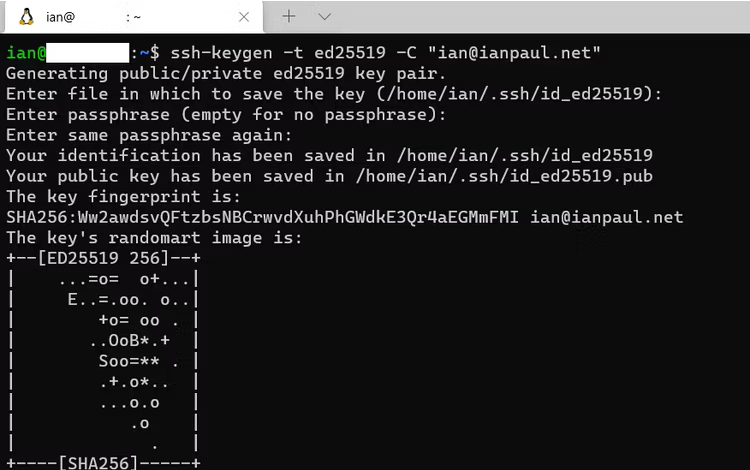
Whether you're using the command line or the Windows terminal, type ssh-keygen and press Enter. This will automatically generate the SSH keys. In our tests on Windows 11, it generated a 2048-bit RSA key. If you want to use a different algorithm – GitHub recommends Ed25519, for example – then type ssh-keygen -t ed25519.
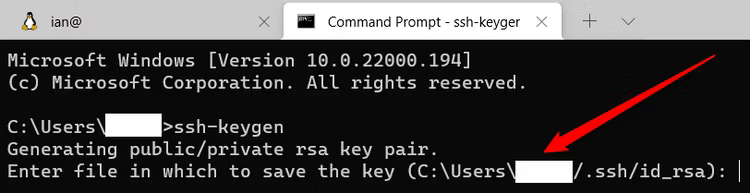
Once you've typed your command, press Enter and then you'll be prompted to name your key and save it in a specific location. If you use the defaults, then it will store your keys in C:\User[YourUserName].ssh – assuming that drive C is where your user account is stored.
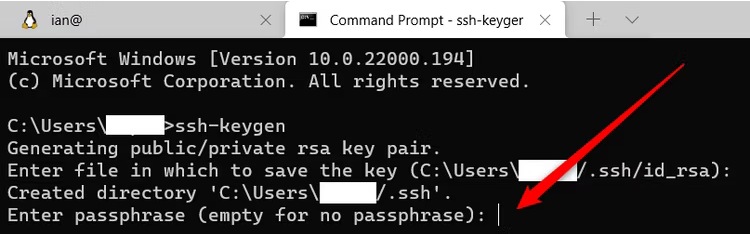
You will then be prompted to enter a passphrase. We recommend that you do so to keep your key safe. If you don't want to provide a passphrase, then just press Enter.
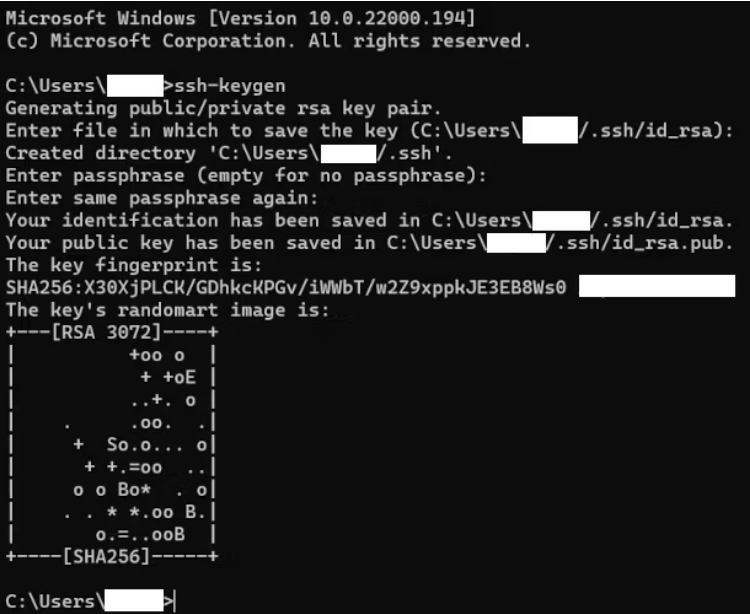
That's it, your keys are generated, saved and ready to use. You will see that you have two files in the “.ssh” folder: “id_rsa” with no file extension and “id_rsa.pub”. The second is the key you upload to the servers to authenticate yourself, while the first is the private key you don't share with others.
If you want to generate multiple keys for different locations, that's easy too. Let's say, for example, that you want to use the default keys we just created for a server you have on Digital Ocean and want to generate another set of keys for GitHub.
You would follow the same process as above, but when it came time to save your key you would just give it a different name, like “id_rsa_github” or something similar. You can do this as many times as you like. Just remember that the more keys you have, the more keys you have to manage. When you do upgrade to a new computer, you must move these keys along with your other files, or you risk losing access to your servers and accounts, at least temporarily.
Step 2: Generate keys in WSL
If you are a WSL user, you can use a similar method to install WSL. In fact, it is essentially the same as the Command Line version. Why would you want to do this? If you mainly live on Linux for command line tasks, then it just makes sense to keep your keys in WSL.
Open Windows Terminal or its built-in command prompt Ubuntu (assuming you have Ubuntu Linux installed). Then it is very similar to Windows. Unlike Windows, it's better to specify if you want an RSA key or something like Ed25519.
Let's say you want to generate an RSA-4096 key. You would type the following command:
ssh-keygen -t rsa -b 4096
If you wanted Ed25519 then the recommended way is this:
ssh-keygen -t ed25519 -C "your@email.address"
It's recommended that you add your email address as an identifier, although you don't need to do this on Windows, as Microsoft's version automatically uses your username and computer name.
Again, to create multiple keys for different locations, just add something like “_github” to the end of the filename.
Step 3: Generate keys with PuTTY
For years, the old PuTTY program was a popular way to communicate with a server on Windows. If you already have this program on your system, it also offers a method to generate SSH keys.
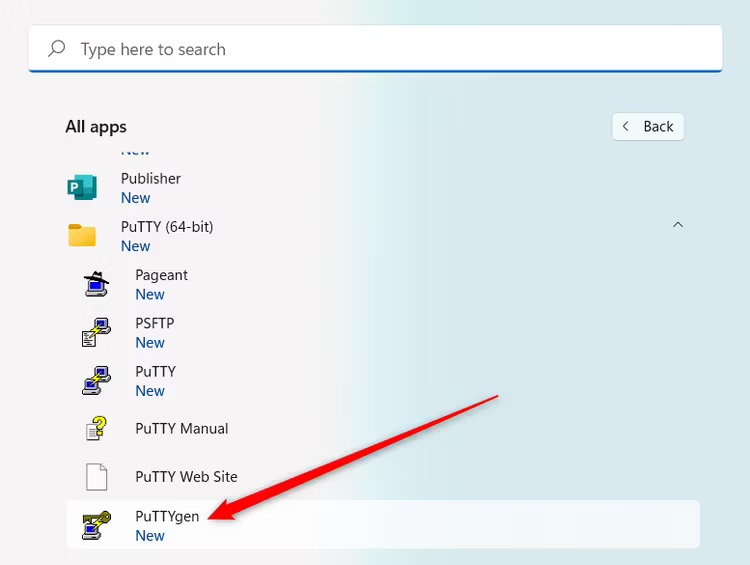
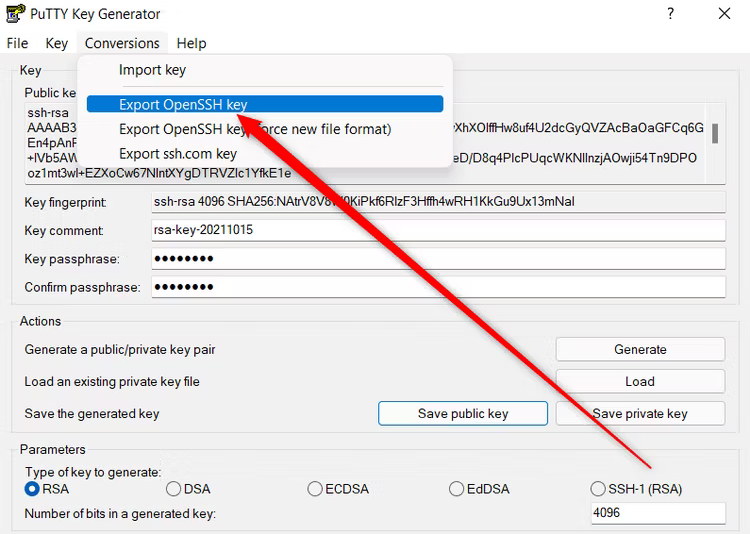
PuTTY comes with a number of utilities, one of which is called PuTTY Key Generator. To open this either search for it by pressing the Windows key and typing “puttygen”, or by searching for it in Start menu.
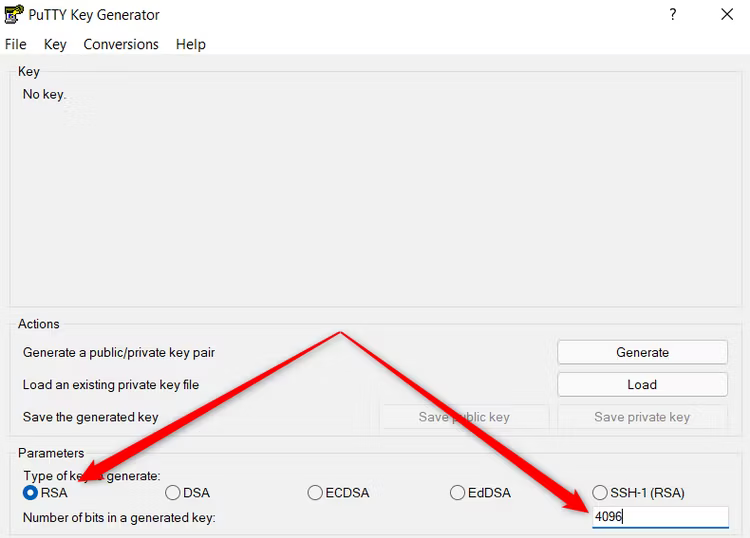
Once it opens, at the bottom of the window you will see the different types of keys you can create. If you are not sure which one to use, select “RSA” and then in the input box that says “Number Of Bits In A Generated Key” type “4096”. Another alternative is to select “EdDSA”, then from the drop-down menu that appears below, make sure “Ed25519 (255 bits)” is selected.
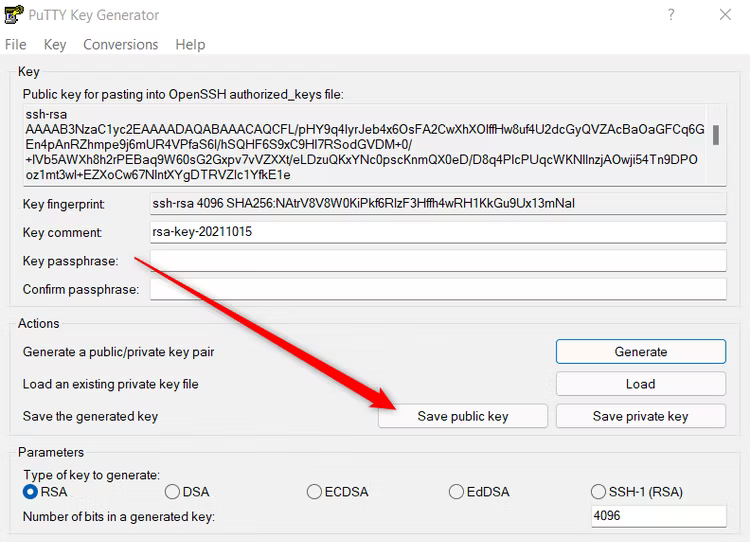
Now, all you have to do is click “Generate” and PuTTY will start working. This won't take long depending on your system power, and PuTTy will ask you to move your mouse around the window to help generate more randomness during key generation.
Once this is done click “Save Public Key” to save your public key, and save it wherever you want with the name “id_rsa.pub” or “id_ed25519.pub” depending on whether you chose RSA or Ed25519 in the previous step.
Then getting your private key takes an extra step. From beforechoice, PuTTy generates PPK keys for use with the PuTTy client. But if you want OpenSSH, at the top of the window select Conversions > Export OpenSSH Key and then save the file as “id_rsa” or “id_ed25519” without a file extension.
Generating SSH keys is really easy, whichever method you choose. We'd recommend choosing the Windows Command Prompt option unless you already have PuTTY installed or prefer Linux and understand that system.
