
The Local Security Policy is an advanced tool Windows configuration that lets you control various aspects of your operating system security.
Most users like to experiment with it by making use of it Microsoft Management Sideboard (Microsoft Management Console). But if somewhere in the chaotic possibility of settings you mess up and your system fails your wishes then it might be a good idea to reset all its settings to their original form. Below you will see a simple command that can restore all default settings easily and quickly.
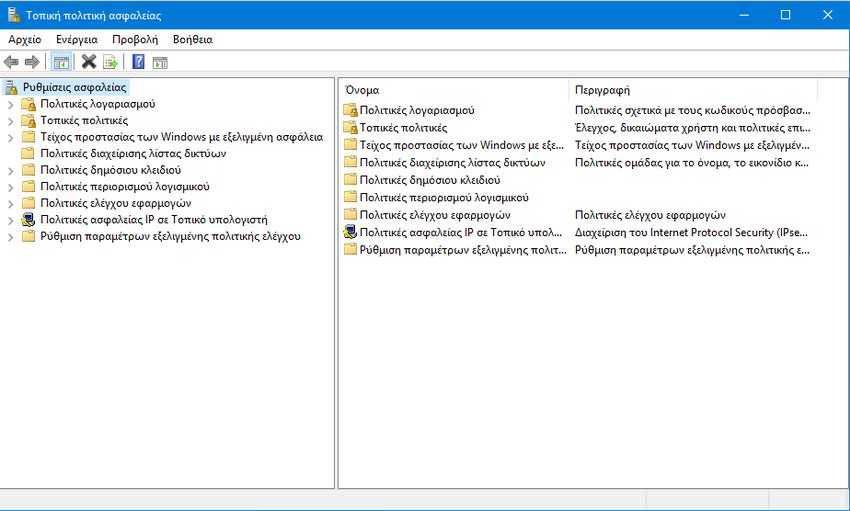
For those who have not yet visited it, the Local Policy Group editing console starts if you press the Win + R keys on your keyboard and in the Execute window that appears if you type the phrase secpol.msc and press the OK button.
We remind you that the editing console does not work on home editions Windows 10. Available for Windows 10 Pro, Enterprise, and Educations.
Restore Local Security Policy.
To restore your local security policy settings, do the following:
1. Πατήστε ταυτόχρονα τα πλήκτρα Win + X και επιλέξτε το "Γραμμή εντολών (Διαχειριστής)".
2. Αν ερωτηθείτε αν "θέλετε να επιτρέψετε σε αυτήν την εφαρμογή να κάνει αλλαγές στην συσκευή σας" πείτε του "Ναι".
3. In the command line window, type the following and press Enter:
secedit / configure / cfg% windir% \ inf \ defltbase.inf / db defltbase.sdb / verbose
4. Restart Windows 10.
You're done. After restart, your operating system again has its default settings in Local Security Policy. This trick also works in Windows 8, Windows 7, and Windows Vista.
