WebBotify is a chatbot powered by ChatGPT that you can configure and integrate into your website with just a few clicks.
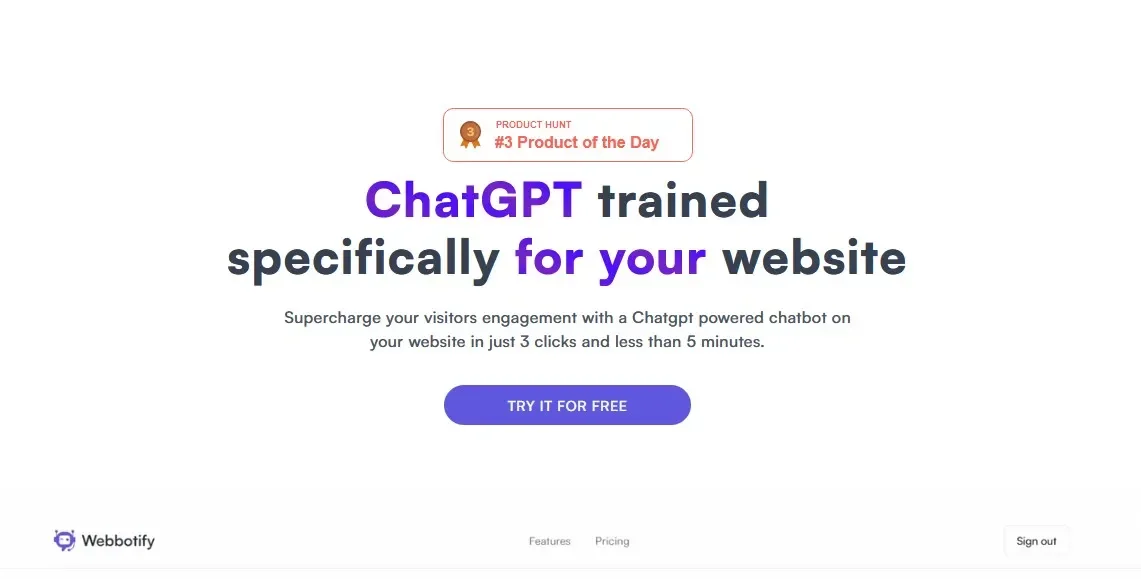
The WebBotify helps you attract visitors to your website by offering personalized conversations with a trained chatbot. The artificial chatbot intelligences provides fast support and helps solve your visitors' queries 24/XNUMX.
You can let the chatbot handle all the repetitive tasks like answering FAQs to guide users and more.
Αυτό σας βοηθά να ελευθερώσετε χρόνο και πόρους τω ανθρώπων που "τρέχουν" το site σας και έτσι να επικεντρωθούν σε άλλα ζωτικής σημασίας ζητήματα που σχετίζονται με το προϊόν σας.
All you need to do is specify your website URL, add your custom logo and embed the chatbot on your website using the embed code provided to you for free.
Way of use:
step 1 : Click in this link για να μεταβείτε στο WebBotify, κάντε κλικ στο "Try it for Free" και μετά κάντε enrollment for a free account using your Google credentials.
step 2 : Click the 'Create Chatbot' button, paste the URL of the website you want to create for and click 'Fetch'.

step 3 : Wait for some time until WebBotify analyzes your site and displays the URLs of all available pages.

Activate the checkbox next to the page you want to embed the chatbot on and click 'Next'.
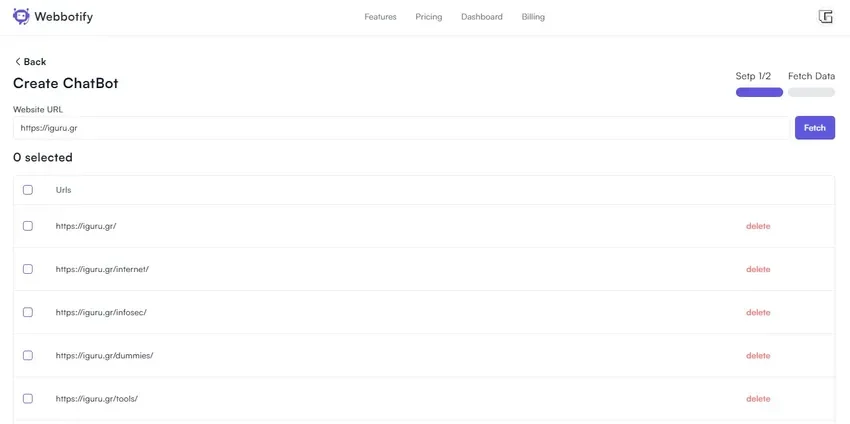
step 4 : Now, enter the Chatbot name and Welcome Message, choose the main color, upload the chatbot icon or logo and click on “Create Chatbot”.

step 5 : The chatbot will be created in a few seconds and the summary will be presented in the dashboard. Scroll down the control panel and click the 'Copy' button under 'Embed To Website' to copy the embed code to clipboard.
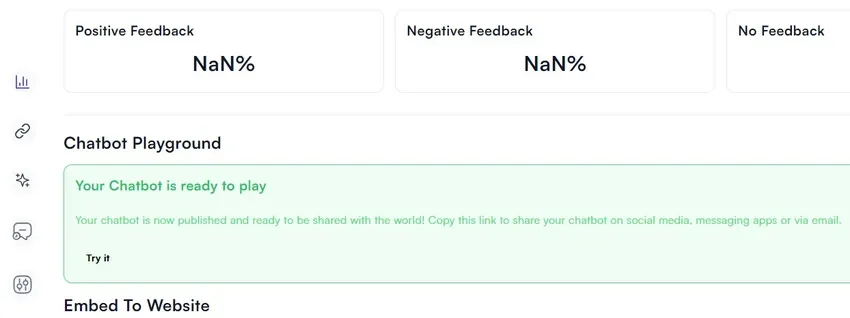
step 6 : Paste the embed code on your website and your chatbot will be embedded. To test the chatbot without using the embed code, click on the “try it» in the Chatbot Playground section.
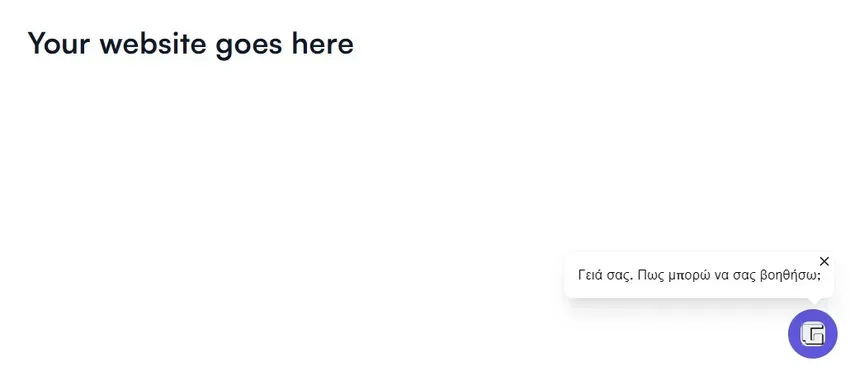
step 7 : After embedding the code on your website you can test if the chatbot is working by going to the pages you specified in step 3 above and submitting the relevant queries.
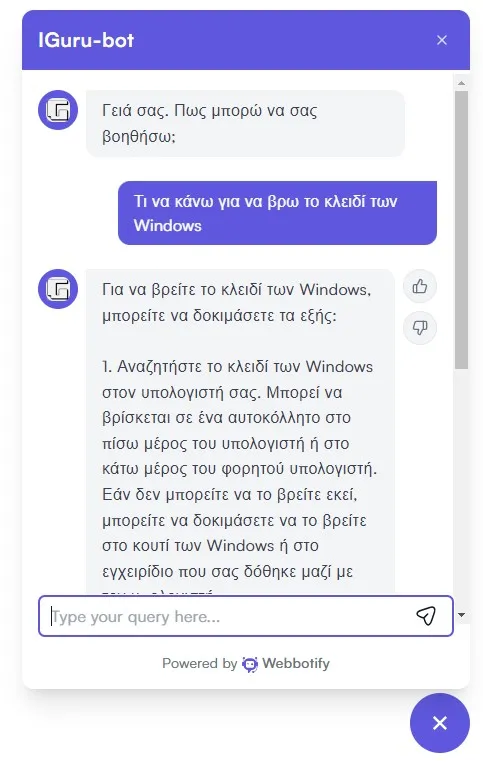
You must remember that your Chatbot will only be up and running after the 'Chatbot Playground' section notifies you that your chatbot is ready to play.
step 8 : Once the chatbot is used, you can go to the dashboard to see a graph of the interactions with the chatbot and get the positive/negative feedback.

Of course, you can subsequently modify your settings by clicking on the "Settings» in the toolbar on the left.


