If your Windows computer is infected with virus, then you can use Ubuntu Live USB to clean it and recover Windows again.

Supposedly, your computer running Windows became infected and doesn't even start up. If you have an Ubuntu Live USB or CD, you can clean it from the virus and recover Windows.
Generally in this situation you will need one live CD or live USB to restore your computer again. The logic of live CDs is to provide you with a small bootable operating system that contains an antivirus that will clean your machine.
Obviously you can also use ready-made antivirus CDs with various functionalities like Antivirus live CD based on 4Mlinux or Rescatux based on Debian.
In this guide, we will show you how to clean your computer from infected viruses using a live CD or USB running Ubuntu and using it ClamAV antivirus program.
And of course you can even clean Windows computers, whether or not Ubuntu Live USB uses linux. Let's see how you can clean a Windows computer with such a Cd or USB already in your hands.
Before you start, make sure you change the BIOS settings on your computer to boot from USB or CD first. Now, start by inserting the Ubuntu Live (USB or CD) drive into the computer and then turning on the power.
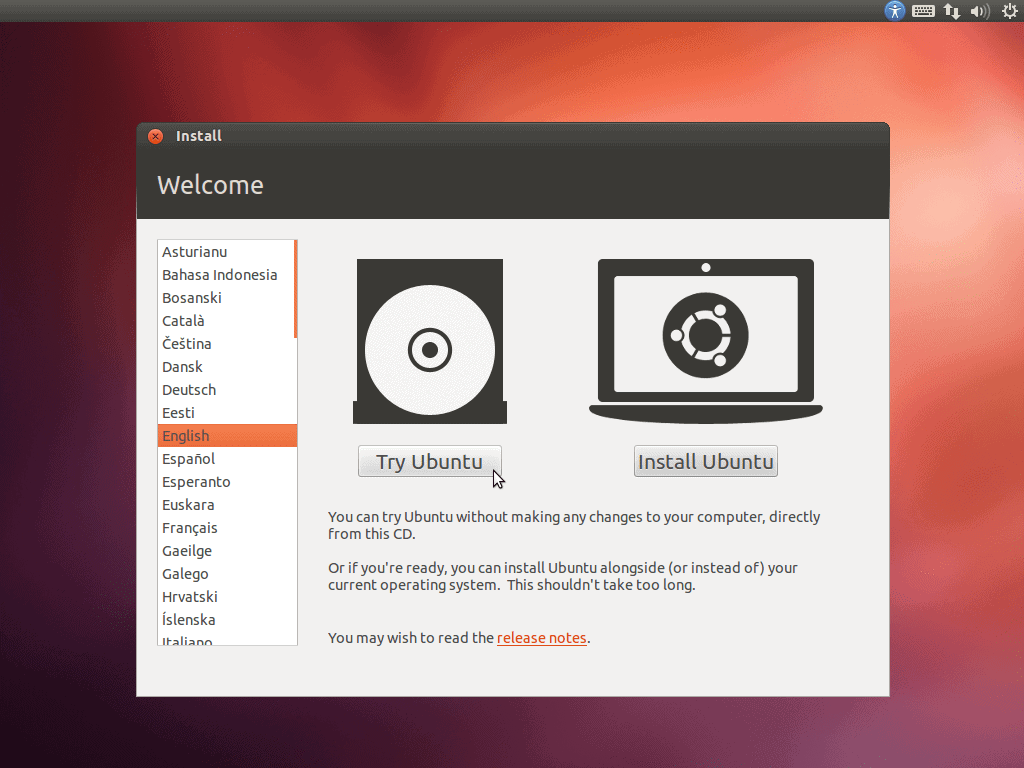
Step 1: When the Ubuntu Setup window appears, select 'Try Ubuntu (Try Ubuntu).
Step 2: When Ubuntu runs, open a terminal and use the following command to update the Ubuntu repository.
sudo apt update

Step 3: To install ClamAV antivirus software on Ubuntu, you can use the following command:
sudo apt install clamav

Step 4: After the software is successfully installed protections ClamAV, you need to know the location of the Windows drive to run the scan. You can find the location of the Windows drive by opening Ubuntu File Explorer and searching for it.

Step 5: After locating the Windows drive, right-click on the tab titled Windows drive from the top of the panel in the Explorer folder and select the Properties option.

Step 6: When the properties window opens, take the path and the letter of the drive from here as you can see in the image below.

Step 7: Now return to the terminal, look for the Windows drive path, as shown in the following image.

Step 8: You can then start scanning your Windows drive with the following command:
clamscan -r --bell -i WIN_DRIVE_PATH
The previous ClamAV scan command means searching for all infected files and alerting when detected.

After successfully completing the ClamAV scan command, you will receive a summary of the scan process, as you can see in the screenshot above.
Here are some options for scanning ClamAV:
-r - Optionally perform retro scans.
-Exclude = .avi - The option to block a certain type of file, or to skip things like videos or music files.
-Scan-mail = yes / no - Option to include mail files found during system scan.
-remove = yes / no - Option to delete all scanned files or not. Be careful when using this option!
Step 9: To learn more about ClamAV scanning options, use the following command.
clamscan --help

Good luck!!.
