
Microsoft seems to have changed the way OneDrive works since their release Windows 10 and after.
So the company now offers the option of simply viewing your disk in the cloud instead of saving your files locally within the Onedrive placeholder (so is the default setting) after you have synchronized all the files on your computer.
One reason for the removal was the confusion of users, since all files expected to be available on their system, even when the system had no internet connection.
But let's look at how it will allow you to view your online files as a network location on your computer.
Define the OneDrive as a network drive:
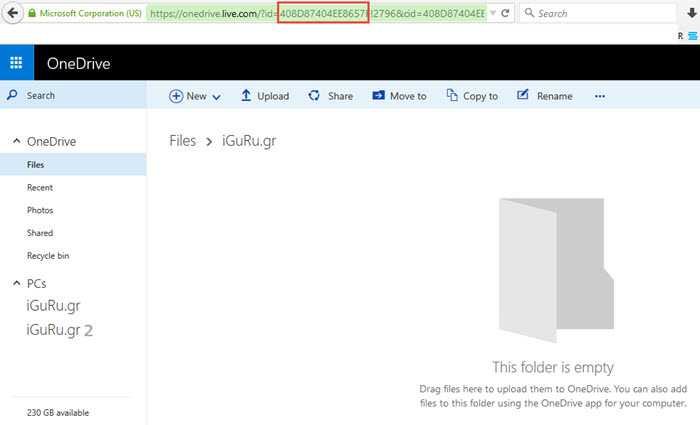
1. Sign in to your online Onedrive account.
2. Once this is done, open any folder and copy your ID. Make sure you only copy your ID, which stops where the Exclamation mark is (without the "!" Or any other symbol).
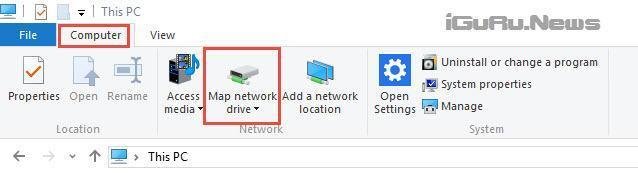
3. If usesτε τα Windows 10, ανοίξτε το File Explore, select the Computer tab and click “Map Network Drive” or “Map Network Drive”
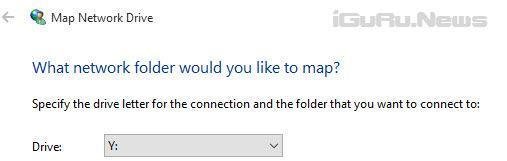
4. Choose a drive letter for the OneDrive.
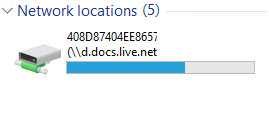
5. Instead of a folder, type the link: https://d.docs.live.net/ID, where the ID is your ID, for example
. https://d.docs.live.net/408D87404EE8657E
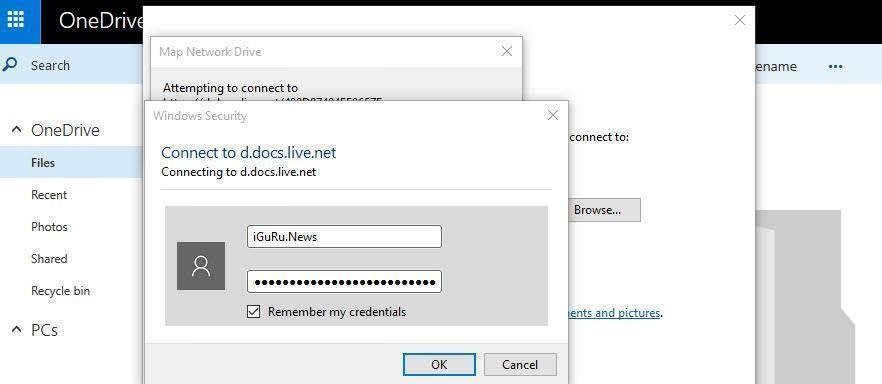
you will be prompted to log in to your account
6. Make sure the "Reconnect on Login" option is enabled.
7. Enter the account username and password in the next step.
Note: If you are using a two-step verification connection, you'll need to create an application password in your account preferences and use it instead of the account password.
8. So now Onírive will appear as a place of your network on your system.
Note that you can do so in earlier versions of Windows. The method is the same.
