
Slackware is a Linux distribution created and maintained by Patrick Volkerding. It was one of the first distributions to be released and is currently the oldest still in development.
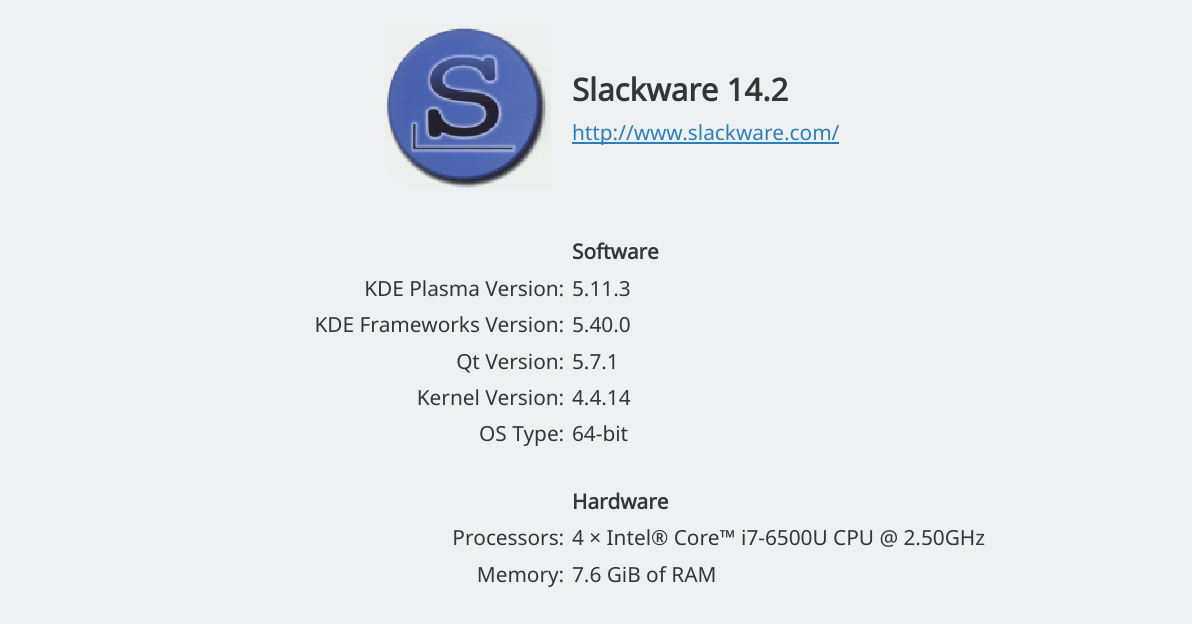
Although the last official release of Slackware 14.2 was in June 2016, Slackware is a rolling distribution that is constantly evolving. So today the kernel has successfully reached version 4.4.14.
Installing the distribution is not for complete beginners, but the management its, is for the old school of Linux.
The installer is not graphical (in part), and you should use the command line. Before starting the installation (in case you want to create a system with dual boot) it would be good to make the partitions that you will need from a graphical environment, so as not to get involved with fdisk or cfdisk.
On the system I installed Slackware I created only one partition for root.
The distribution found the existing / boot / efi, but also the swap partition from the other distributions that exist on the PC.
I forgot to mention that the USB or the installation DVD will ask you to log in as root. The installation starts with the setup command.

Select it install everything to avoid confusion and enter to proceed.
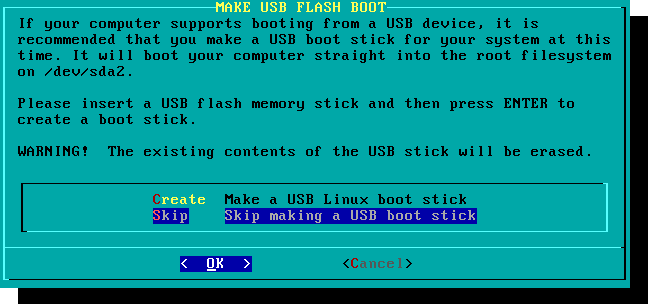
Say skip on the making USB boot stick
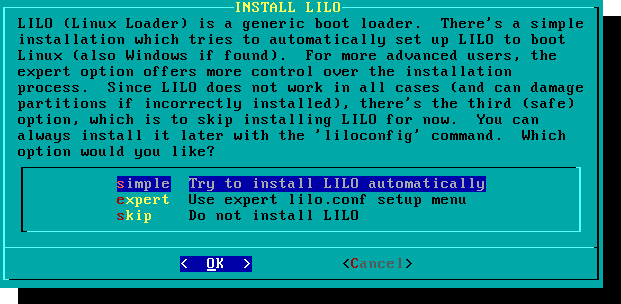
And if your system already has another one installed functional, avoid installing LILO by all means. So skip to LILO.
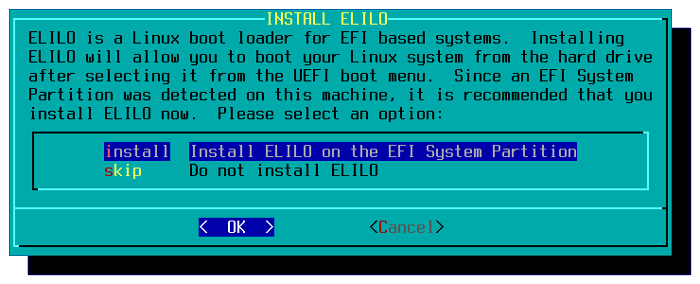
Instead you can safely use ELILO.

Select the default Desktop Manager and proceed with the installation.
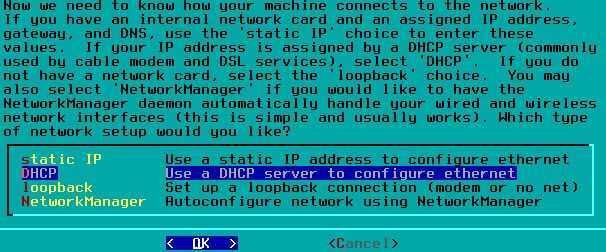
Tip: In the image below watch out… Select NetworkManager that will automatically set up your wired connection.
 In the next cli screens you don't need to change anything. Leave the default settings and continue with the installation. Once you're done, you'll need to log into your original system to run a grub update, which will bring up Slackware on boot screen you.
In terms of settings now. Every installation should be done with terminal, and a second post will probably follow.
Πηγές
