
With the release of Windows 10 version 2004, Windows Defragger rebuilds SSD drives very often, cuts to non-SSD drives, and forgets when it last optimized a drive.

Windows 10 includes an “Automatic maintenance” feature in Control Panel -> System and Security -> Security and Maintenance that performs various maintenance tasks on a scheduled base. This maintenance includes checking drives to see if they need to be optimized, checking for new updates, security scanning, and more diagnostics.
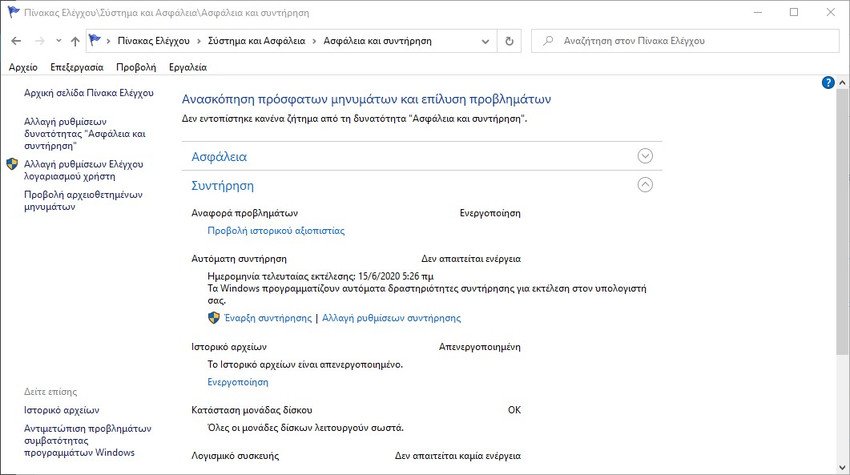
When optimizing drives, Windows 10 should record the last time a drive was optimized so that it does not overwrite the same drive too often.
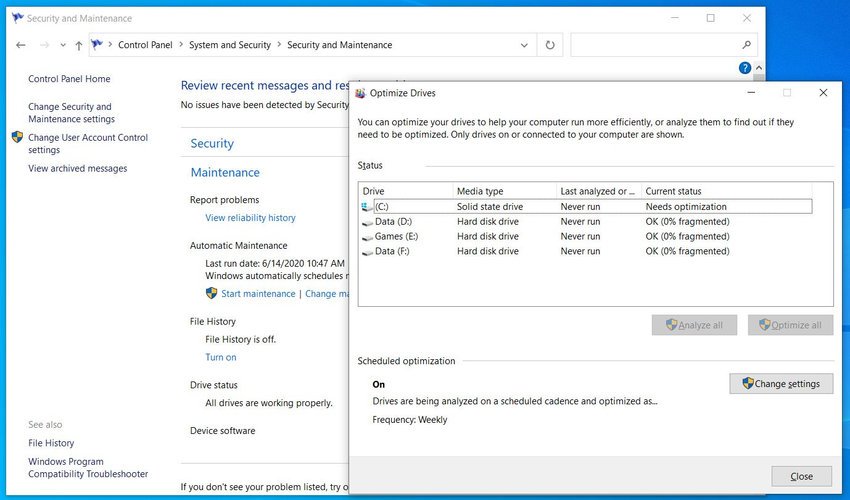
Such as noted WilderSecurity members, with the release of Windows 10 2004, the feature Optimize Drives do not correctly record the last time a unit was optimized.
Because of this, when you go back to Drive Defragger, you will see that an SSD says it "needs optimization" even though the automatic maintenance was performed this morning, as shown below.
In Windows 10 Insider Preview build 19551, Microsoft states that the issue has been resolved.
But until this fix is fixed, "forgetting" when the drive was last optimized creates another unwanted behavior, described below.
Rebuilding SSDs is very common
The general rule has always been that you should avoid it reconstruction of SSDs, to avoid unnecessary wear and tear. Its developers Microsoft, however, have stated in the past that there is some benefit to defragmenting a heavily fragmented SSD drive, and because of this, they will defrag an SSD drive once a month.
Unfortunately, since Windows 2004 forgets when it last last optimized, automatic maintenance of Windows 10 will cause an SSD drive to rebuild much more often than once a month when you restart Windows.
This is a problem as frequent rebuilding of an SSD is not good for the drive, as it could shorten its lifespan prematurely.
Until this issue is resolved, if you are using an SSD drive, it is recommended that you disable automatic SSD drive optimization in Windows 10.
To remove a drive from automatic drive optimization in Windows 10, follow these steps:
On the Start menu, look for "Rebuild" and click "Rebuild and Optimize Drives".
When the Drive Optimization screen opens, read the list of drives and highlight the ones that are SSDs. Then click on "Change settings".
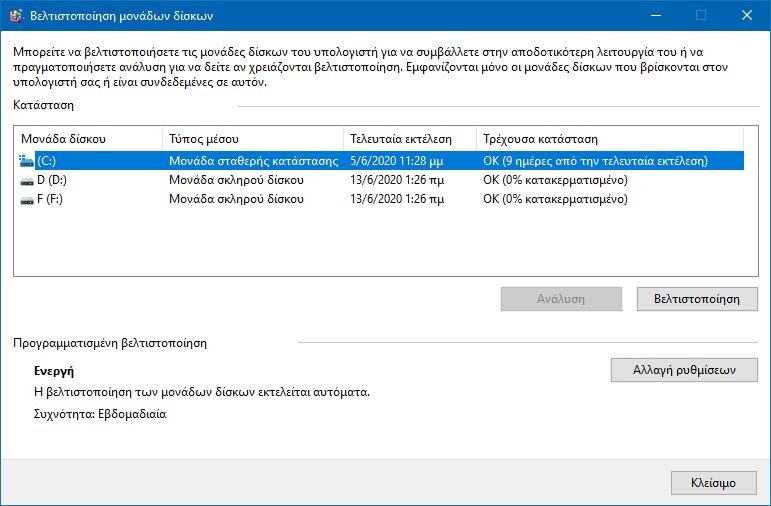 On the Optimization Schedule settings screen, click the "Select" button.
You will now see a list of drives that will be optimized automatically in a regular program. Uncheck all SSDs from the list, and then press the OK button.
You can now close the Optimize Drives screen.
All SSDs should now be removed from the automatic drive of the drive. When the problem is resolved in the future, you can add them back to automatic maintenance.

Mac forever!
I think this has been fixed, he tells me to never execute
Invalid now I understand
I hope it is resolved soon