
The enemy of electronic components is dust, and the motherboard of a computer could not be exempt from this rule. See how you can clean it without problems.
We have mentioned how to clean your keyboard, your mouse, your screen, the dust in general from a computer, but we have not mentioned about the motherboard. At least until today.
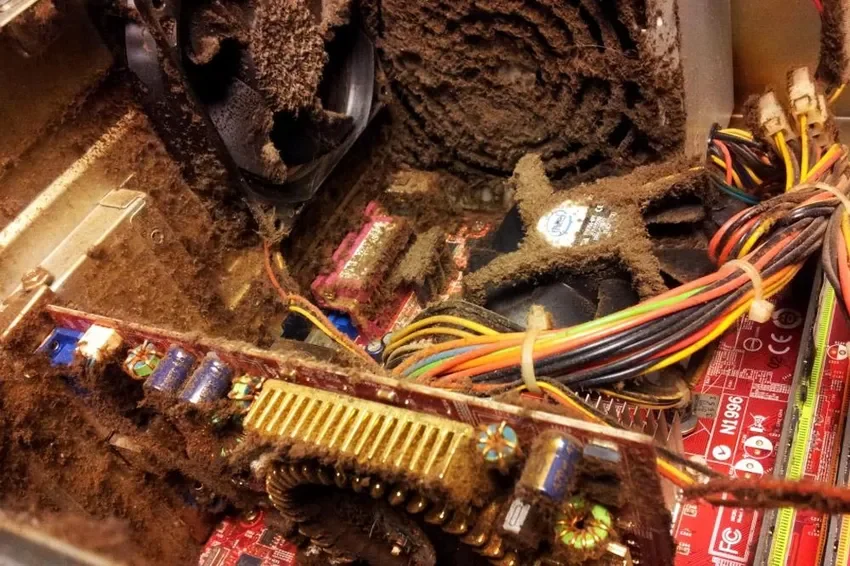
A computer's motherboard collects a lot of dust and dirt due to its large surface area as well as the cooling system of the CPU and GPU and is therefore responsible for reducing the lifespan of your machine.
Keeping this central component free of dust can be sure to improve the life and performance of your computer.
Every now and then you should clean your motherboard
It depends on the conditions in your local environment. In general it would be a good idea to clean your entire computer every six months or even sooner if it is visibly dusty.
But simply blowing the motherboard with air may not be enough to completely remove the dust and may require removing the motherboard from the box or even partially disassembling the components on it.
Dust, in addition to being a short circuit, can cause many components in your computer to heat up unnecessarily. Heat will cause your computer to slow down to prevent it from overheating (thermal throttling), reducing performance.
What you need to clean your motherboard
Cleaning the motherboard may seem like a daunting task, but if your computer is a desktop, things will be very easy. You probably don't even need to remove the storage drives or the power supply.
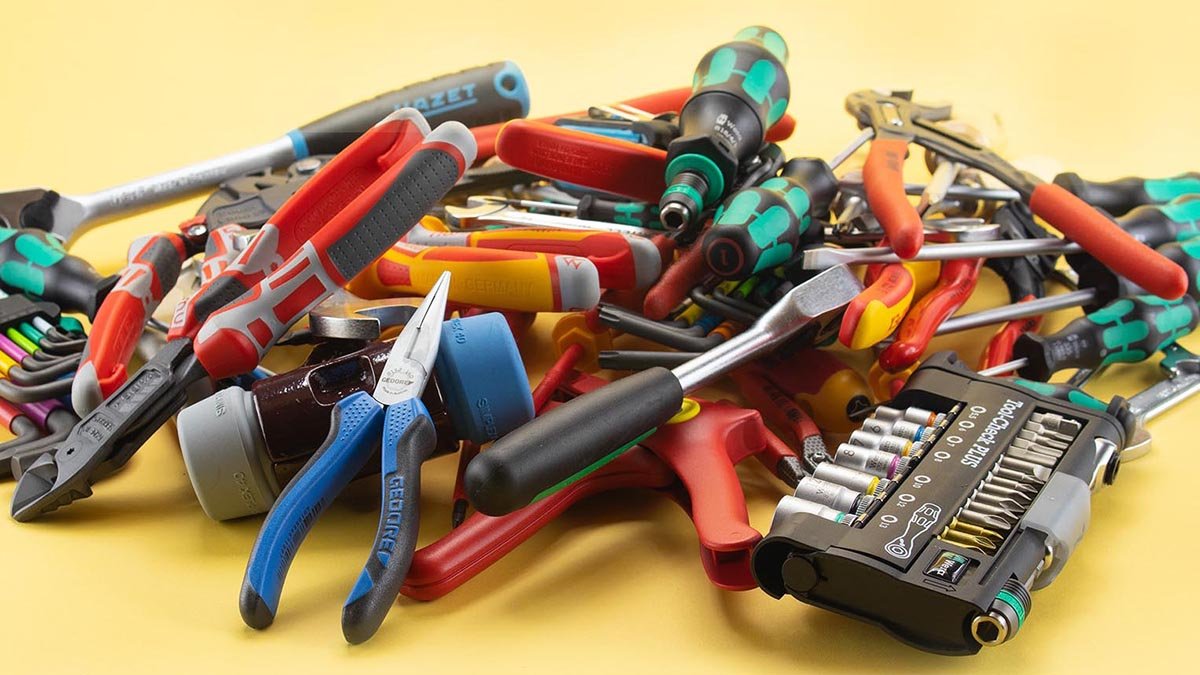
But before starting the process, make sure you have procured some materials and tools, such as:
- Ear buds
- Isopropyl alcohol 99%
- Phillips and Torx screwdriver set
- Compressed air bottle or bellows
- Brush or brush (a shaving brush will do)
- Anti-static wrist strap (optional)
- Anti-static mat (optional)
- Antistatic plastic sheet from your motherboard packaging (optional)
What not to do when cleaning

Cleaning your motherboard is relatively simple, but there are two or three things you should definitely avoid if you don't want to cause irreparable damage.
-
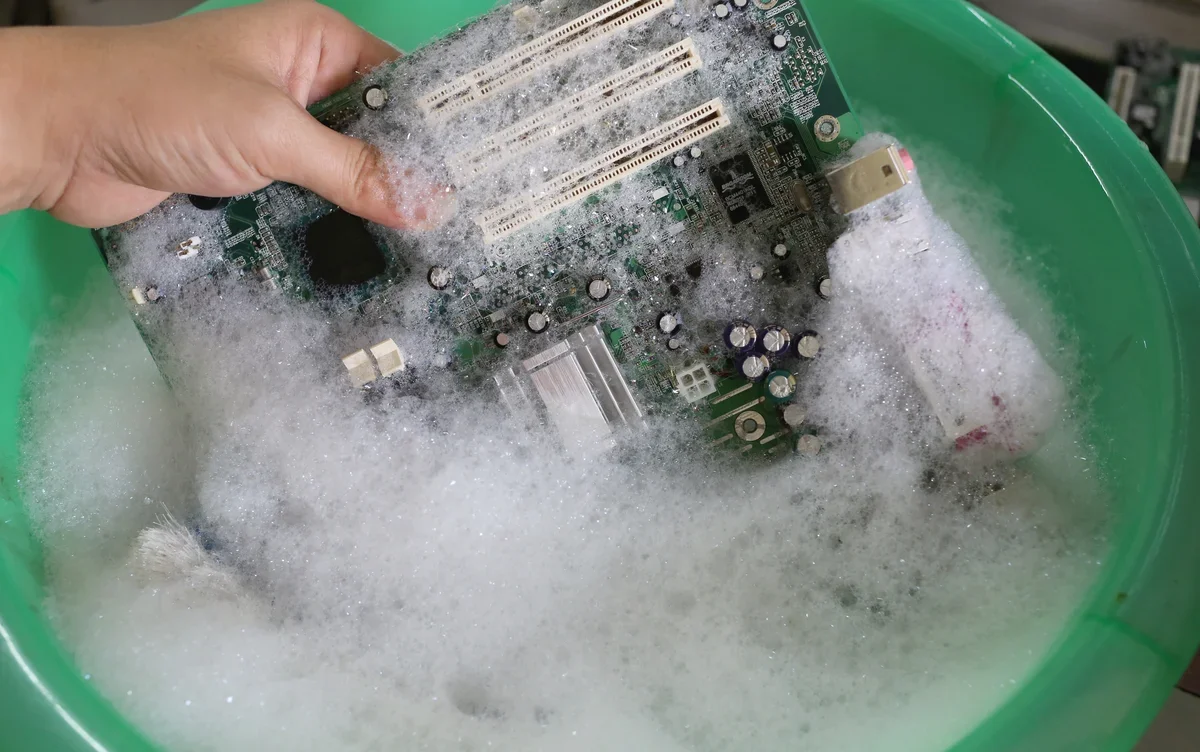
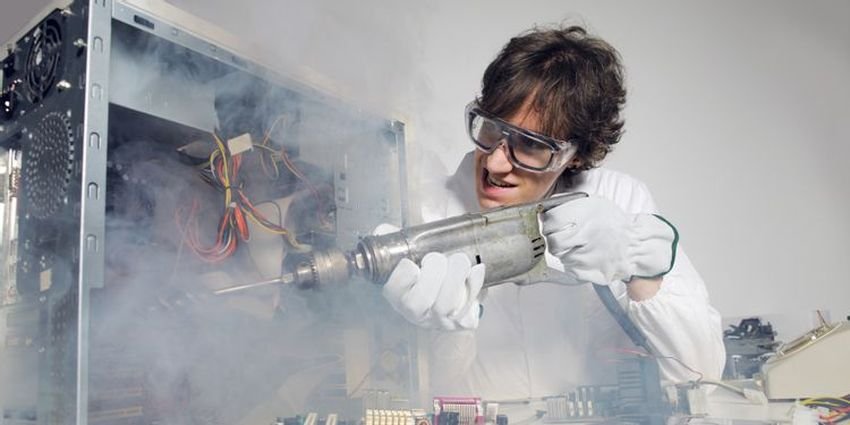
Avoid the example in our original photo entirely and don't drop liquids directly on the motherboard. Even if it is not attached, there is a chance that it will get into tight places and not evaporate quickly. Even if it is 99% isopropyl alcohol.
-
Do not use a vacuum cleaner. Vacuums can build up static charge that could potentially short out your motherboard even if it's not plugged into power. Use blowers, not a vacuum cleaner.
-
Do not use anything but distilled water, isopropyl alcohol, or electrical contact cleaner. Always make sure these solvents evaporate immediately and are completely removed before plugging your machine back in.
Removing the motherboard
If you decide to remove the motherboard first search the internet for a relevant guide that refers to your motherboard. Prefer to get instructions from a video, especially if you have a laptop.
The purpose of the video is to show you exactly which screws you need to unscrew and in which order. Also on laptops where to start pressing the cover to unhook it.
Before you start don't forget to wear the anti-static wrist strap, if you have one, otherwise place both hands on a metal surface that is connected to the ground (eg radiator pipes, water pipes, railings etc.).
Your first move is to completely remove your computer's power (from both DC and battery) and press the on-off button to discharge the internal capacitors.
Then open the cover (side for desktop or bottom for laptop) and remove the power to your graphics card. Next, unscrew your graphics card and remove it. Remove all RAM cards, and generally any card connected to the motherboard.
Take a photo of all the small plugs and cables attached to the motherboard and disconnect them all. Be sure to mark them so you know in what order they were placed and where.
If you don't need to change the thermal paste on the CPU don't bother with it. Leave her in her place. If you wish to change it see our article.
Once everything is removed, unscrew your motherboard and place it on the anti-static plastic sheet of its original packaging or on a wooden surface. Be aware of any static charge, especially if you have carpet and wear socks.
Cleaning the motherboard
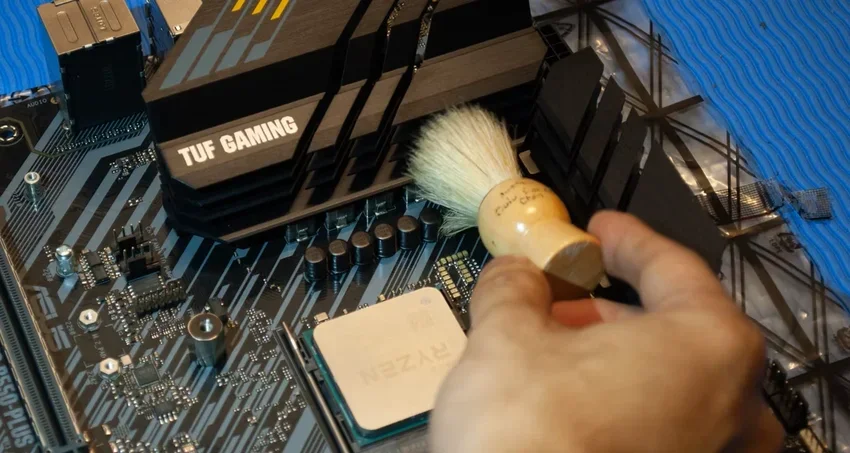
Start by trying to loosen the dust build-up with a brush, making sure to brush under the VRM (Voltage Regulator Module) heatsinks.
Be careful not to brush too hard or you may do damage. After the dust has settled, you should use some compressed air to blow it away.
And a blow dryer can do the job (not a hair dryer for the hair because it is without much pressure and has warm air) but compressed air works great because it has high pressure but runs out pretty quickly. Just make sure not to use it upside down.
In extreme cases, dust particles may remain stubbornly stuck to the motherboard. In this case, use cotton swabs with 99% isopropyl alcohol.
You can also spray the motherboard with contact cleaner and wipe it with a cotton cloth. Be careful when using a cloth as it can drag its components.
Repositioning
Reconnecting everything is as simple as disconnecting it.
First screw your motherboard back into place and make sure the screws are properly in place and not touching any road or electronic component.
Then take the photos you took as a reference, to connect things exactly as they were before. You can refer to your motherboard manual for more information.
Then proceed with installing the rest of the components, such as RAM cards, GPU or whatever else you had installed. Just make sure you don't forget anything unconnected and especially don't forget any fans.
Close the lids and restart your machine.
